Quote Revision

Quote revision lets you update or modify an existing quote when customer requirements change. You don’t need to start from scratch. You can duplicate the original quote and adjust it. This keeps track of all versions in one place. This ensures transparency, faster negotiations, and makes it easier to finalise and convert the approved quote into a sales order.

In the Zhylar system, please note:

  • Only a quote in sent stage can be revised.
  • Open Sent quote
  • Click Create Revision
  • Make changes
  • Update Quote (save draft)
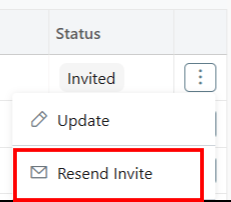
  • Save & Send (resend)
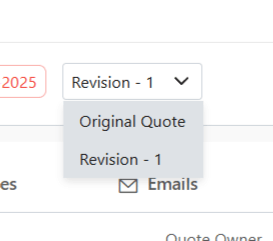
  • Revised versions will be denoted by R# following the document series code.
  • E.g., quote document with ID QT-0007 is revised thrice, the revised documents will be saved as:
    • QT-0007- R1
    • QT-0007-R2
    • QT-0007- R3
  • Quotes List View only shows the latest active version. Example: Accepted/Sent quotes appear.
  • All other versions will be moved to archive.
  • You can switch between quote versions in Quotes View tab.
  • To see all versions:
    • Go to Companies.
    • Click the relevant company.
    • Select the Quotes tab.
    • View all versions in list view
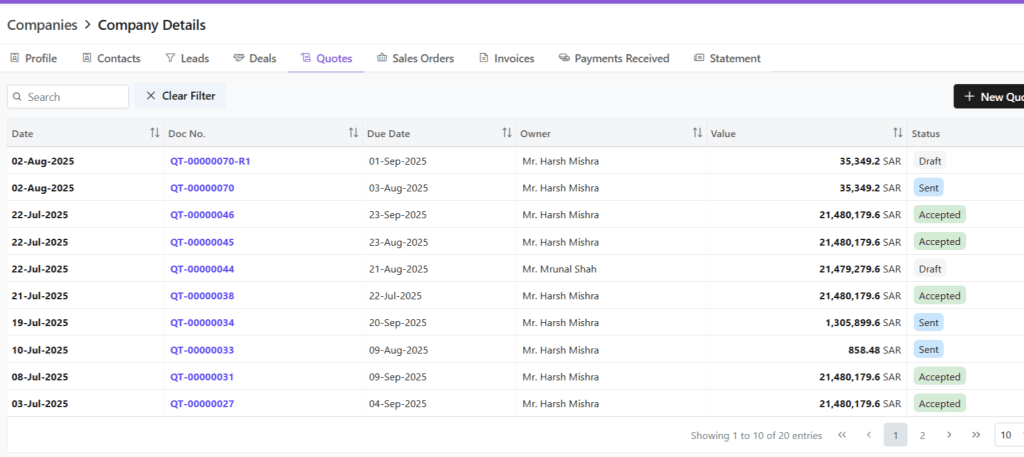
  • This is done to avoid clutter in main list.

Also Read

Quotes

Sales Orders

User Management

User management is a system that controls access to software or platforms. It assigns role-based privileges such as Admin or Sales Rep. It ensures that users have appropriate permissions based on their roles. This approach enhances data security. It prevents unauthorized access. It also supports regulatory compliance by maintaining control over who can view or modify specific information within the system.

  • Organization Admin has the full system control (configurations/user access). Organization Admin is the CEO.
  • User Status– Tracks invitation (Pending → Active)
  • Password Reset– credential updates
  • Log in to Zhylar
  • Go to Left-hand navigation panel
  • Click on Configuration
  • Under General Settings tab, select User Management.
  • Click +New User”
  • Fill details
  • Save User”
    • To define Profile, add a new Profile from “Profile” module first, if required.
    •  When a new user is added, the status will automatically be updated as “Invited”. 
    • Once the user accepts, the status will change to active.  
  • Click ⋮ 3 dots
  • Select Update
  • Click Save.
  • Click ⋮ 3 dots
  • Select Change Password
  • “Set Password”

Note: Password can only be changed by the user or system administrator.

This is only applicable for a User who has not yet accepted the invite email. The status will reflect Invited.

  • Click ⋮ 3 dots
  • Select “Resend Invitation” to invite user again (password reset email)
  • Organization Admin is the CEO.
  • Only users with specific permissions Can Create, Add, Update, Delete or Resend the Invitation to any user. 
  • One email ID can be used to register one user only.
  • Permissions required for user modifications
  • Admins customize workflows/access per role.

Also Read

Currencies

Roles and Data Sharing