Every growing business eventually hits the same wall: a tech stack that has quietly become bigger than the business itself. What started as a handful of tools to solve specific problems , a CRM here, a project tracker there, a separate invoicing app, a marketing automation platform, has ballooned into a sprawling patchwork of subscriptions that no one fully understands anymore. This phenomenon has a name: SaaS bloat, and it is quietly draining budgets, productivity, and morale in companies of every size.
For CEOs and IT leaders, consolidating their software is now an essential part of the strategy and a key driver of long-term growth. In this guide, we’ll discuss why SaaS bloat occurs, how to recognize it in your own organization, and give you a step-by-step framework for consolidating your IT stack without hindering the business processes that depend on them.
What Is SaaS Bloat, and Why Does It Happen?
SaaS bloat occurs when multiple redundant, overlapping, or underused software subscriptions are accumulated across an organization. These do not typically happen intentionally, but as a result of many individual reasonable decisions in isolation that make sense at the time:
- The sales team adopts a CRM tool to track all the leads they’ve acquired.
- Marketing signs up for a separate email automation tool
- The customer support team brings in its own ticketing platform
- The finance team adds their own invoicing and billing solution
- HR onboards a standalone scheduling or payroll app
Each decision makes sense in isolation. But multiply this across departments and years, and most mid-sized companies end up managing dozens of disconnected platforms, many of which duplicate functionality, none of which talk to each other cleanly, and all of which come with their own login credentials, support tickets, and renewal dates.
Numerous industry studies have indicated that the average mid-sized company now uses well over 100 SaaS applications, and a significant number of the licenses go completely unused every month. Therefore, the cost of software sprawl is not only the cost of the tools themselves, but also the complexity of managing all of them.
The Real Cost of an Unoptimized Tech Stack
When leadership teams evaluate their tech stack, they often focus only on the visible line item: the monthly or annual subscription fee. But the true cost of SaaS bloat runs much deeper.
- Direct Financial Waste: Redundant tools mean redundant spend. Paying for three different platforms that each offer basic CRM, reporting, and communication features is far more expensive than paying for one integrated solution that does all three well.
- Data Fragmentation: When customer data lives in one tool, sales pipeline data lives in another, and support history lives in a third, no one in the organization has a single, reliable view of the customer. This fragmentation leads to poor decision-making, inconsistent customer experiences, and missed revenue opportunities.
- Productivity Drain: Employees waste hours every week switching between tools, manually re-entering data, and reconciling information that should already be connected. This “app-switching tax” is one of the most underestimated productivity killers in modern workplaces.
- Security and Compliance Risk: Every additional SaaS vendor is another potential point of failure. More logins mean more passwords to manage, more data-sharing agreements to track, and more surface area for a security breach or compliance gap.
- Onboarding and Training OverheadNew employees need to learn a growing list of disconnected systems just to do their jobs. This slows down time-to-productivity and increases the burden on internal training resources.
Signs Your Organization Is Ready for Software Consolidation
Wondering if your organization has reached a point of no return? Look for these common warning signs:
- Different departments have adopted different platforms for the same processes.
- Leaders don’t have a way to get a unified, real-time view of company performance without having to manually aggregate data from multiple sources.
- Employees often ask the question, “Which tool has that data?”
- The finance department is having a tough time keeping track of the spend on software.
- Licensing audits indicate that a significant portion of the paid seats go unused.
- Integration between tools relies on manual workarounds, spreadsheets, or fragile third-party connectors
If several of these resonate, it’s a strong indicator that your SaaS optimization efforts are overdue.
A Practical Framework for Consolidating Your Tech Stack
Software consolidation should never be a rushed, all-at-once overhaul. It works best as a structured, phased process.
Step 1: Audit Everything
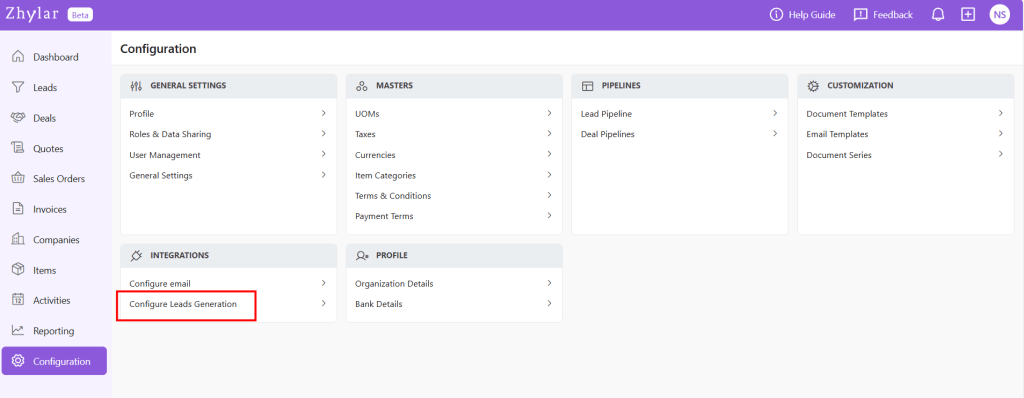
Before you can consolidate, you need visibility. You must create a complete list of all active software subscriptions in your organization, as well as their owning department, monthly cost, number of users, and what they do. This audit alone often reveals immediate, low-risk savings from unused or duplicate licenses.
Step 2: Map Functions, Not Just Tools
Rather than comparing tools feature-by-feature, map out the core business functions your organization needs to support customer relationship management, sales pipeline tracking, marketing automation, support ticketing, invoicing, and reporting. This function-first approach makes it much easier to spot where a single, well-designed platform could replace three or four narrow point solutions.
Step 3: Prioritize Integration and a Unified Data Layer
The biggest benefit of consolidation is not only saving on subscription costs but also eliminating data silos altogether. Having sales, customer and support data in one system means that businesses have an up-to-date and accurate view of the company in real-time, thus saving time and increasing efficiency by eliminating the need for reconciliation.
Step 4: Evaluate Regional Fit, Not Just Global Brand Recognition
Many of the best-known global SaaS platforms are built for enterprise-scale operations in mature markets, which means they often come with pricing, support models, and feature sets that don’t map well onto the realities of a growing regional business. When evaluating a regional alternative to expensive global platforms, look closely at local support responsiveness, pricing transparency, and how well the platform understands the specific compliance and operational context of your market.
Step 5: Pilot Before You Migrate
Select one department or function for a pilot test of the consolidated solution prior to full-scale implementation across the company. This minimizes risk, highlights issues impacting adoption at an early stage, and creates champions who can help sell the implementation.
Step 6: Plan the Migration and Sunset Old Tools Deliberately
Data migration needs to be carefully planned and executed, including a clear designation of who owns the process and the date on which migration will take place. Additionally, it is important to put a hard deadline for the decommissioning of legacy tools, as consolidation will only be helpful once the old subscriptions are fully terminated, not just deprioritized.
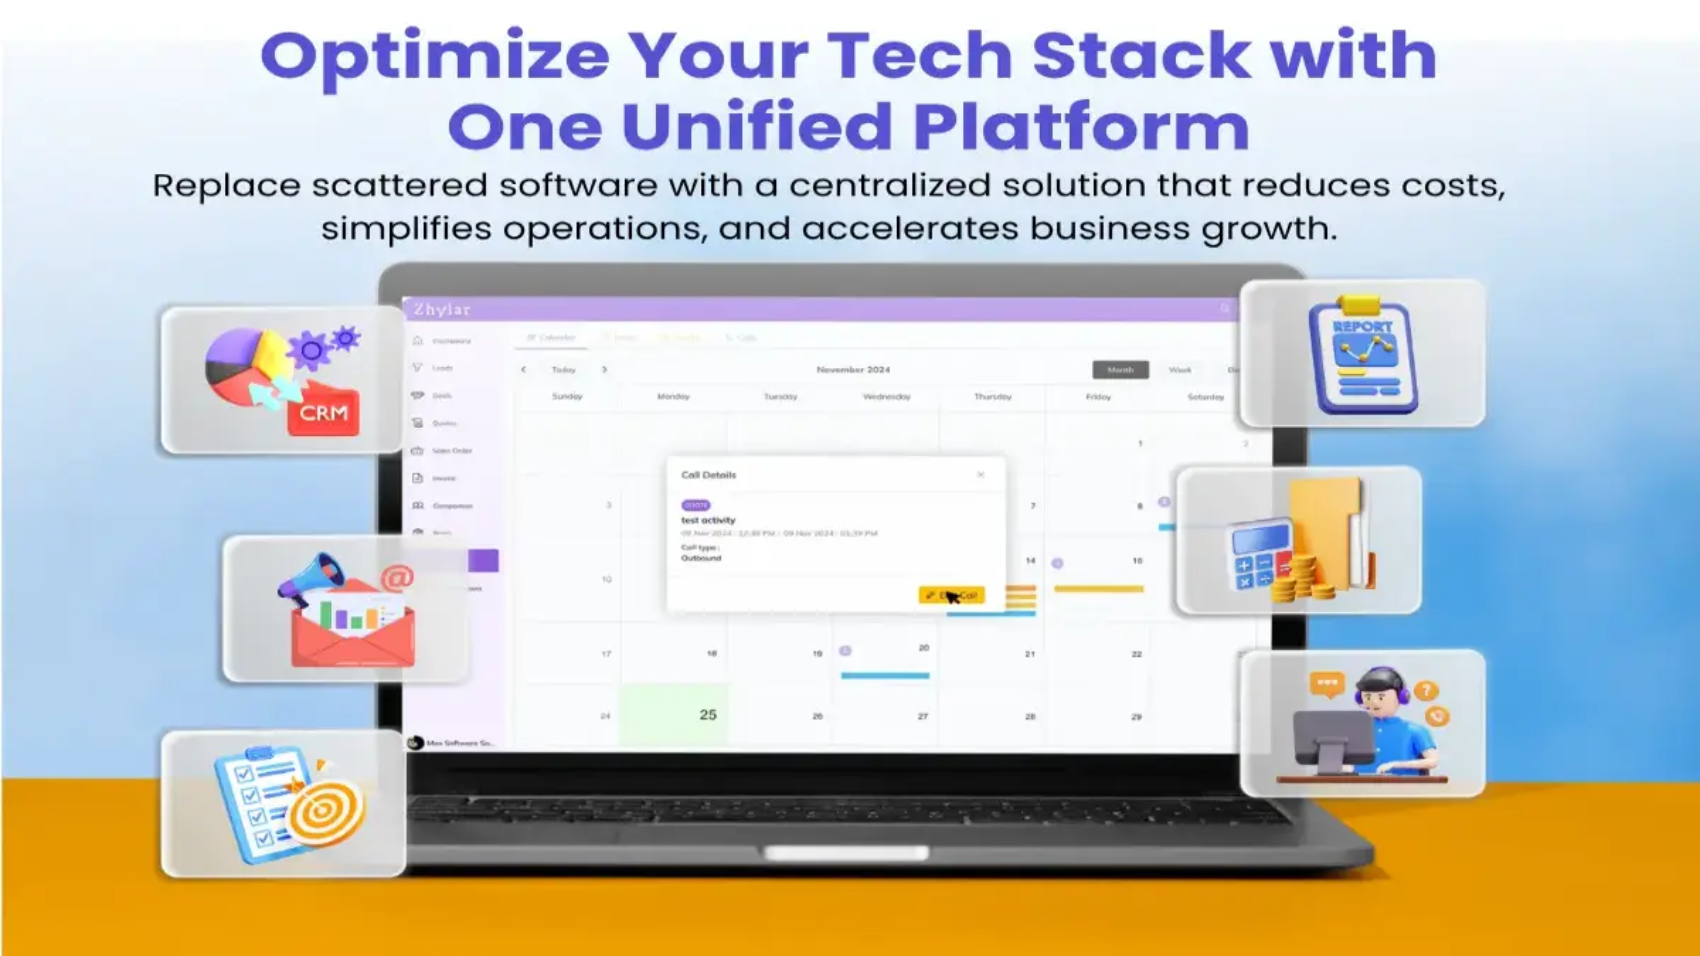
Why an All-in-One Platform Changes the Equation
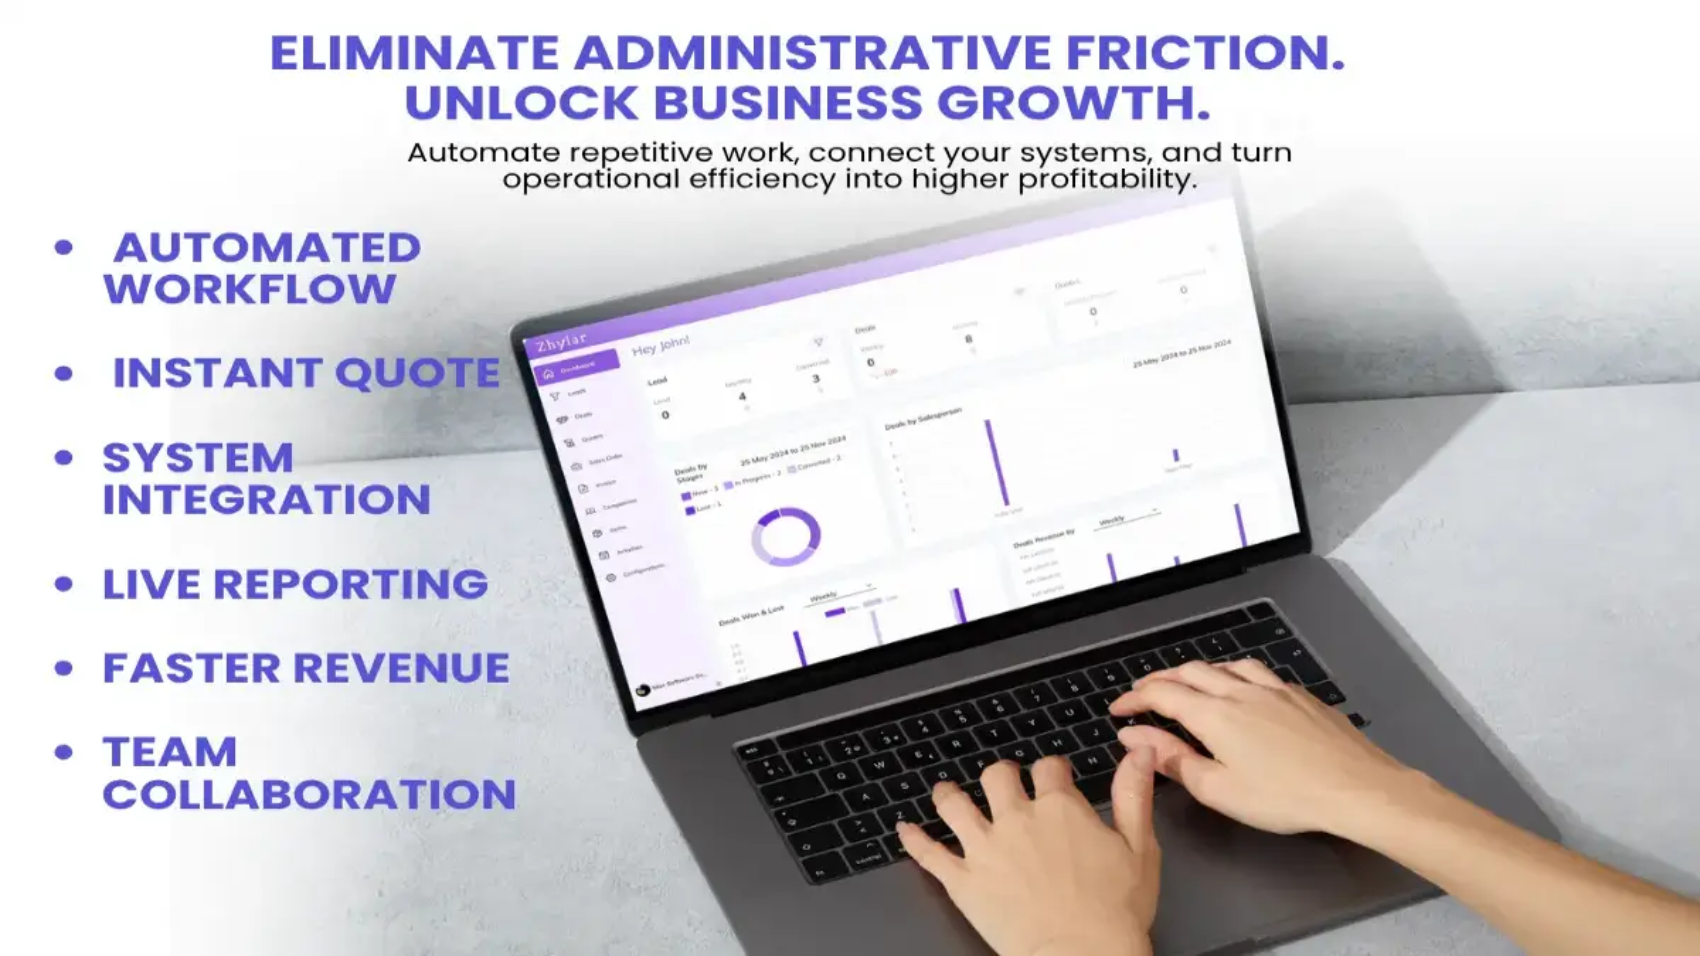
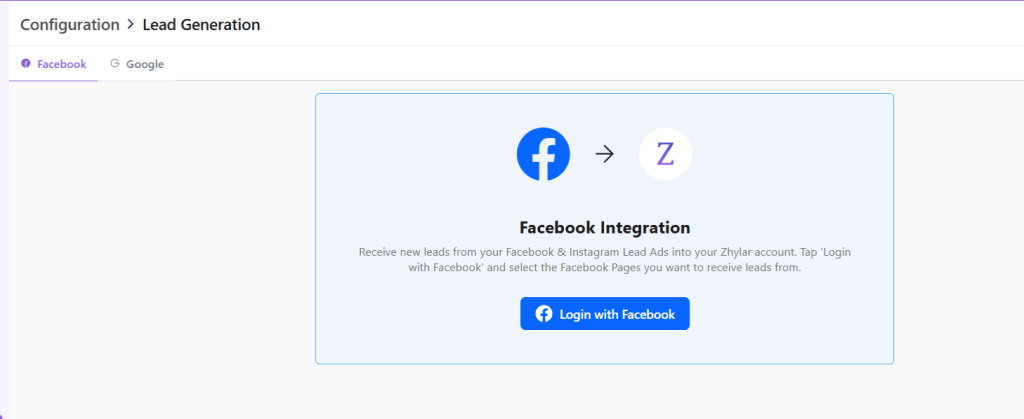
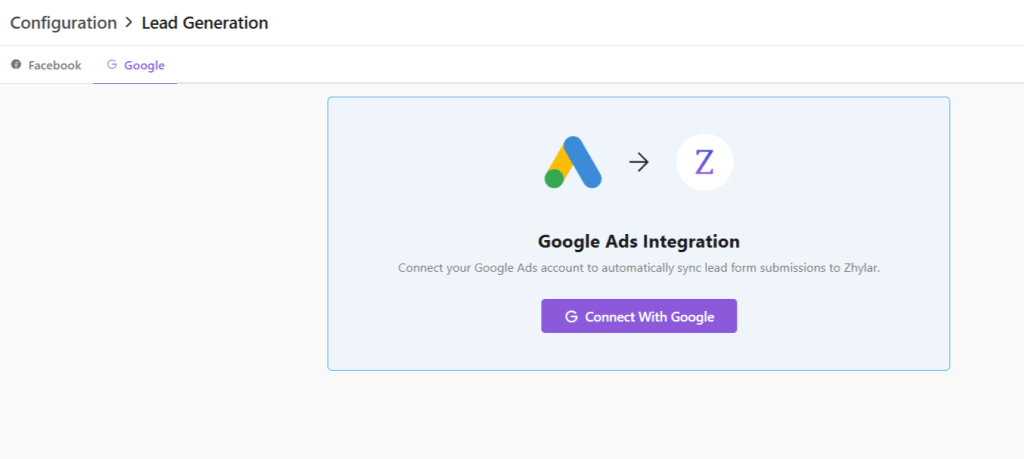
The most effective way to eliminate SaaS bloat in the long term is not just to terminate individual services, but rather to re-examine the architecture of the technology stack as a whole. Instead of combining multiple individual software solutions, innovative companies are now relying on one integrated platform that combines customer relationship management, sales tracking, communication, and reporting in one system.
This kind of all-in-one approach offers several distinct advantages over a fragmented multi-vendor stack:
- One version of the truth about customers and business data means no need for data reconciliation
- Transparent pricing versus numerous irregular renewal dates and variable payments
- Streamlined training because people need to learn only one interface and not several tools
- Easier vendor management due to the reduction of contacts
- Embedded reporting which allows executives to see the situation without switching over between different software solutions.
This is especially true for enterprises located in regional and emerging markets. Indeed, many CEOs have realized that using a location-specific and integrated CRM solution can give them the essential features of three to four global platforms at much lower prices and with the type of responsive support that large global companies usually cannot provide. The result is a leaner, more connected tech stack that scales with the business instead of working against it.
Making the Business Case to Your Board
When discussing a software consolidation plan to your board or leadership team, frame it around three measurable outcomes:
- Cost reduction — state the direct savings obtained through termination of redundant licenses.
- Productivity gains — estimate hours saved per employee per week from reduced app-switching and manual data entry
- Risk reduction — explain how using fewer vendors and maintaining a smaller amount of data will lead to better security and compliance.
A well-documented audit (Step 1 above) gives you the hard numbers needed to make this case convincingly.
Final Thoughts
SaaS bloat is a common inefficiency that is also one of the easiest to remedy. Those companies that approach software consolidation as part of a strategy, rather than a simple cleanup task, have a better chance of going leaner and gaining better visibility into their data.
For CEOs who are looking at their tech stack this year, the question wouldn’t be whether they should consolidate, but how quickly they can build a compelling internal case, select the appropriate unified platform, and implement a migration that will create an opportunity for their company to grow.
Frequently Asked Questions
1. What is SaaS bloat, and how do I know if my company has it?
SaaS bloat refers to the situation where a company has more software subscriptions than it needs, often with overlapping functionalities. Signs of SaaS bloat usually include various departments using different tools for the same job, having unused licenses, and not having an easy way to get a consolidated view of the company data.
2. How much money can software consolidation actually save?
The savings depend on the company, but audits could often reveal unused licenses and applications that contribute significantly to the total expenditure of the company in terms of SaaS. Additionally, indirect savings from software consolidation also take place through reduced training costs, simpler interoperability, and improved efficiency than before.
3. Is software consolidation risky for an established business?
It carries some risk if rushed, which is why a phased approach — audit, pilot, migrate, sunset — is recommended. Piloting a consolidated platform with one department before a company-wide rollout significantly reduces disruption.
4. How long does a typical tech stack consolidation project take?
The timelines depend on the complexity of the organization but it is generally true that mid-sized companies carry out audits and pilot projects in some months while the process of full migration usually lasts from two up to six months depending on data complexity.
5. What should I look for in an all-in-one CRM platform?
Look for a platform that unifies core functions like sales, customer data, communication, and reporting; offers transparent, predictable pricing; and provides support that understands your specific market and compliance requirements.
6. Should smaller businesses worry about SaaS bloat, or is it only a large-enterprise problem?
SaaS bloat is relevant to a variety of companies. It is interesting to note that both small and medium companies are usually more affected by it since the extra budget for software is bigger in relation to their budget.
7. Are global SaaS platforms always the best choice over regional alternatives?
Not always. Global solutions are most often designed for big business requirements and features, pricing schemes, and support services that might not meet the demands of regional companies. A regional application may present personalized features, on-ground support, and a better pricing scheme.
8. What is the first step a CEO should take to startoptimizing their tech stack?
The first thing to do would be to perform a software audit to reveal all running subscriptions along with the costs, the person in charge, and the utilization metrics of a given service. This creates the visibility needed to make informed consolidation decisions.