The organization refers to the company or business that is using the Zhylar portal itself. This serves as the top-level account under which all users, modules, data, and customizations are managed. This setup ensures centralized control over user roles, data access, business settings, and operational workflows.
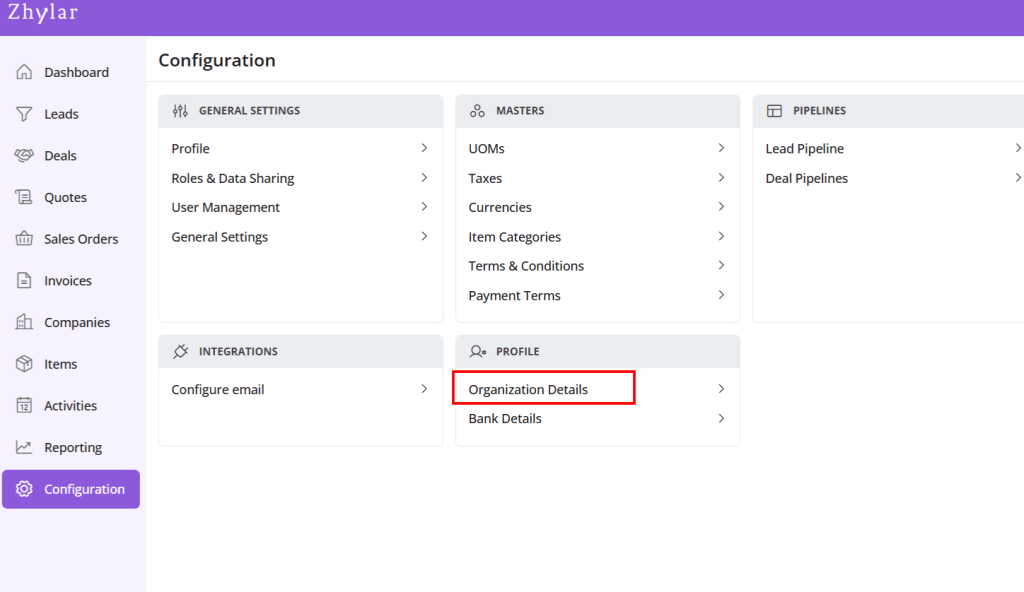
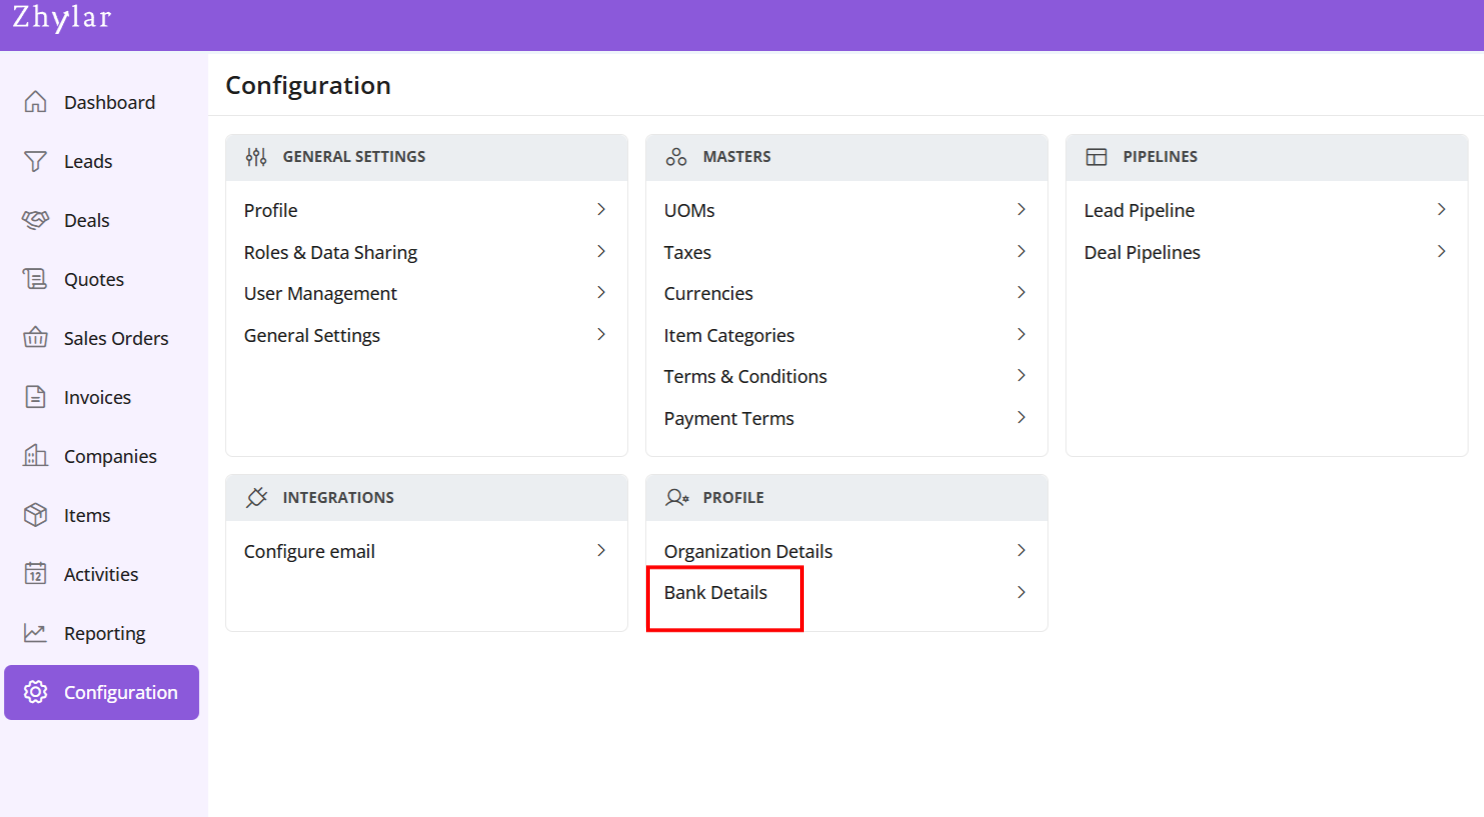
Under Profile section, select Organization Details
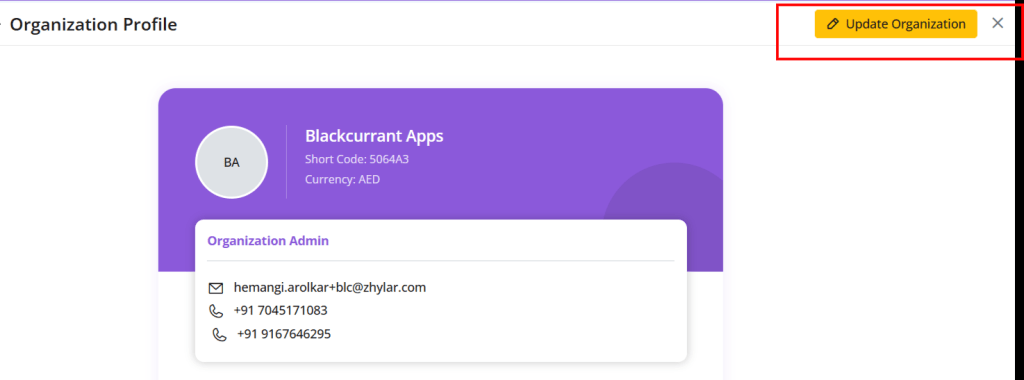
A new page will open for you.
View Organization details.
Update Organization
Click on the yellow button “Update Organization”.
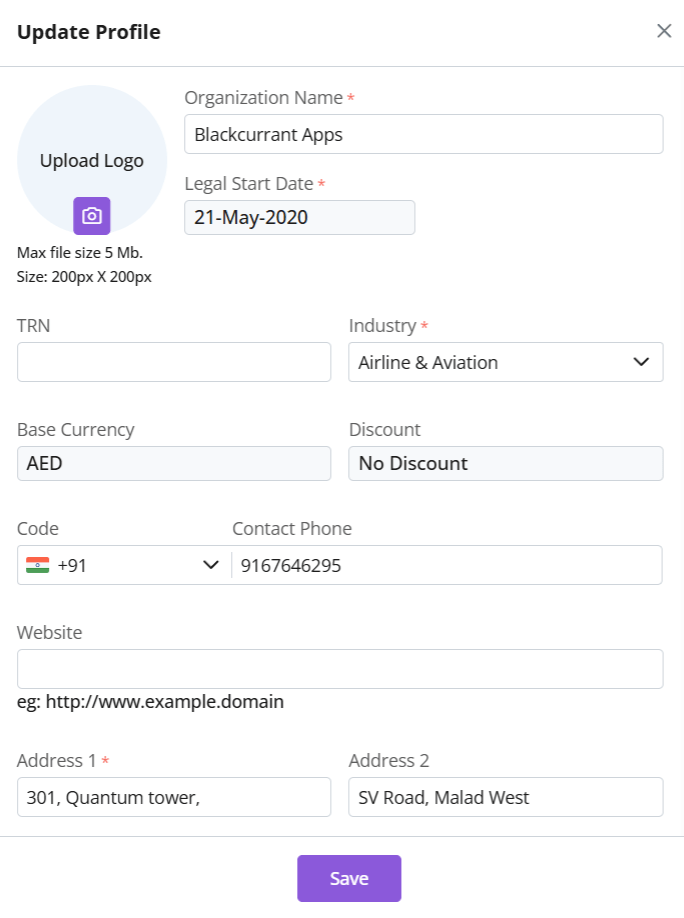
Make your changes.
The following details cannot be changed:
Legal start date
Base Currency
Discount
Click Save.
Discover how Zhylar can streamline your sales and elevate your business processes. Visit our website or book a demo today to experience the difference!
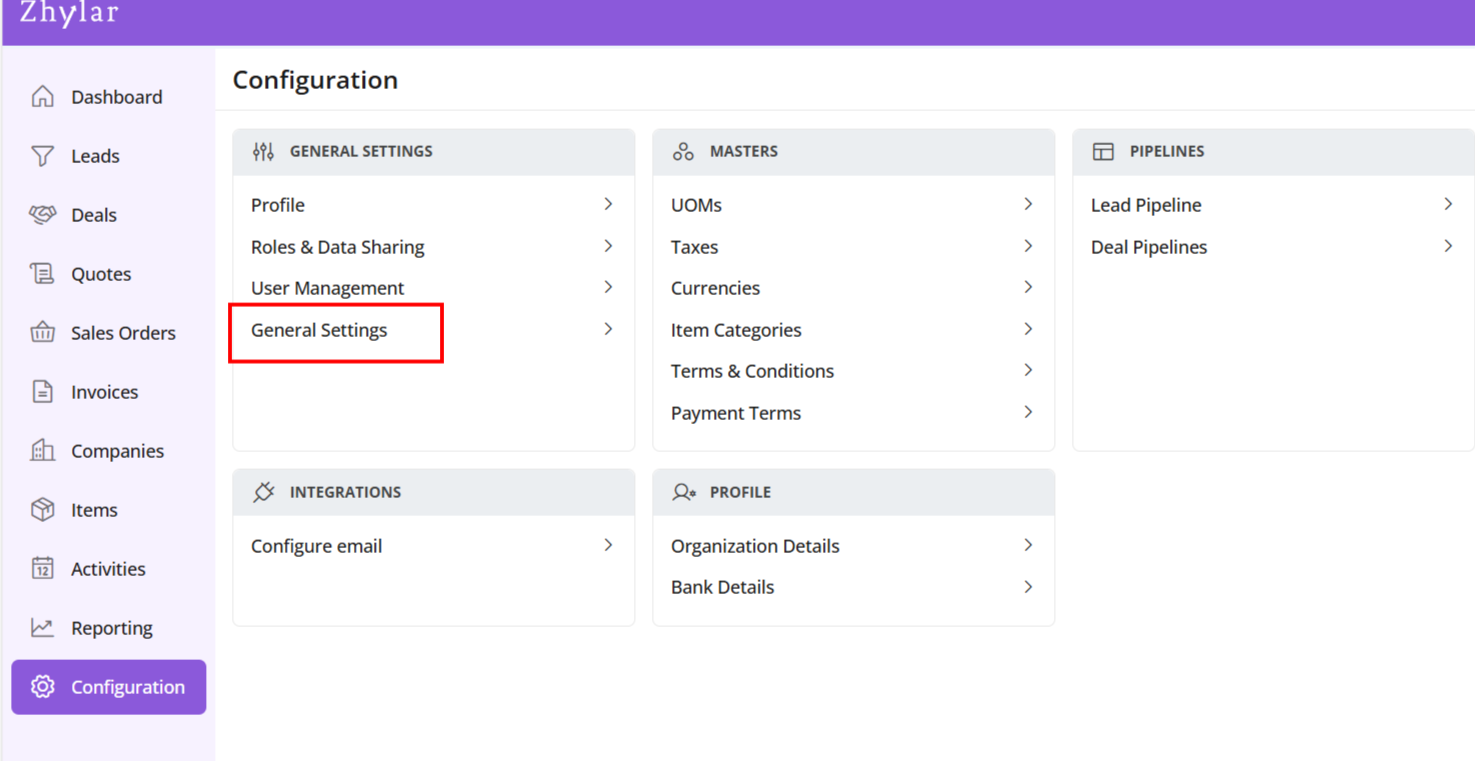
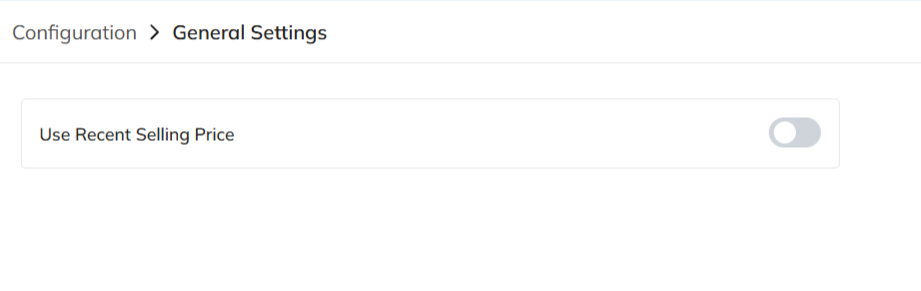
In the “Masters” column, click on “General Settings”.
A new page will open for you.
Here, you can turn on or turn off the “recent selling price” option.
View Recent Selling Price
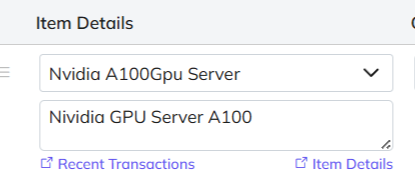
When turned on, recent selling price is reflected under “Item Details” wherever an item is added in the following modules:
Deal
Quote
Sales Order
Invoice
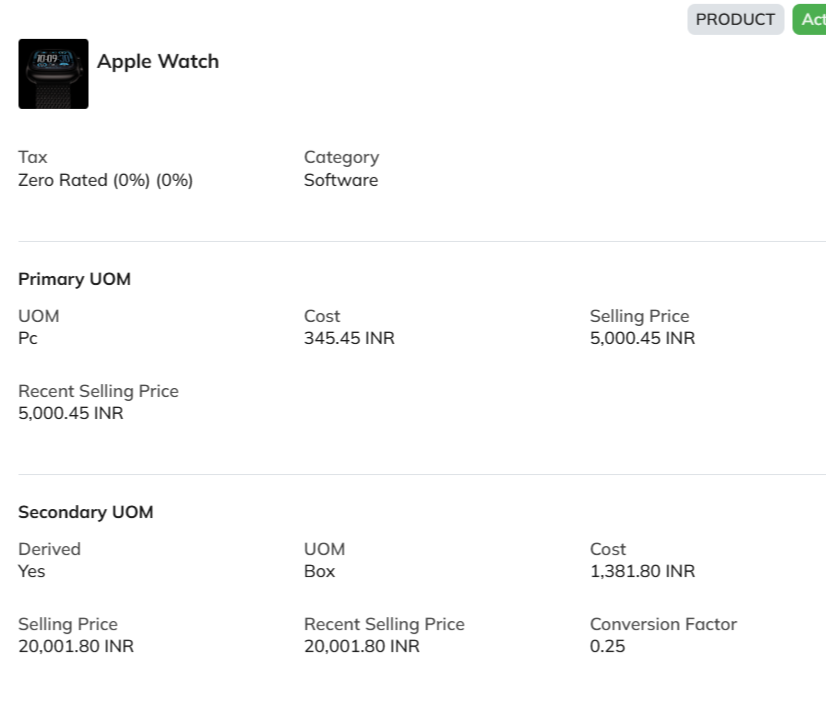
Under the added item, select Item Details
The details will open.
The recent selling price reflects the price at which the item was sold the last time only. In comparison, the recent transaction reflects the entire transaction history of the product in the Zhylar system.
Discover how Zhylar can streamline your sales and elevate your business processes. Visit our website or book a demo today to experience the difference!
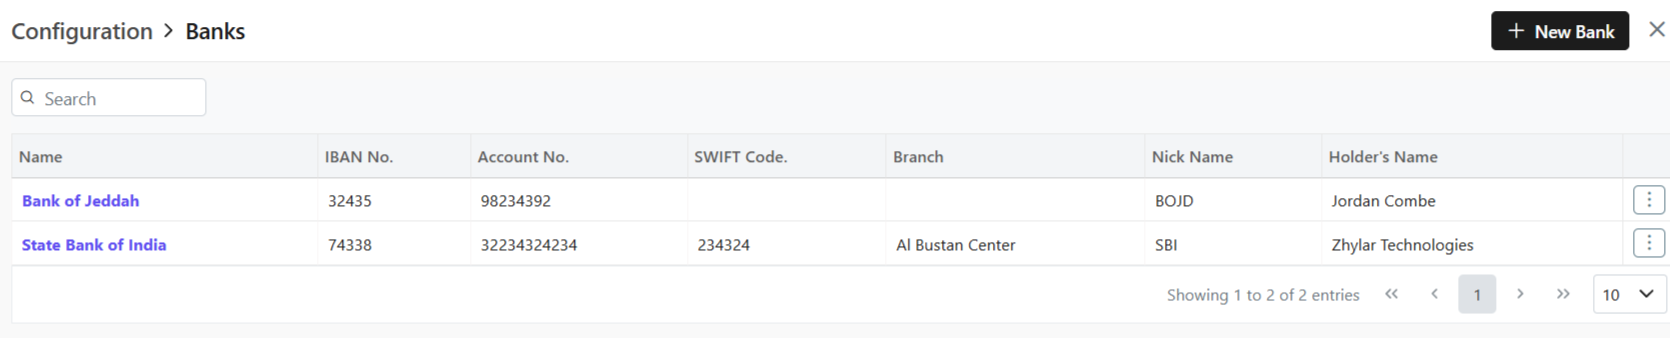
In a CRM system, bank details refer to the financial information of customers, vendors, or partners. This information is utilized for billing, invoicing, refunds, and financial transactions within the platform.
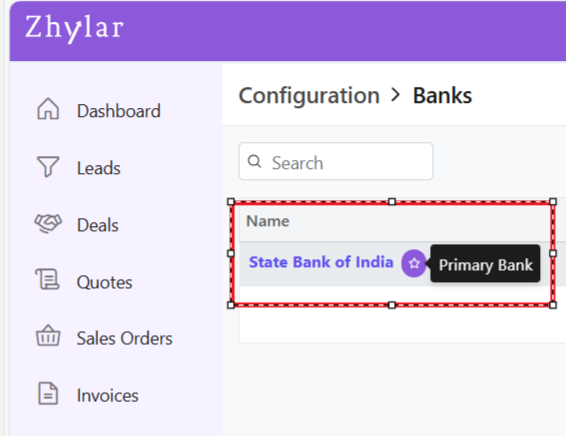
In Zhylar CRM, a primary bank is the default account managing payments, refunds, and transactions.
This bank will be loaded by default in all the Add Invoice forms.
You can switch the Bank in the document if required.
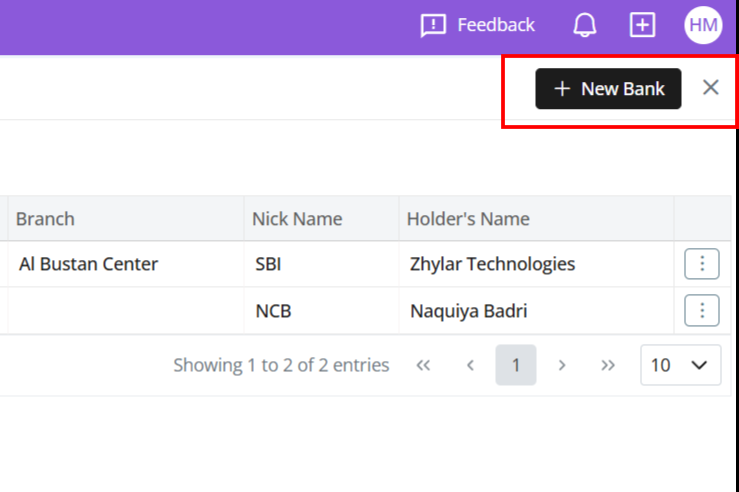
Add New Bank
Click + New Bank.
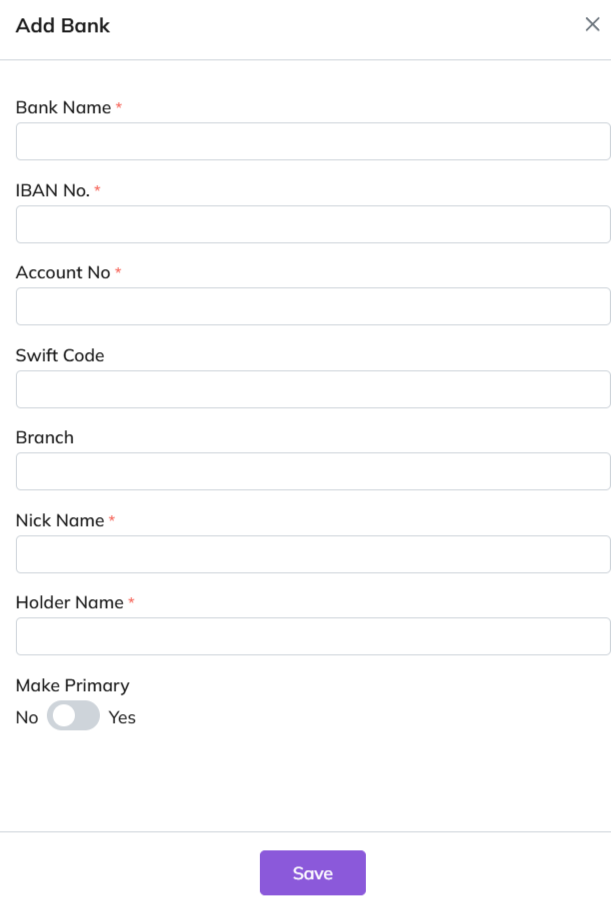
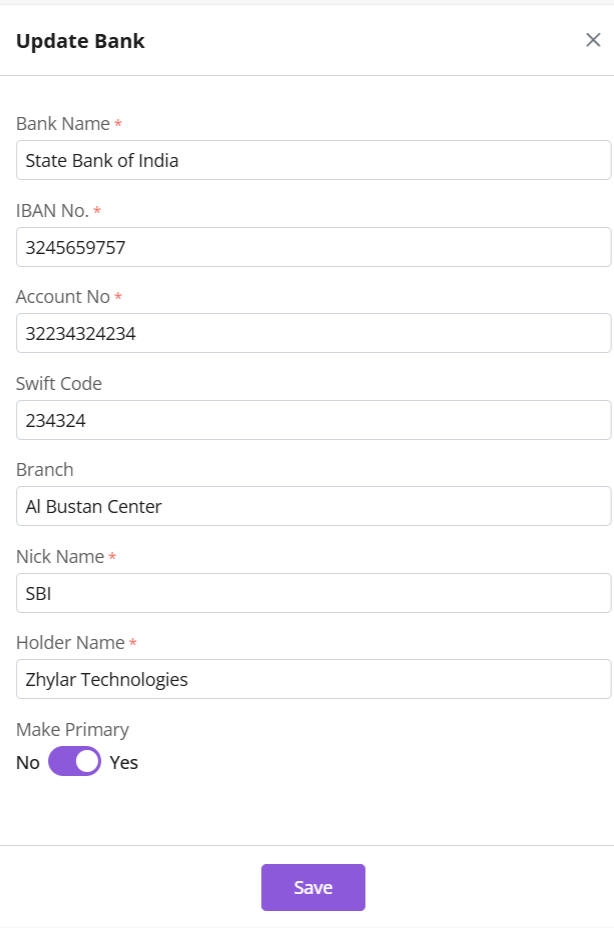
Fill out the details.
Fill required data.
Click Save.
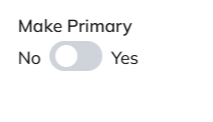
Primary Bank
Toggle to mark as primary.
Only one primary bank allowed.
Primary bank denoted by a white star in a purple circle.
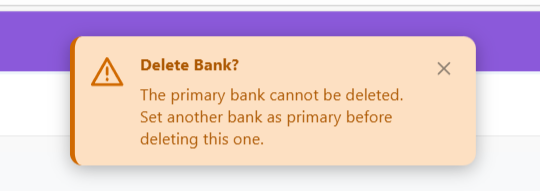
A primary bank cannot be deleted.
Bank Nick Name
When a bank is added to any document, the field drop down will carry the bank’s nick name.
E.g., Dubai National Bank- Al-Nahda branch -> Nickname: DNB Al-Nahda
Thus drop down will show “DNB Al-Nahada” as an option.
Update Bank
Click ⋮ 3 dots
Select Update.
Edit details.
Save changes.
Delete Bank
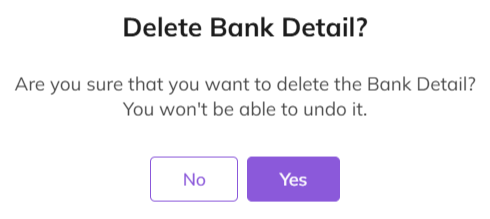
Click ⋮ > Delete.
Confirm with Yes.
Note:
Action cannot be undone.
A bank marked as primary cannot be deleted.
Two banks can not have the same Nick Name.
Payment Receipt
Navigate to Invoice
Go to Dashboard
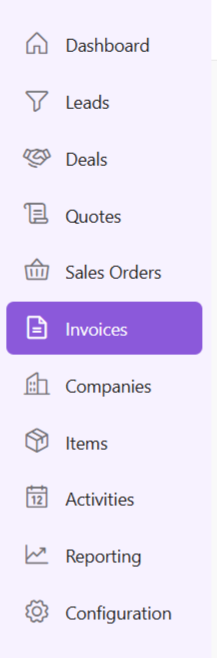
From the left-hand navigation panel, go to Invoices
Select Invoice:
Open the relevant invoice.
Invoice must be in Sent status or any of the successive stages.
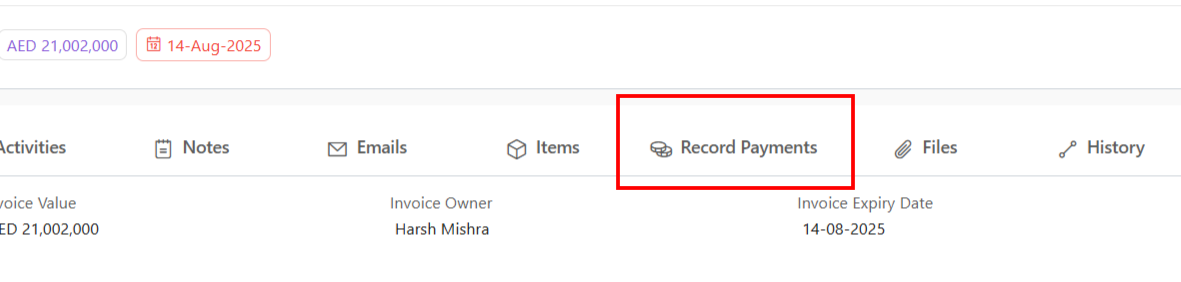
Record Payment:
Click “Record Payment”
You’ll find your Payments list.
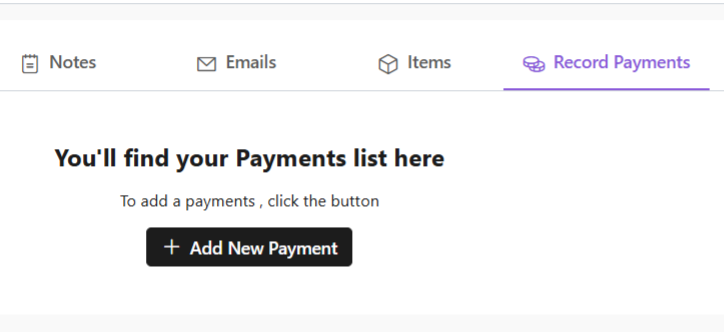
Add New Payment:
Click “+ Add New Payment”
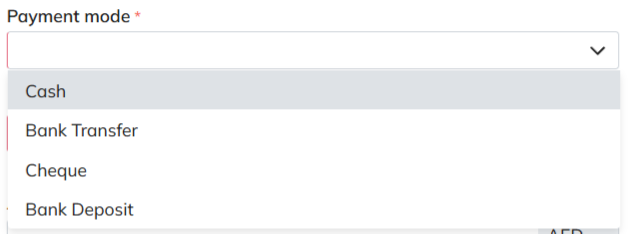
Fill required details.
When selecting mode of payment, except cash, all other payment modes will require you to add a bank.
Under “deposit to” field, add your bank.
If payment is being made in cash, you will not have to add a bank.
Fill data and click “Add Payment”.
Your payment receipt will be added.
Discover how Zhylar can streamline your sales and elevate your business processes. Visit our website or book a demo today to experience the difference!
In Zhylar, profiles determine what features and functionalities a user can access within the platform. Profiles control “who sees what” based on hierarchy. Profiles define “what a user can do.” This includes creating records, editing data, or generating reports. Zhylar assigns the right profile to ensure every team member has the exact tools they need. This helps them perform their job efficiently without unnecessary clutter or access.
Some common Profiles in CRM/CPQ systems include:
Administrator/Admin
Manager
Permissions refer to the specific actions or data that a user can access within their assigned Profiles. Permissions are more granular than roles. They dictate exactly what each user can do with the data. They also define the features users can see.
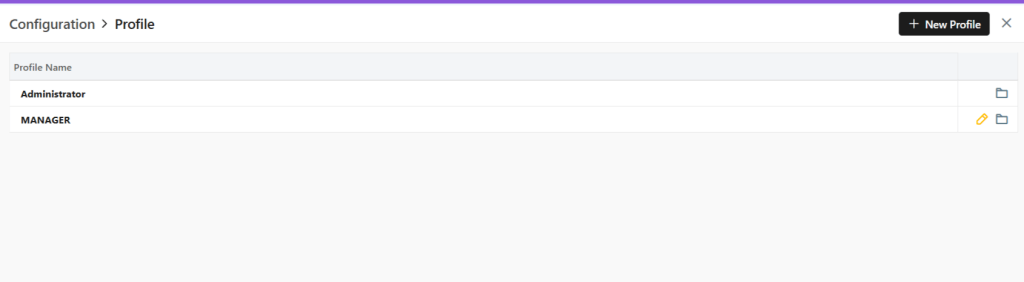
You will be able to view all the Profiles as shown in the image below.
Two default Profiles are pre-loaded in the system- Administrator and Manager.
The Administrator is the CEO. This profile cannot be updated or deleted in any way.
Add New Profile
Click on the “+ New Profile” button.
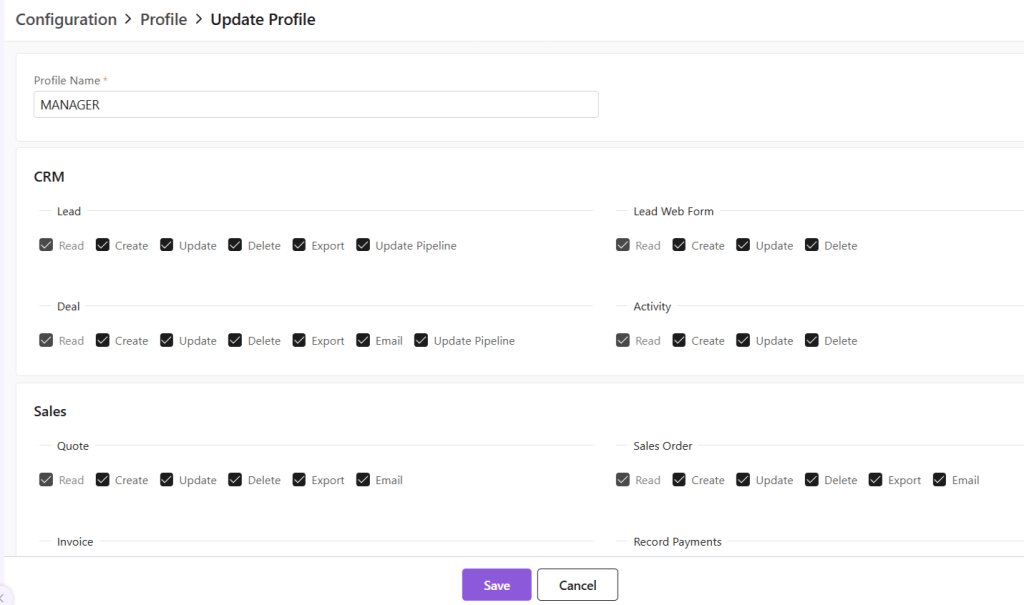
A new page will open.
Fill out the Profile name and click on the permissions to be provided to the said Profile.
Click on Save to add Profile.
Default System Profiles
There are 2 default Profile, namely, Administrator and Manager.
The Administrator Profile cannot be edited.
Update Existing Profile
To update a Profile, click on the yellow pen at the end of the Profile you want to edit.
A new page will open.
Update the permissions provided and click Save.
Click Save.
Delete Profile
To delete the Profile,
First click on the yellow pencil to go to Update view.
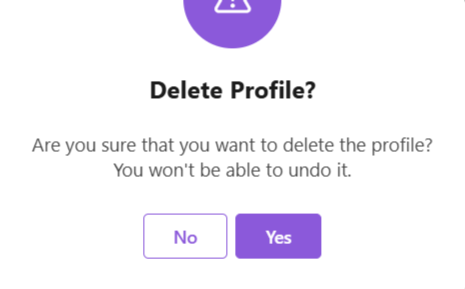
Now, click on “Delete Profile” at the bottom-right corner of the page.
Now, confirm you want to delete the role by clicking on Yes.
The role will be deleted.
Discover how Zhylar can streamline your sales and elevate your business processes. Visit our website or book a demo today to experience the difference!