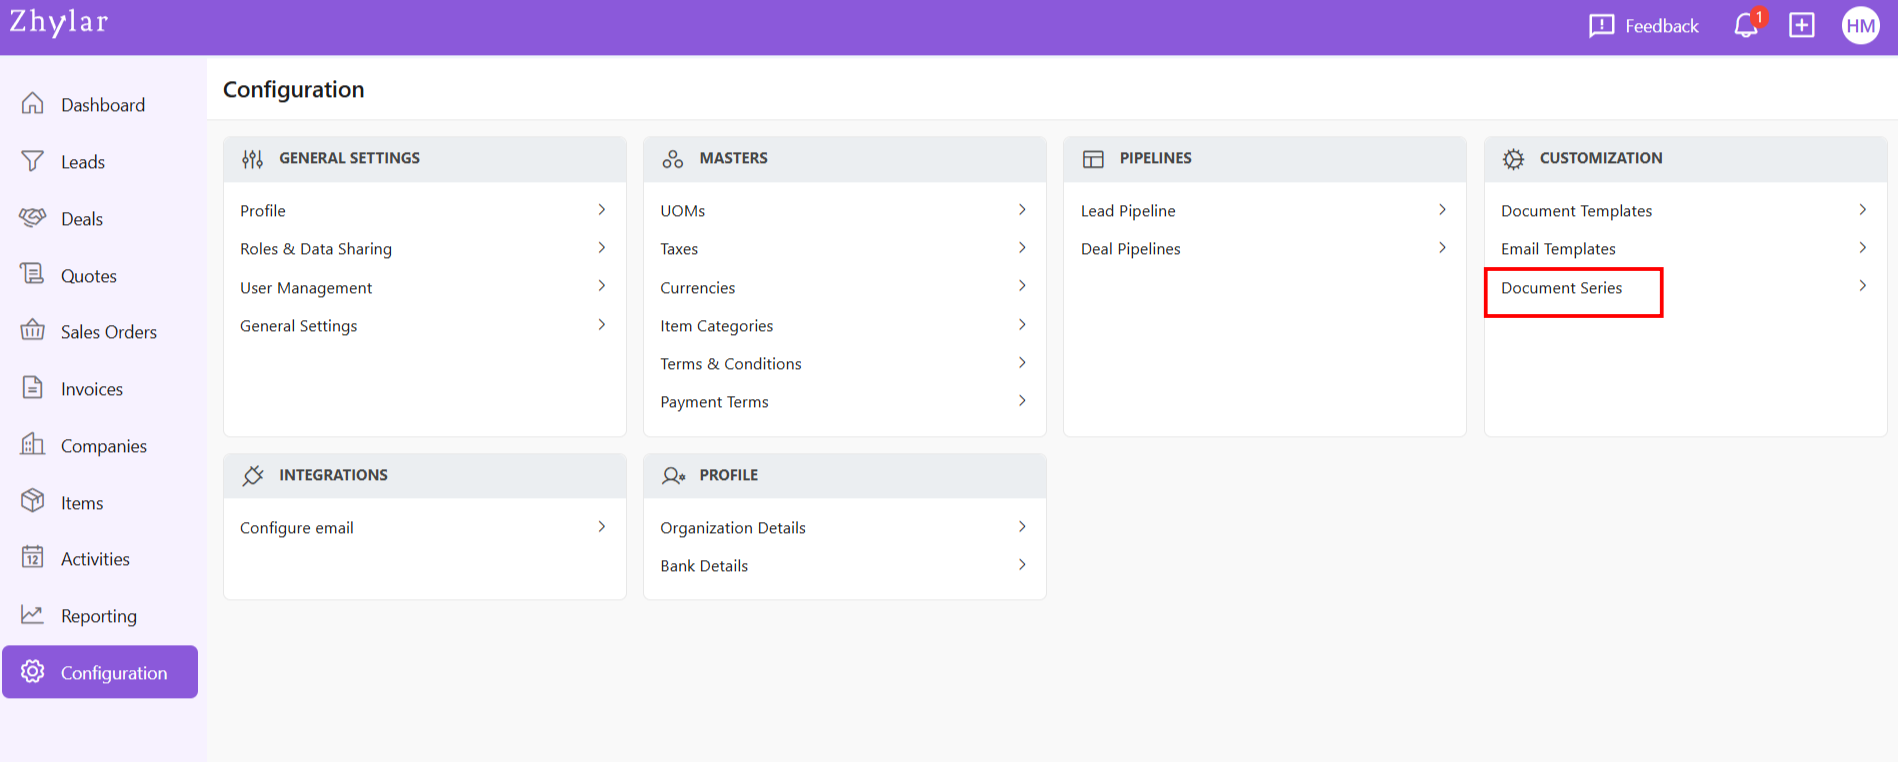
A Document Series is a structured numbering system applied to documents like invoices, quotes, and sales orders (e.g., INV-2025-001) to ensure consistency, efficient tracking, and easy communication.
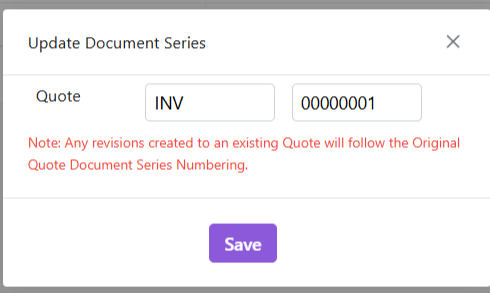
Example of successive sales orders: `INV-0001` → `INV-0002 → INV-0003
No duplicate numbers allowed
Suffix cannot carry any alphabets.
How this works:
System applies prefix automatically
Number increments with each successive document
Update Series
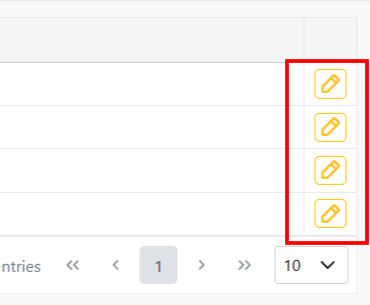
Click on any series to edit format by clicking on the yellow pencil:
Make changes.
Click Save.
> Note: Changes only affect new documents – existing records maintain original numberings
Important Notes on Editing
Suffix Updates:
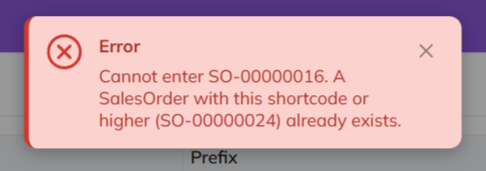
If changing current suffix (e.g., 0002 → 0012):
All future documents use new sequence (0013, 0014 etc.)
The numbers that have been skipped cannot be used in the future (0003-0011 in this example)
System will show an error if attempting to use skipped number
Prefix Updates:
Affects only new documents
Existing documents keep original prefix
How this works
Prefix auto-applies to new documents.
Suffix auto-increments.
Skipped numbers cannot be recovered – plan edits carefully.
Discover how Zhylar can streamline your sales and elevate your business processes. Visit our website or book a demo today to experience the difference!
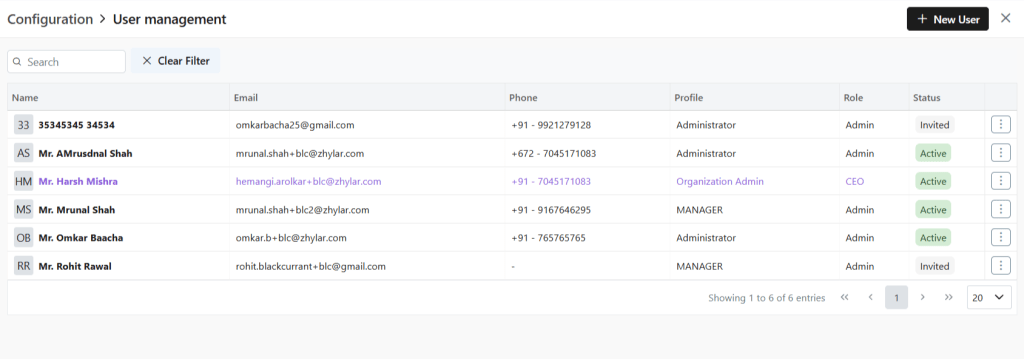
User management is a system that controls access to software or platforms. It assigns role-based privileges such as Admin or Sales Rep. It ensures that users have appropriate permissions based on their roles. This approach enhances data security. It prevents unauthorized access. It also supports regulatory compliance by maintaining control over who can view or modify specific information within the system.
Key Features
Organization Admin has the full system control (configurations/user access). Organization Admin is the CEO.
Under General Settings tab, select User Management.
User Actions
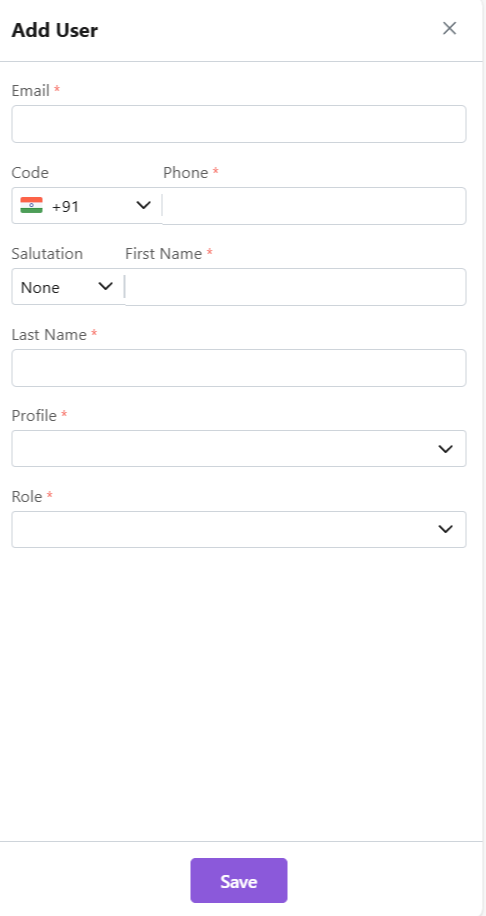
Add New User
Click +New User”
Fill details
Save User”
To define Profile, add a new Profile from “Profile” module first, if required.
When a new user is added, the status will automatically be updated as “Invited”.
Once the user accepts, the status will change to active.
Other Actions
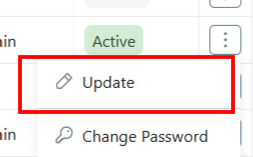
Update User
Click ⋮ 3 dots
Select Update
Click Save.
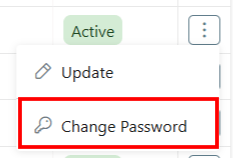
Change Password
Click ⋮ 3 dots
Select Change Password
“Set Password”
Note: Password can only be changed by the user or system administrator.
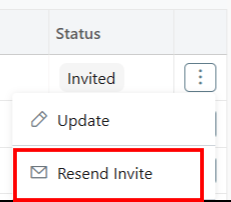
Resend Invite
This is only applicable for a User who has not yet accepted the invite email. The status will reflect Invited.
Click ⋮ 3 dots
Select “Resend Invitation” to invite user again (password reset email)
Notes
Organization Admin is the CEO.
Only users with specific permissions Can Create, Add, Update, Delete or Resend the Invitation to any user.
One email ID can be used to register one user only.
Permissions required for user modifications
Admins customize workflows/access per role.
Discover how Zhylar can streamline your sales and elevate your business processes. Visit our website or book a demo today to experience the difference!
In a CRM system like Zhylar, roles determine user data access levels. They assign permissions to each user within the organization. Roles ensure data privacy and control by allowing only authorized team members to view, edit, or manage specific records. With hierarchy-based roles, managers can oversee their team’s activities. Individual users focus only on the data relevant to their responsibilities. This setup maintains data security while allowing appropriate visibility based on roles and responsibilities.- Roles (what is your role in your org/designation)
Key Components
Zhylar implements top-down hierarchical role structure. A role in Zhylar decides two important things:
Position in company hierarchy – It shows who reports to whom (like CEO → Manager → Sales Rep)
Data access control – It defines what each user can see or edit on the Zhylar platform.
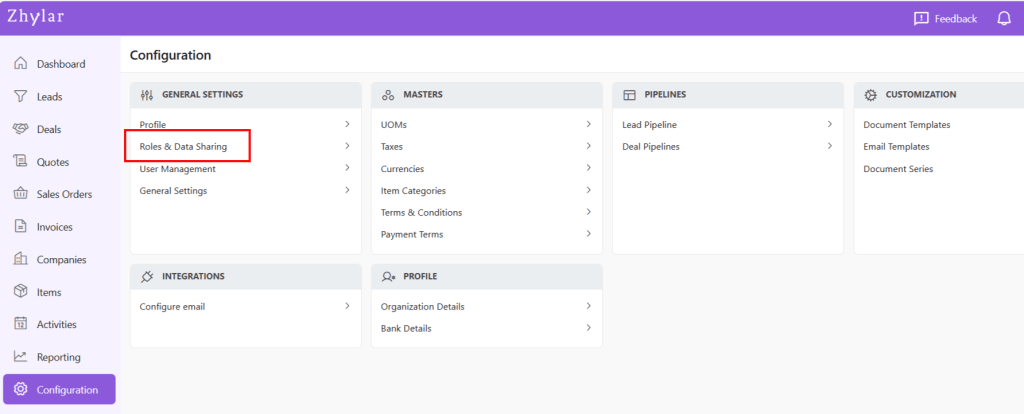
Under General Settings tab, select Roles & Data Sharing
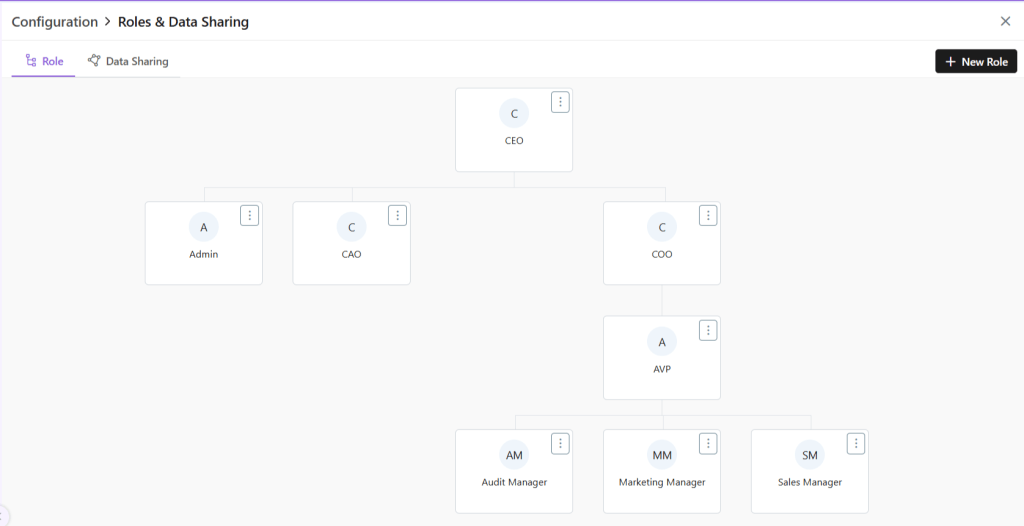
When you click on Roles and Data Sharing, you will be taken to a new page.
Here, you can see all the roles added to the system. The hierarchy of roles is illustrated like a flow chart.
Managing Roles
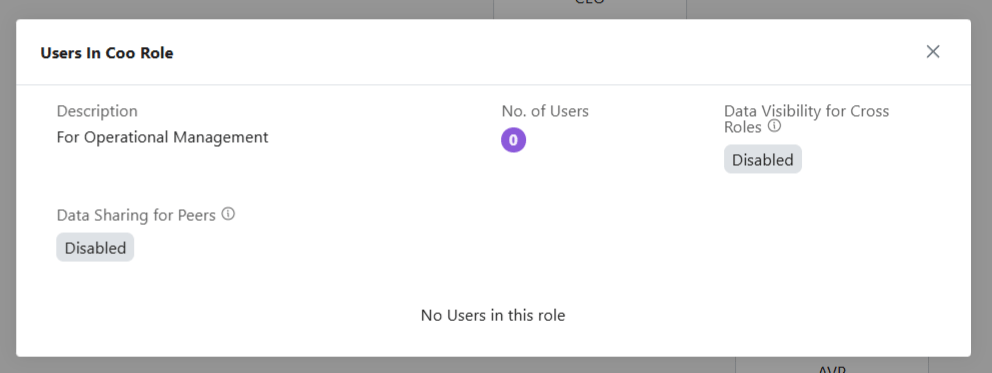
View Role
Click ⋮ 3 dots
Select View
Check details.
Click X on the top-right of the box to close.
Add New Role
To add a new role, click + New Role
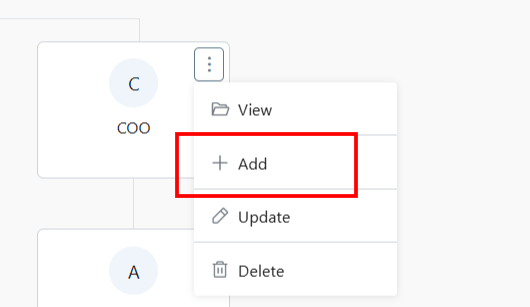
Alternately, click on the ⋮ 3 dots of the Role name under whom you want to add a new Role.
Select +Add
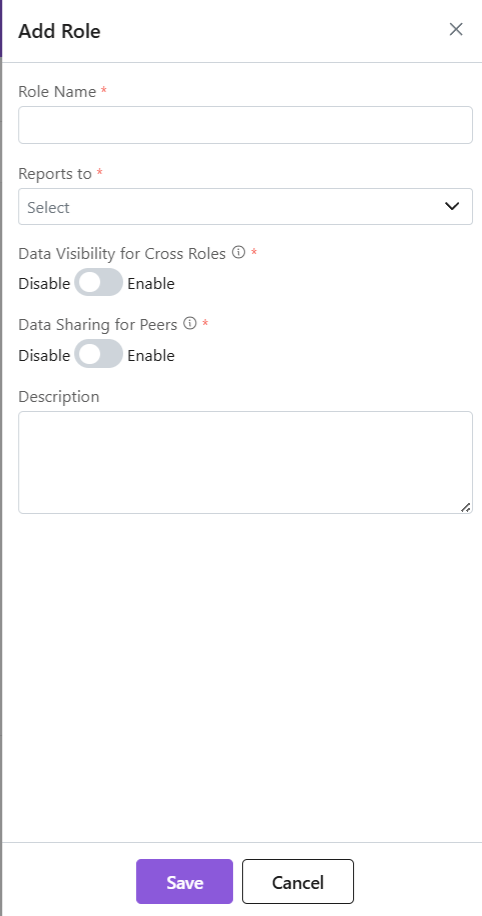
A side sheet will open.
Fill out the details.
Click Save.
The new role will be added.
Data Access:
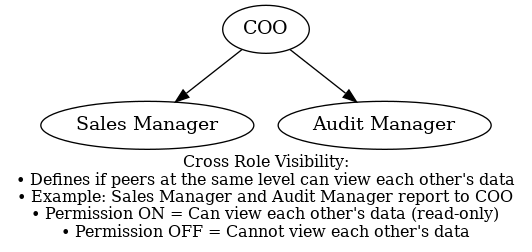
Data Visibility for Cross Roles: If two or more persons are at the same level of hierarchy, it determines if they can view each other’s data. This rule checks if they have visibility of each other’s information. It shows whether they can or cannot view each other’s data. For example, if the Sales Manager and Audit Manager both function at the same level of hierarchy, i.e., report to the COO, then they are considered cross roles. Enabling or Disabling this permission will permission will determine if they can view the data or not. (View access only)
Data Sharing for Peers: This determines if 2 or more persons are in the same role. They will be able to access each other’s data or not. For example, an organization may have 2 Sales Managers, they are considered peers. So, enabling or disabling this permission will determine if they can gain access (Read/Write/Update/Delete) to each other’s data or not.
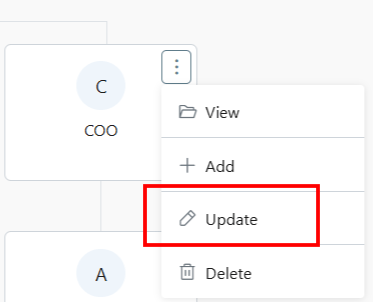
Update Role
Click ⋮ 3 dots
Select Update
Make changes.
Click Save.
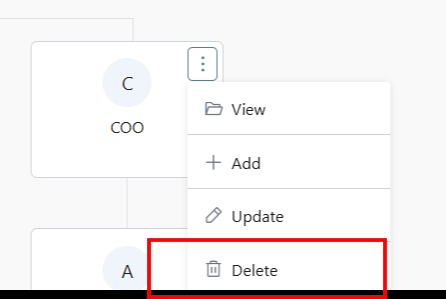
Delete Role
Click ⋮ 3 dots
Select Delete
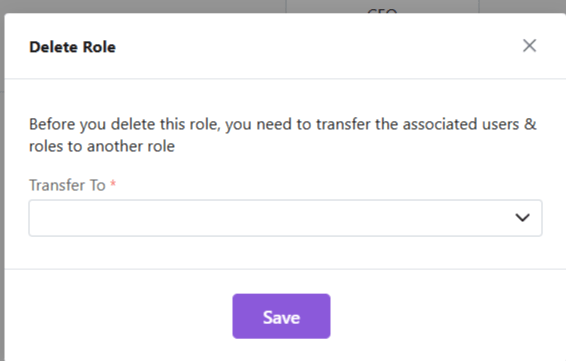
You will be required to transfer all associated users under this role to another role.
Discover how Zhylar can streamline your sales and elevate your business processes. Visit our website or book a demo today to experience the difference!
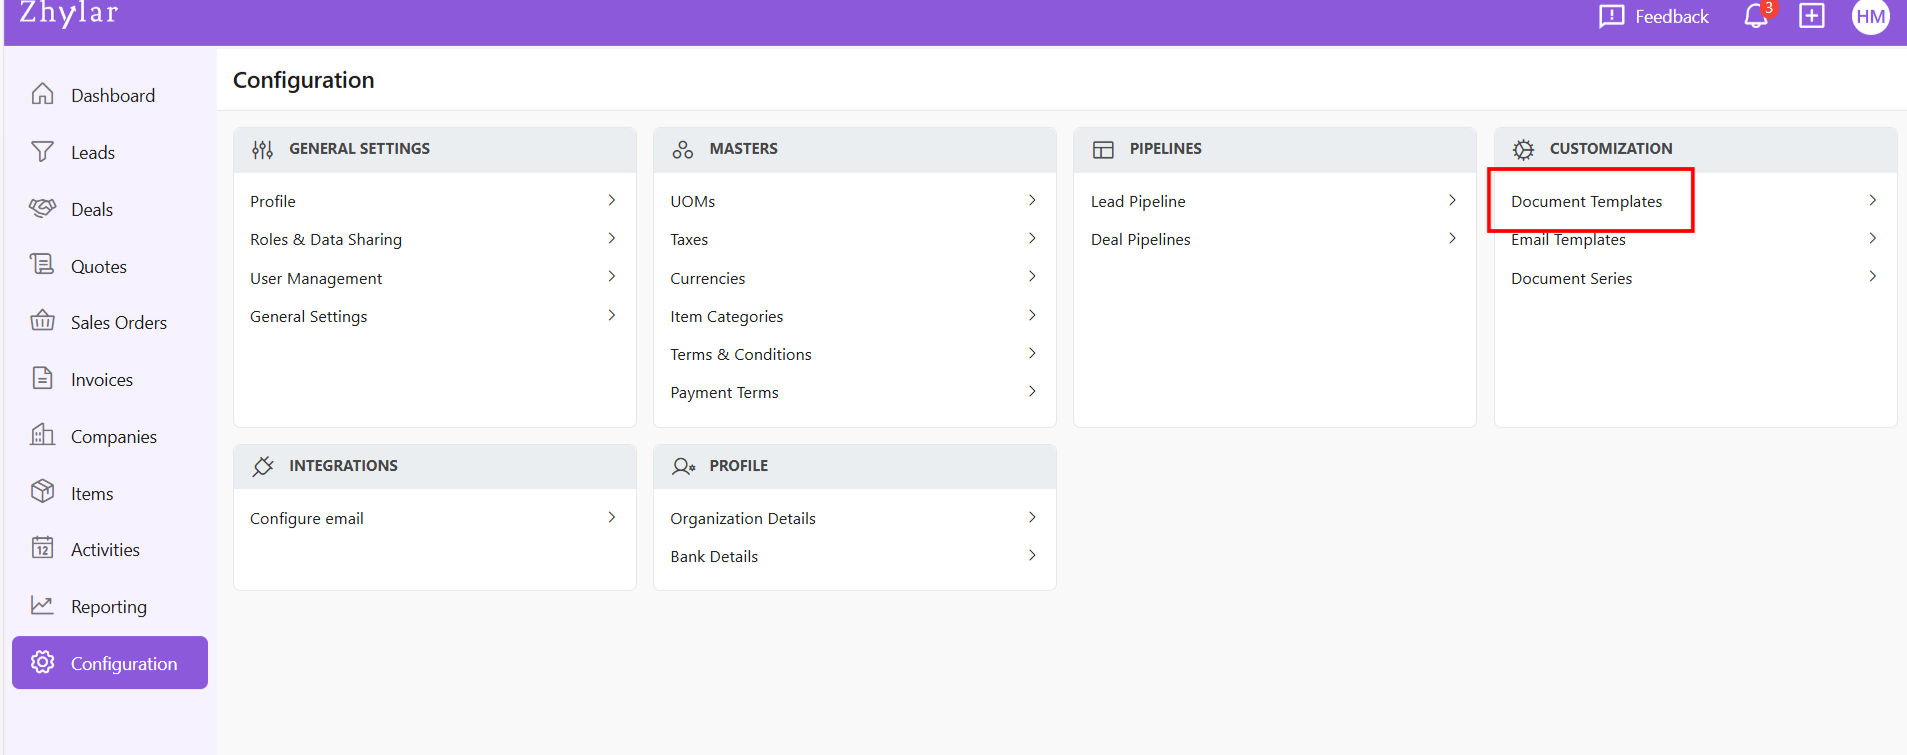
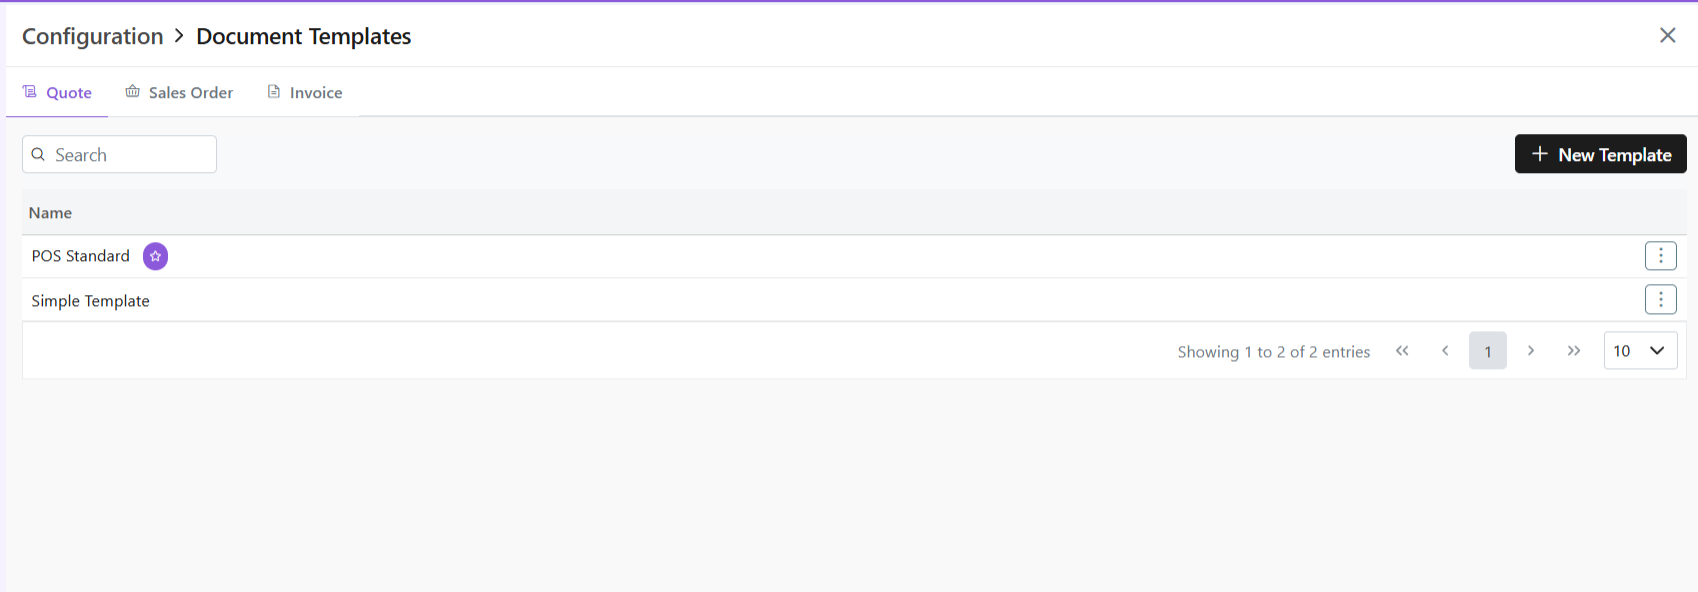
Document Templates in Zhylar offer pre-designed formats ensuring consistency, saving time, reducing errors, and creating professional documents.
Three default templates are provided for the following modules-
Quotes- Outline proposed pricing/term + Speed up quote-to-invoice process
Sales Order- Confirm purchase details + Streamline order management
Invoice- Detail billing information + Track payments efficiently
One template will be marked as default denoted by a white star in a purple circle.
Create New Template
Click ” + New Template”
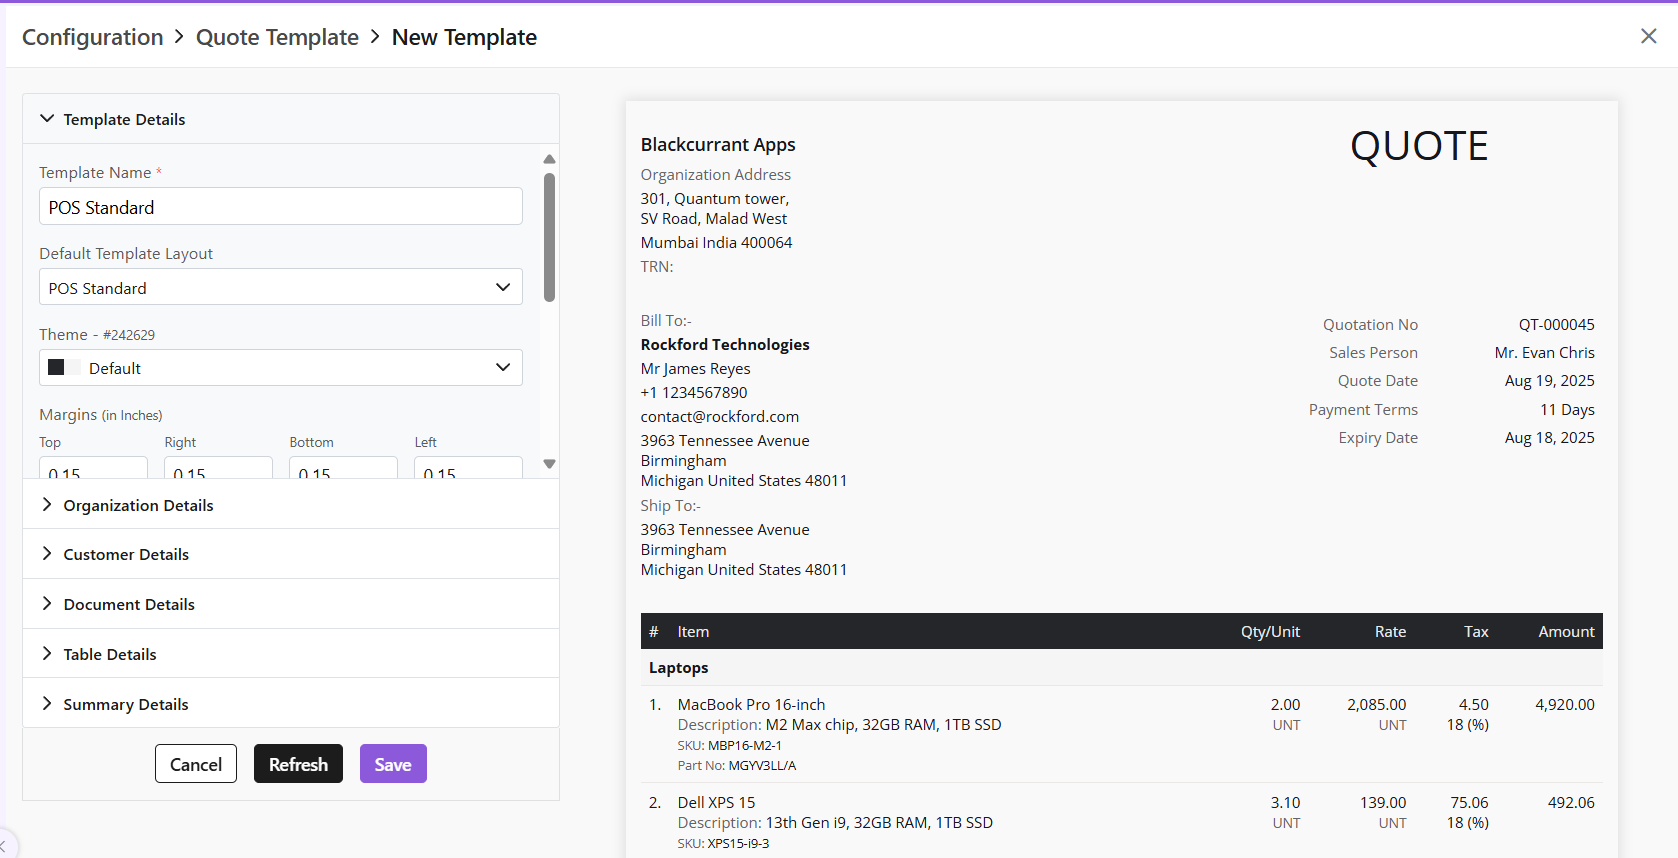
One pre-loaded templates will open for you.
If required, from the Default Template layout field, choose another template and begin.
Once template will be marked as a default template. This is the template that will be auto-applied to the document unless changed. This is indicated by a white star in a purple circle.
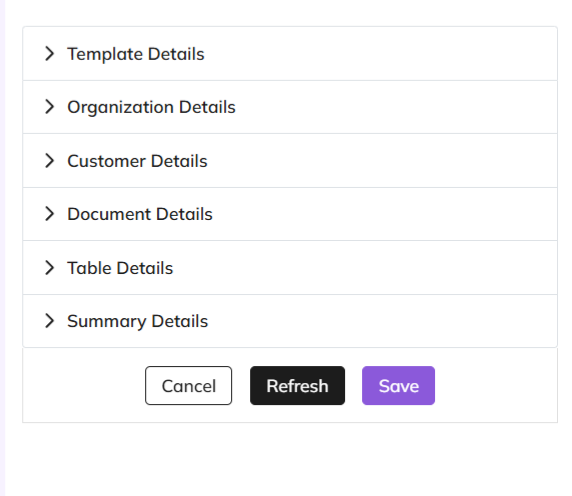
Customization in the following sections:
Template Details- basic layout of the document and major customizations in font, alignment, theme, etc.
Organization Details- Details of the seller’s organization
Customer Details- enter customer’s details
Document Details- enter data to be added on the document
Table Details- Information about the item and related details
Summary Details- Includes final payment details such as discount, T&C, shipping details etc.
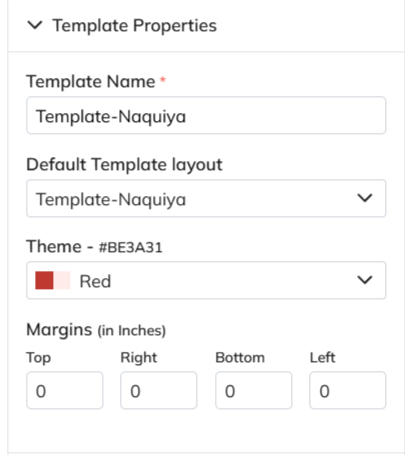
Template Properties
This is the blueprint of the document.
The template name is a mandatory field to be filled.
Add/edit basic details of the template; name, layout, etc.
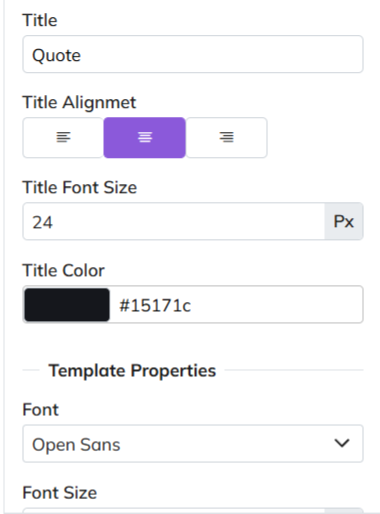
Template Design
Major stylistic customizations made in this section, such as font, font size, title color, etc.
All changes in this section are optional.
Template Information- Mandatory and Optional Fields
Template Information section covers the major information to be added to the document.
Mandatory fields carry basic data that must be provided on the document. They are:
Due Date
Quote/SO/Invoice Date
TRN (Transaction Reference Number)
Short-Code
Optional Fields
Other fields in this section are optional- Donated by a check box beside the field.
If checkbox is ticked, information must be provided for that field.
If checkbox is not ticked, that section will be removed from document.
Make adjustments and customizations.
After making changes, click “Refresh” if you want to preview
Click “Save” to confirm
Rename the template before you save. Or you will receive an error message.
This is because a pre-loaded template is used each time you click +New Template to begin customization.
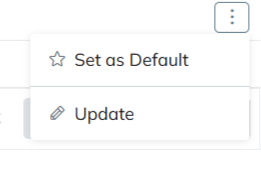
Manage Templates
Mark as default
Click ⋮ 3 dots
Select Set as Default
Update Template
Click ⋮ 3 dots
Select Update
Make changes
Click Save
Please note
All templates share same creation/management workflow.
Custom templates created by users can be set as default.
Discover how Zhylar can streamline your sales and elevate your business processes. Visit our website or book a demo today to experience the difference!
In Zhylar CRM, data sharing means sharing records you own with another user. This allows users who cannot access those records to collaborate. It governs how records are shared between users within the organization. These records could be from leads, accounts, or deals module. It helps teams collaborate by sharing records with each other.
Data sharing is applicable at organization level and is applied at module level. This means that data can be shared with all users of the organization, or with none at all. The organization admin decides this for specific modules. (Example: If data sharing is public read for leads, then all records within the leads module are visible to all organization users. This is only applicable to leads).
When data sharing is turned ON:
Other users can see records they don’t own.
Depending on sharing settings, they can also edit, update, or delete those records.
Teams can collaborate easily without waiting for the record owner.
Zhylar uses a top-down role structure. This means your data access depends on where you stand in the company hierarchy.
Default role assignment
The first user in Zhylar is the Org Admin– This is the business owner. By default, this role is named CEO.
All other roles are created under the CEO in a tree-like structure.
Role names can be changed to match your company (e.g., Manager, Sales Lead, Marketing Executive).
CEO (Org Admin – Root Level)
Role-level permission settings
Cross Role :- People with different role with same reporting role (example both COO & CFO reporting to CEO, so CFO & COO are cross roles)
Peers:- People in same role are called peers (Example Sales intern role has 4 individuals in it so they are peers to each other)
This determines the type of data access granted to the role (even when Data Sharing is turned off).
Data visibility for cross role
What it does: Lets people at the same level see each other’s data.
Example use cases:
Sales Reps can see each other’s deals and leads.
Marketing Coordinators can check campaigns of peers.
Managers can view work of other managers at the same level.
Access type:Read-only (can see but not edit).
Data sharing for peers
What it does: Lets people at the same level work together on each other’s data.
Example use cases:
Sales Reps can hand off accounts to each other.
Two Reps can manage deals together.
SDRs can share lead nurturing.
Managers can work together on projects.
Access type:Full access (create, edit, update, delete based on settings).
Data sharing configuration
Data Sharing controls how records (Leads, Deals, Accounts, Contacts, Quotes, Invoices, Cases) are shared.
Below are permission available in data sharing
Private
Public Read
Public (Read + Write)
Public (Read + Write + Delete)
Private access
Only the record owner has full rights (create, read, update, delete).
Others cannot see it unless sharing is given.
Example use cases:
Sensitive client info.
Territory-based leads.
Commission-based deals.
Compliance rules.
Public access
Everyone in the company can see and sometimes edit the records.
Different permission levels:
READ: Everyone can view records.
READ + WRITE: Everyone can view + edit data.
READ + WRITE + DELTE: Everyone can view, add, and delete data.
Examples:
Public (READ): All leads are visible to all organization user for market research.
Public (READ + WRITE): All leads are visible to all organization user with Edit access for market research.
Public (READ + WRITE + UPDATE): All leads are visible to all organization user with Edit / Delete access.
Cannot share their own data with same-level peers (If Peer Sharing = OFF).
Managers (Business owners, VP, Sales Manager):
Can see across roles (If Cross Role = ON).
Can share with peers at the same level (If Peer Sharing = ON).
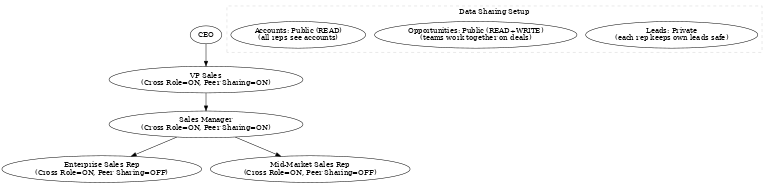
Data sharing rules:
Leads → Private → Each rep keeps their own leads.
Opportunities (deals) → Public (READ + WRITE) → Teams can work together on deals.
Accounts → Public (READ) → Everyone can see accounts to get market knowledge.
Important points to remember
Data sharing rules are applicable across the entire organizational structure.
Changing role hierarchy instantly changes who can see what.
Changing data sharing rules affects both old and new records.
If you move a user to a new role, their access changes automatically.
Bulk uploads follow the current sharing rules.
Data Sharing rules supersede all other permissions.
A user without access to a particular module will not be impacted by data sharing changes. For example, if User A does not have access to the Leads module, turning data sharing on across the organization will not affect them at all.
Zhylar makes it easy to balance privacy (when you need control) and collaboration (when you need teamwork).
Discover how Zhylar can streamline your sales and elevate your business processes. Visit our website or book a demo today to experience the difference!
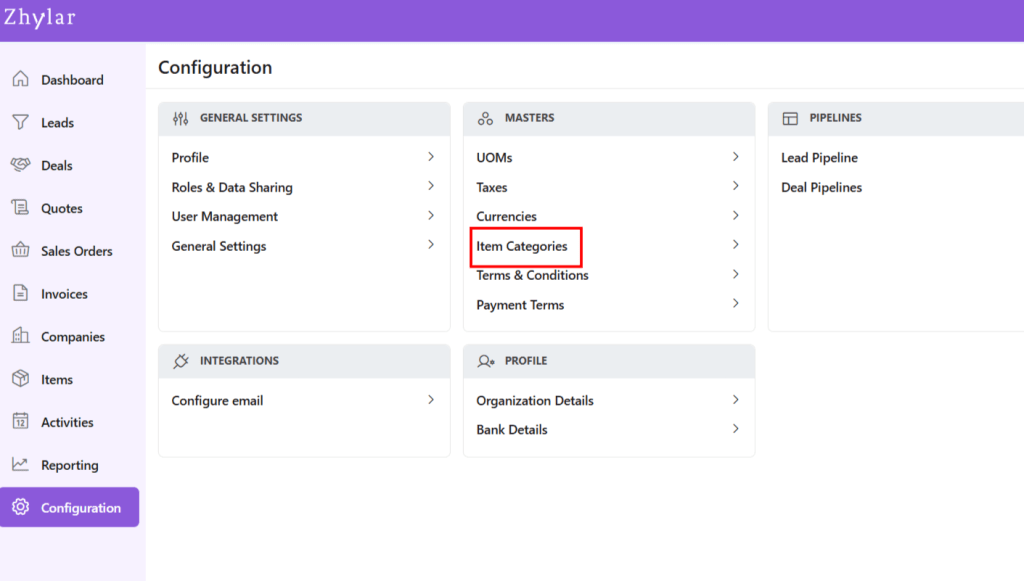
Item categories are an organizational tool used to group related products or services within a CRM system. They simplify catalog management, improve navigation, and are essential for efficient Configure, Price, Quote (CPQ) setups. Categorizing items logically enhances the sales process and ensures a better user experience for both teams and customers.
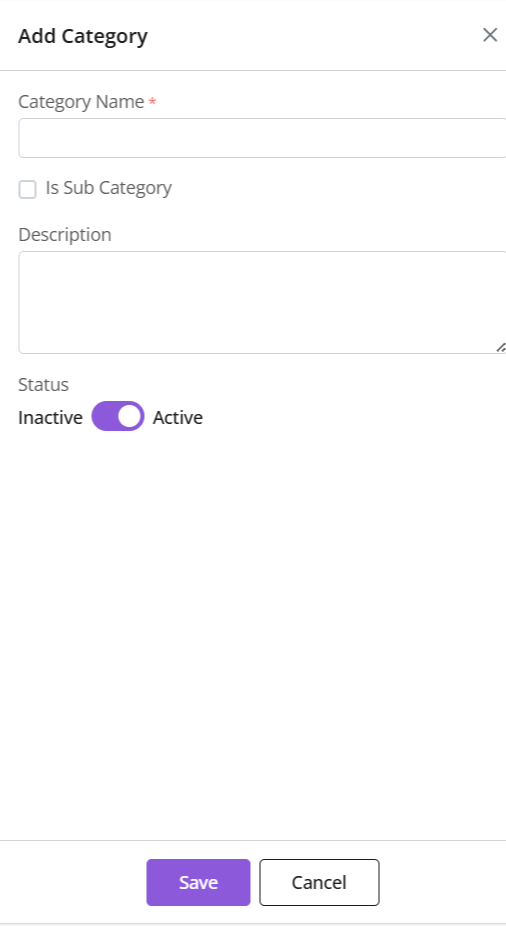
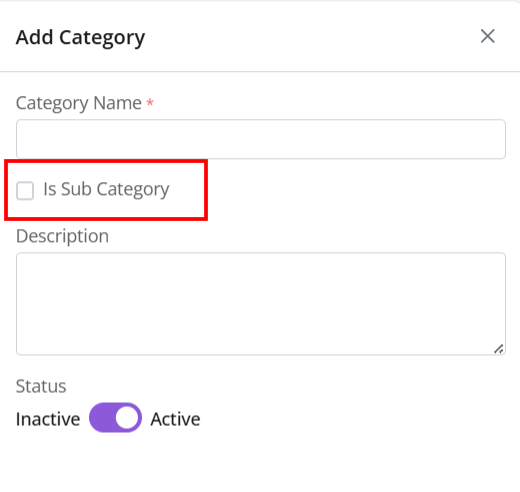
Sub-Category: If it is a category within a bigger category. If yes, a parent category must be tagged. (Refer section below).
Description: A brief description of the category
Status: Whether category is in use or not
Click “Save”
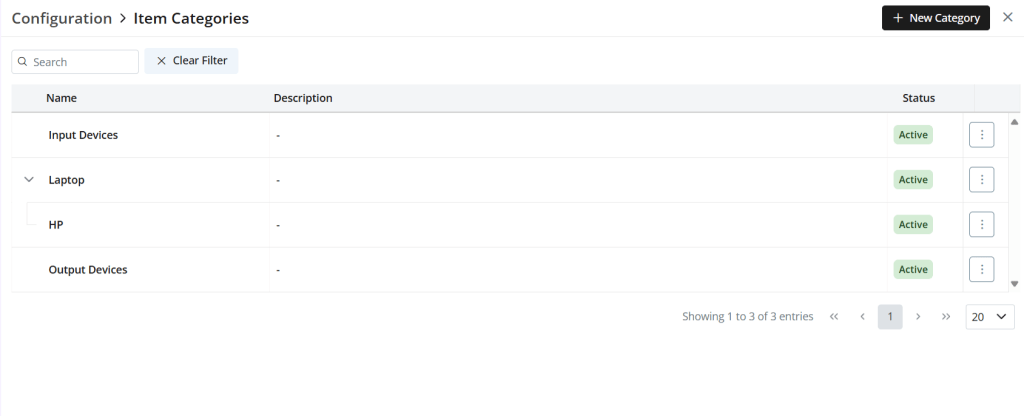
Sub-Category
A sub-category is a category within a bigger category.
To check a category as a sub-category, a parent category must be marked.
E.g., Parent Category: Laptops -> Sub-category: HP
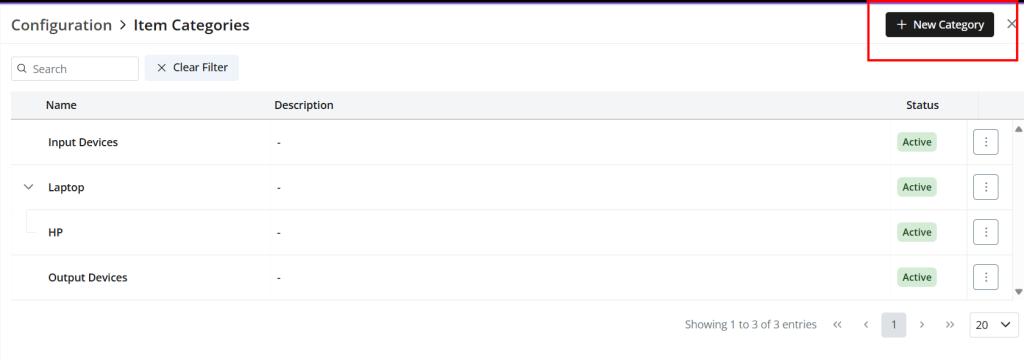
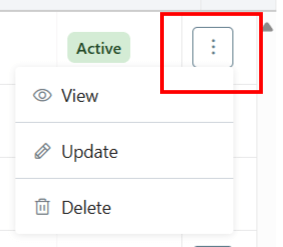
Update Existing
Click ⋮ 3 dots >Update→ Make changes
Click Save
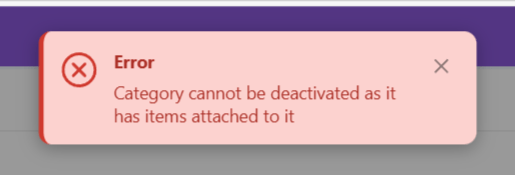
Status
Toggle active/inactive status
To mark inactive, category must not be associated with any item. Or you will receive an error message.
Make required changes to proceed.
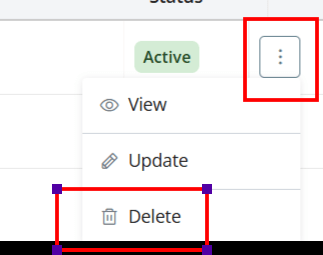
Delete Category
Click ⋮ 3 dots > Select Delete
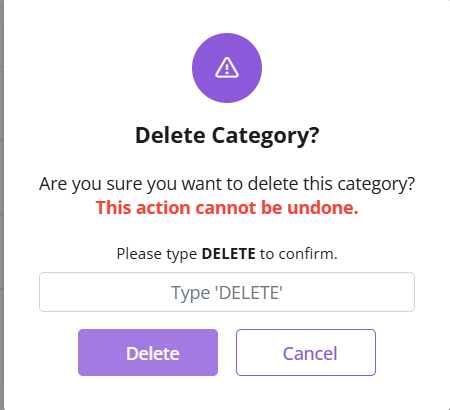
Type “DELETE” to provide confirmation.
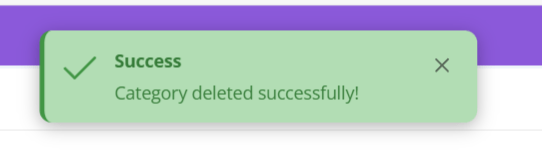
The Category will be deleted.
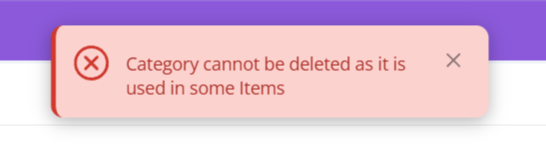
If category is associated with some Items, you will receive an error message.
Make requisite changes to proceed.
Please note: If a parent category is deleted before deleting sub-categories, the sub-categories will be automatically updated. They will be updated to become parent categories themselves.
Discover how Zhylar can streamline your sales and elevate your business processes. Visit our website or book a demo today to experience the difference!
Taxes represent financial obligations on sales transactions. They are calculated automatically based on customer location, product type, and applicable tax laws like VAT or GST. Taxes are seamlessly integrated into quotes and invoices. This ensures accurate billing. It also ensures compliance with regional tax regulations across all sales documents.
Key Features
Automatic Calculation: Applies correct rates during quoting
Seamless Integration: Syncs with invoicing/billing
Some default taxes are pre-loaded as listed below:
Add New Tax:
Click “+ New Tax”
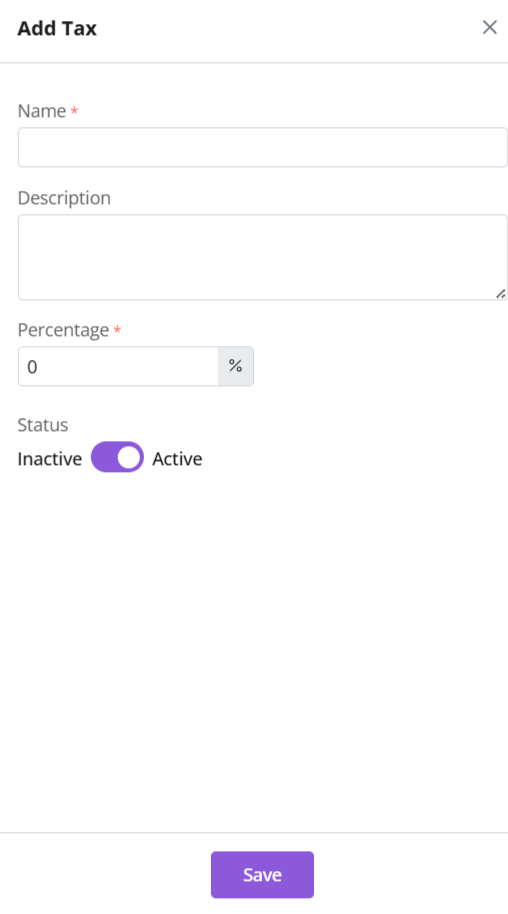
Enter details
Name- Assign name to tax
Description- Explain the terms and policies of the tax.
Percentage- % of tax levied on certain item.
Status- If this tax is being used in the system at present or not.
Click Save
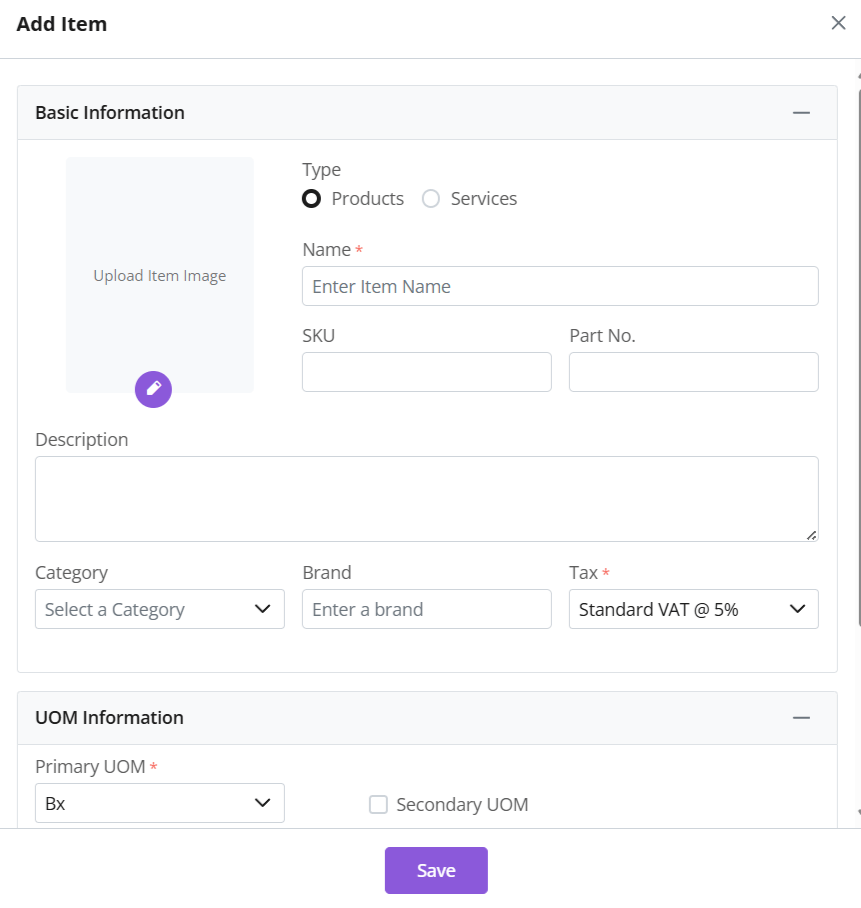
Add Tax to Item
A tax can be assigned to an item directly for direct use.
It will be auto applied when relevant item is added to any document.
Thus, different taxes can be used for different or specific items.
Read more about this feature in the items module.
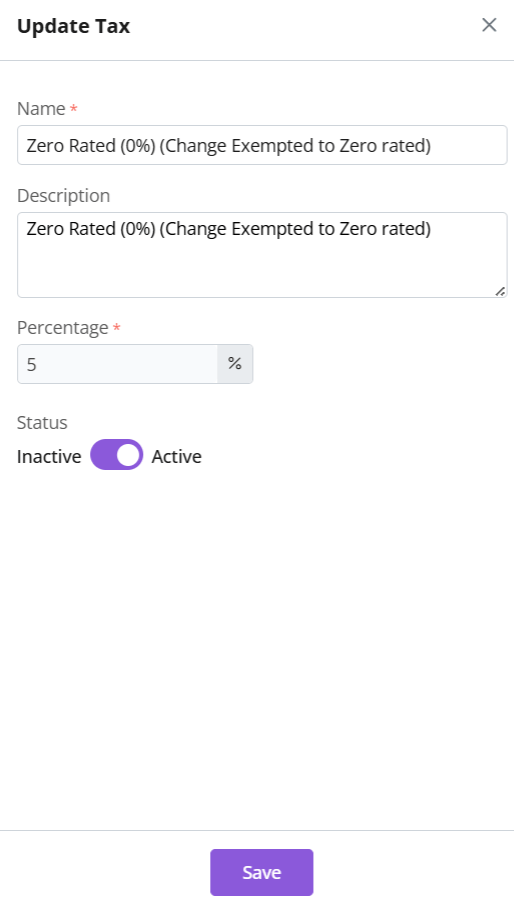
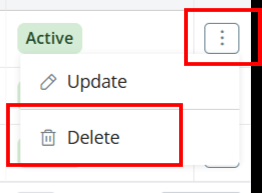
Update Tax
Click ⋮ 3 dots > Update → Make changes → Save
Note: Tax Percentage and Tax Type cannot be updated.
Toggle between active/inactive status depending on whether tax is in use or not.
If tax is associated with items, you will receive an error message.
Make required changes to proceed.
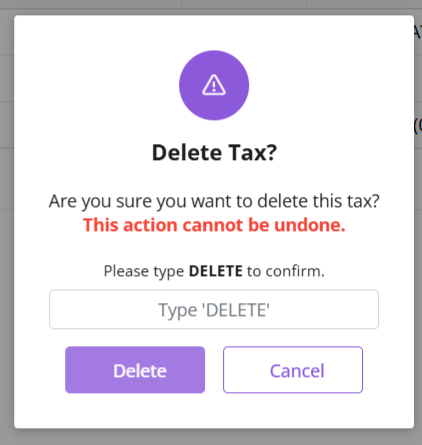
Delete Tax
Click ⋮ 3 dots > select Delete’
Type “DELETE” to provide confirmation.
The tax will be deleted from the system.
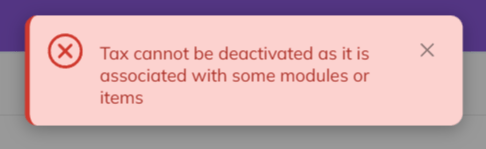
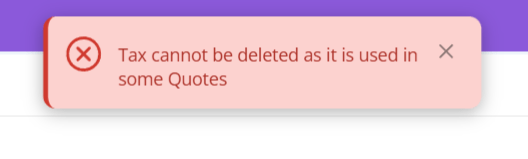
If the Tax is associated with some other modules, then it cannot be deleted.
Delete relevant items to proceed, in order to delete the tax.
Discover how Zhylar can streamline your sales and elevate your business processes. Visit our website or book a demo today to experience the difference!
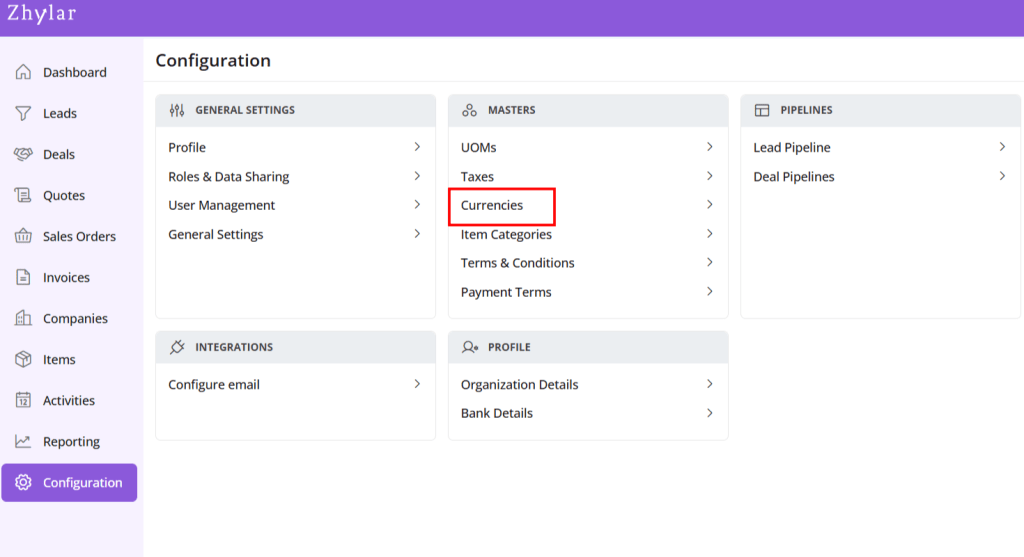
Currency defines the monetary unit used for transactions within the CRM. Zhylar supports multi-currency operations, enabling businesses to handle global deals efficiently. This feature is essential for accurate pricing, reporting, and financial consistency across international markets.
All currencies added to the system will be listed.
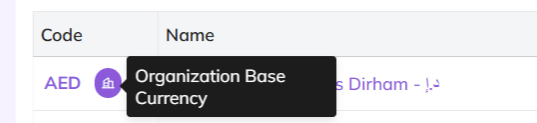
Organization Base Currency
The base currency is the default monetary unit used for all financial records, reports, and conversions in a CRM system. It serves as the reference point for converting other currencies.
It ensures consistency in revenue tracking.
Aids in financial analysis across multi-currency operations.
Base Currency is selected at the time of organization onboarding.
Base currency marked in purple.
This currency cannot be changed/deleted.
It cannot be marked inactive.
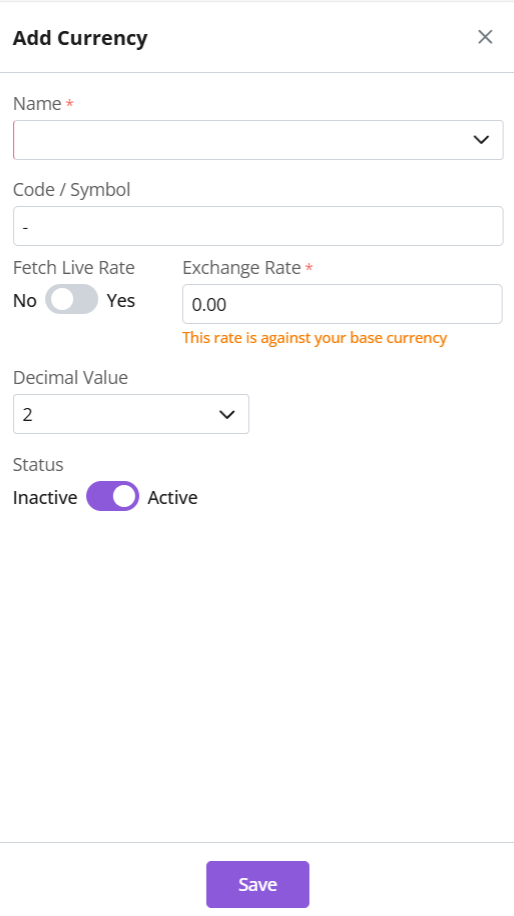
Add New Currency
Click + New Currency
A side sheet will open.
Fill out the details
Name: Select currency name, e.g., United States Dollar
Currency code and symbol will be auto-selected, e.g., USD-$
Fetch Live Rate– The system API will generate the current exchange rate. This rate is between the organization’s base currency and the selected currency.
Decimals– Determines how many decimal points to be taken when writing amount. E.g., USD 300.25
Click Save
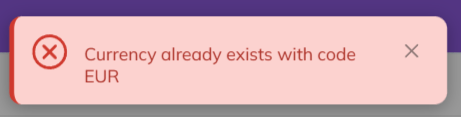
Note: Each currency must carry a unique name/code. Duplicates are not permissible in the system.
This means, one currency can only be added to the system only once.
Fetch Live Rate
Conversion rate of the currency added vis-a-vis the base currency.
If Fetch Live Rate is on, system API will do the calculations for exchange rate automatically.
If Fetch Live Rate is off, an exchange rate can be entered manually.
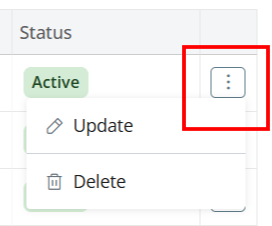
Update
Click ⋮ 3 dots >
Select Update
Make changes
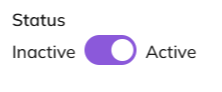
Toggle active/inactive status.
To mark inactive, currency must not be in use with any companies.
If marked inactive, fetch live rate is automatically turned off.
Click Save.
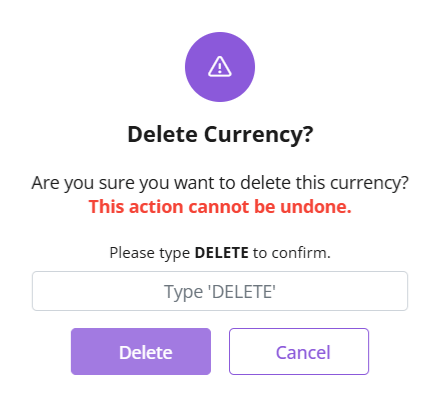
Delete Currency
Click ⋮ 3 dots > Delete
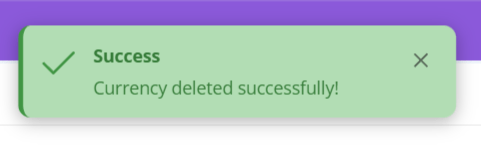
Type “DELETE” to provide confirmation.
The currency will be deleted.
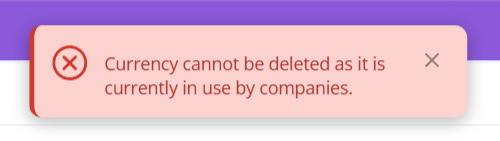
If currency is associated with some Companies, you will receive an error message.
Make requisite changes to proceed.
Discover how Zhylar can streamline your sales and elevate your business processes. Visit our website or book a demo today to experience the difference!
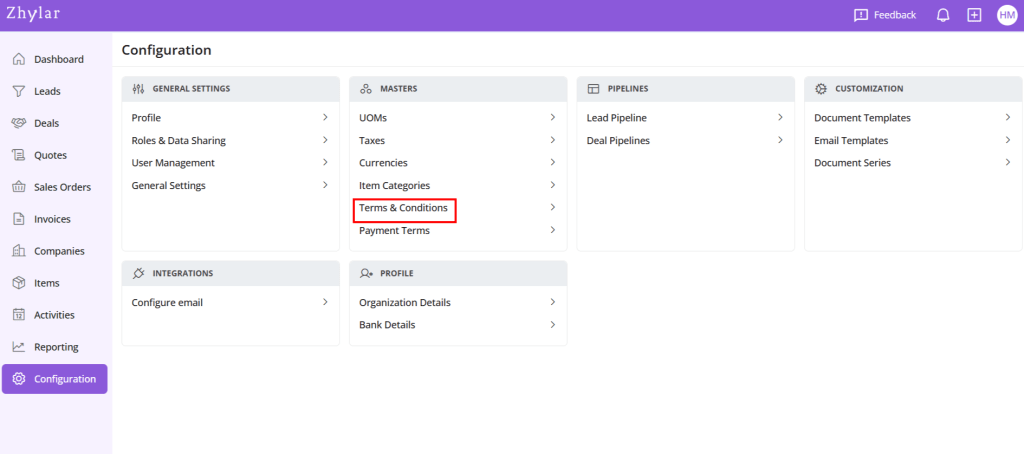
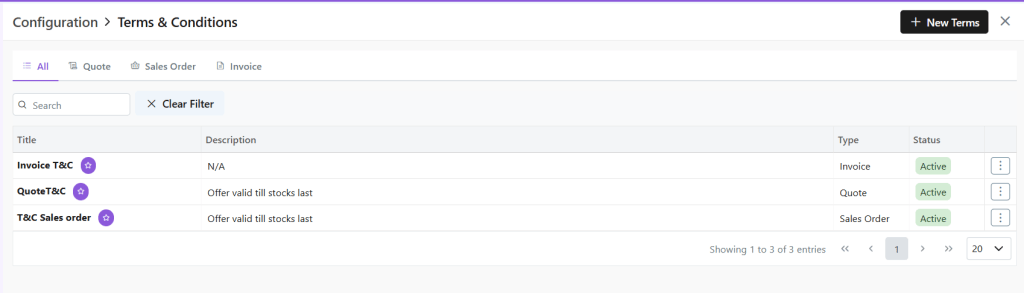
Terms and Conditions in Zhylar govern’s terms of business transactions between customers and the business. These terms are applied to key sales documents such as quotes, sales orders, and invoices. They outline essential policies related to payment, delivery, and service, ensuring clarity and compliance in all business transactions.
Here, check a list of the Terms and Conditions added to the system.
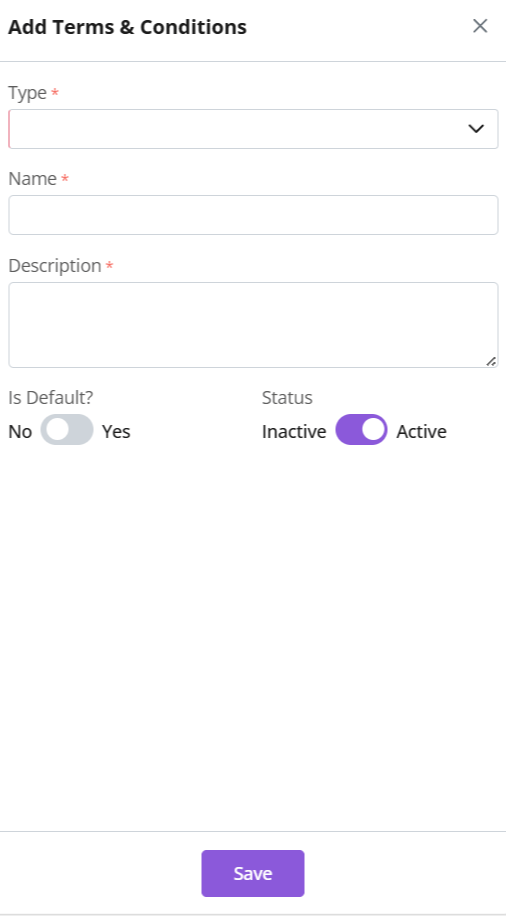
Add New
Click “+ New Terms & Conditions”
Give the T&C a name.
Add description for details of the term. This description entails the conditions of the terms that you want to levy.
Select document type (Quote/SO/Invoice)
Enable “Is Default” for auto-application in documents (Quotes / SO / Invoice) .
Auto-applied T&C can be edited on the document.
Click Save.
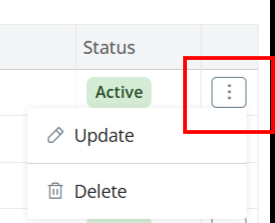
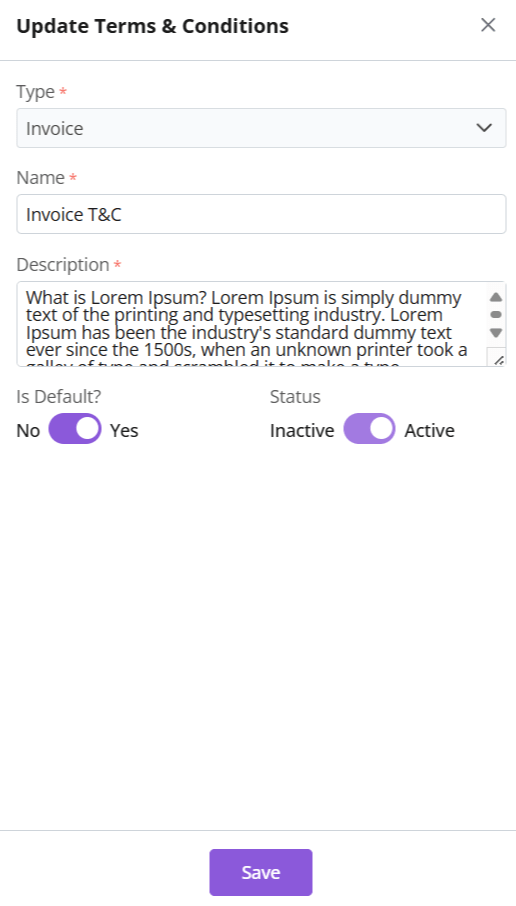
Update
Click ⋮ 3 dots on the end
Make changes
Click Save
Make your changes.
Is Default: Toggle Yes or No to change
Status: If T&C is not in use it can be marked inactive.
A default T&C cannot be marked inactive. Remove default status to continue.
All fields can be updated except T&C Type.
Click Save.
Document Types
Type
Purpose
Quote T&Cs
Proposal-specific terms
Sales Order T&Cs
Binding order terms
Invoice T&Cs
Payment/delivery policies
Key Feature: Default T&Cs auto-apply to relevant documents.
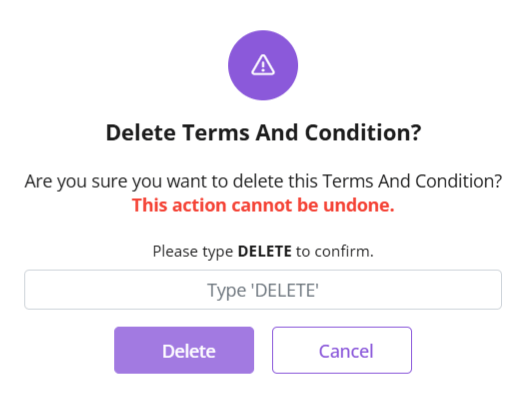
Delete Term and Conditions
Click ⋮ 3 dots > Delete → Type “DELETE” to provide confirmation.
Provide confirmation to proceed.
The T&C will be deleted.
Discover how Zhylar can streamline your sales and elevate your business processes. Visit our website or book a demo today to experience the difference!
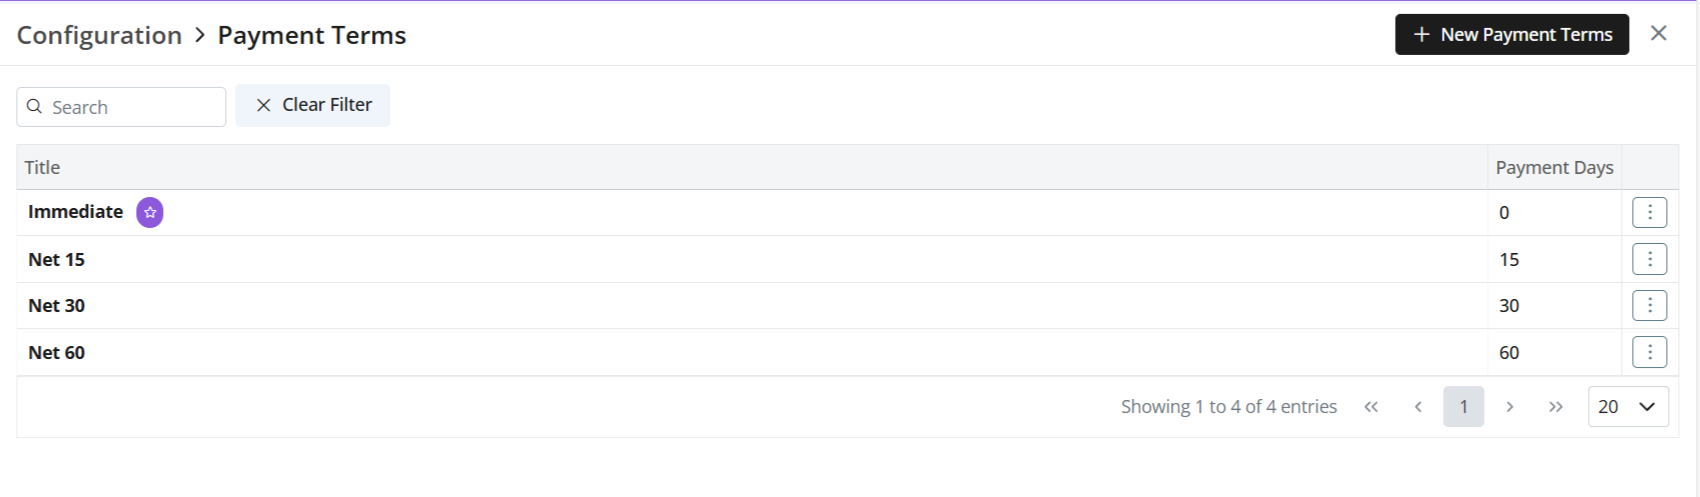
Payment terms are the agreed-upon conditions between a buyer and a seller. These terms specify how and when payment should be made. They define due dates, applicable discounts, penalties for late payments, or instalment plans.
In a CRM system, these terms are integrated into quotes, sales orders, and invoices. This integration helps streamline and standardize the payment process.
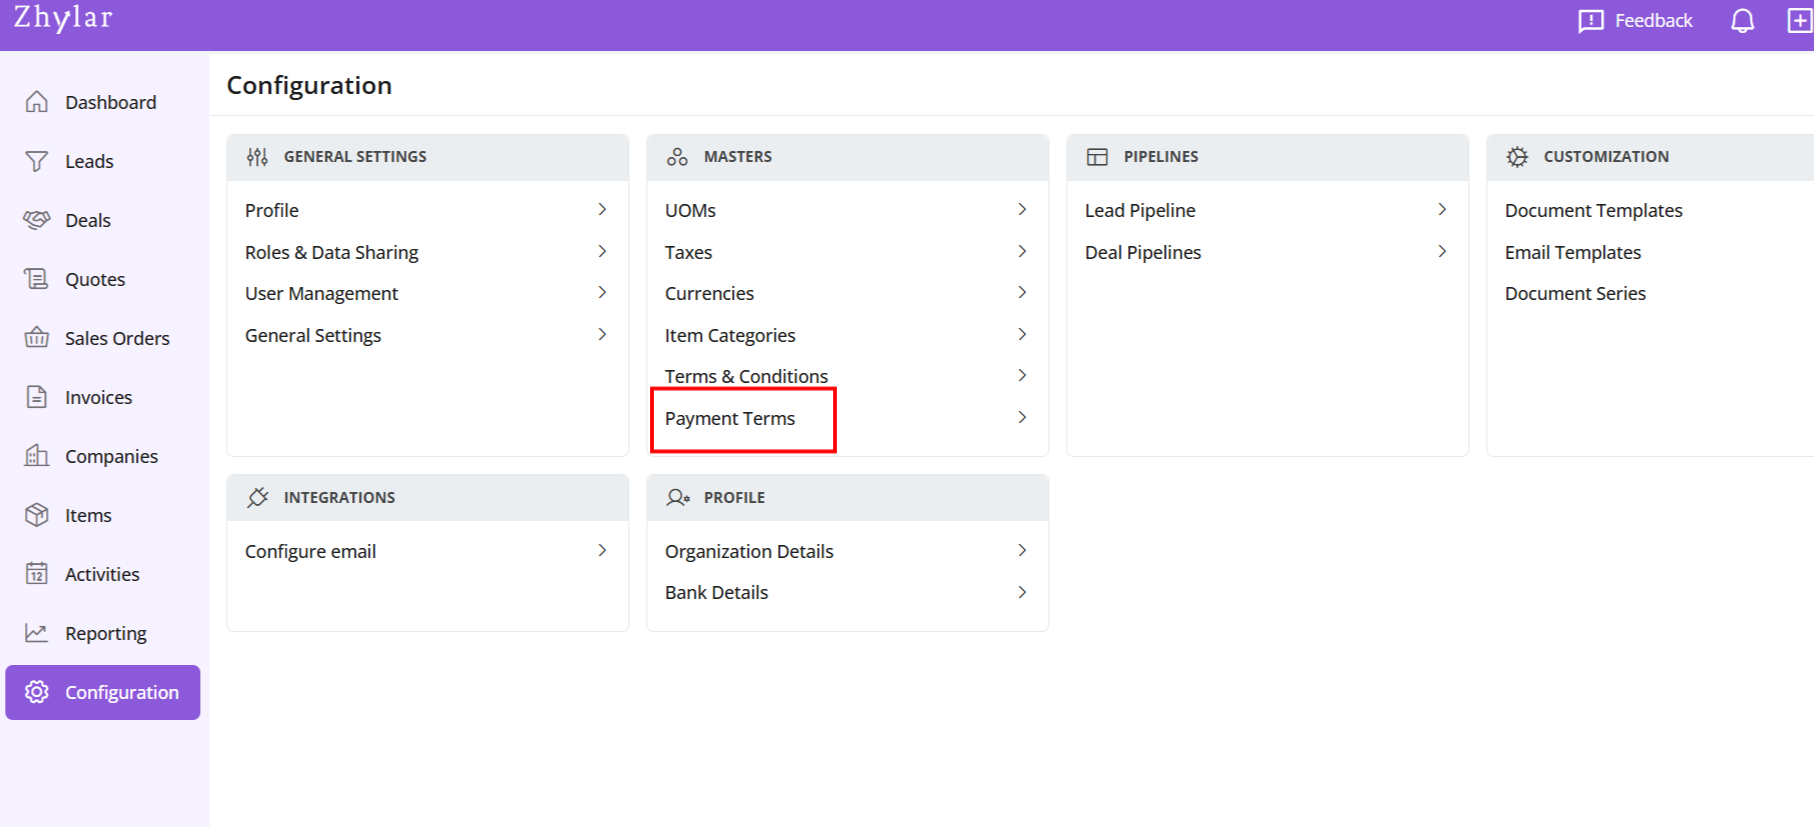
Check the list of Payment Terms added to the system.
Add New Payment Term
Click + New Payment Term
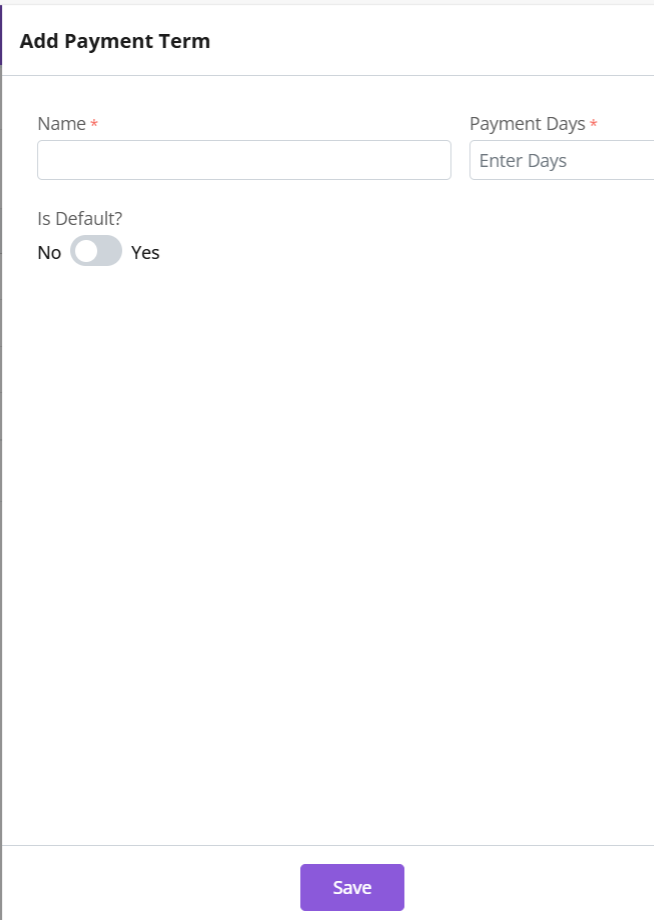
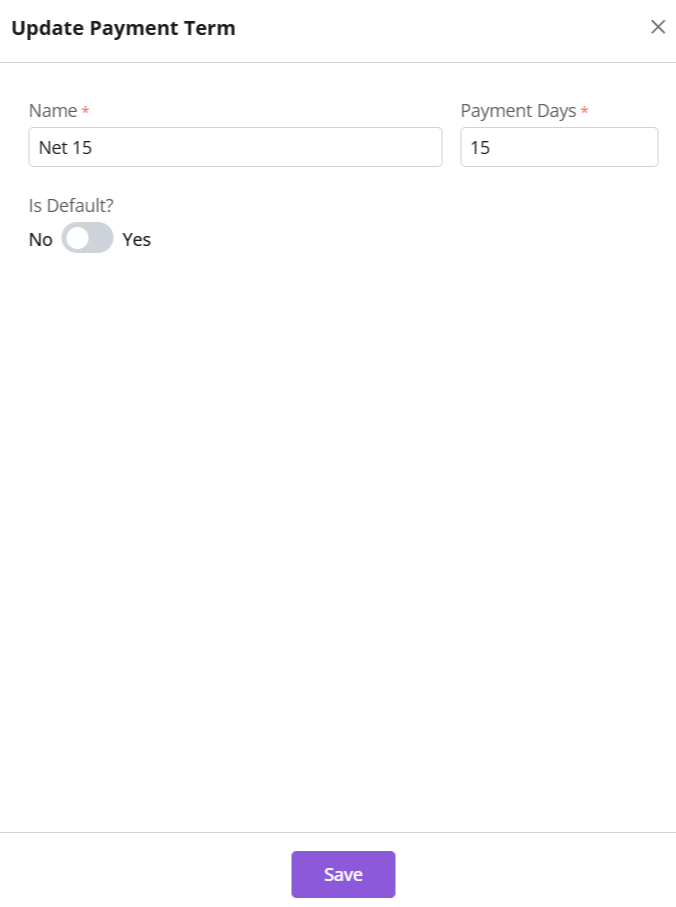
Enter details
Name- Name of payment term.
Days- The number of days within which payment term must be satisfied.
Toggle “Make Default” if needed.
Default payment terms are auto-applied to documents.
Click Save
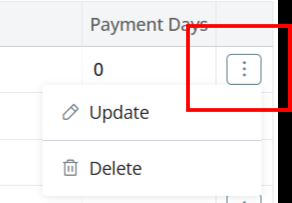
Update Payment Term
Click ⋮ > Update
Make changes
Save
Please note
Default Terms: Auto-applies to all documents. However, a user can still edit or change it as per the requirement in that particular document.
For SO and invoice, the “payment days” refers to the due date within which the payment should be received. E.g., the invoice must be cleared/paid in X number of days.
For quotes, payment terms is for reference purpose only. The expiry date has no implication on payment terms.
Global Use: Consistent payment policies
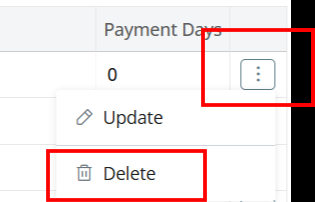
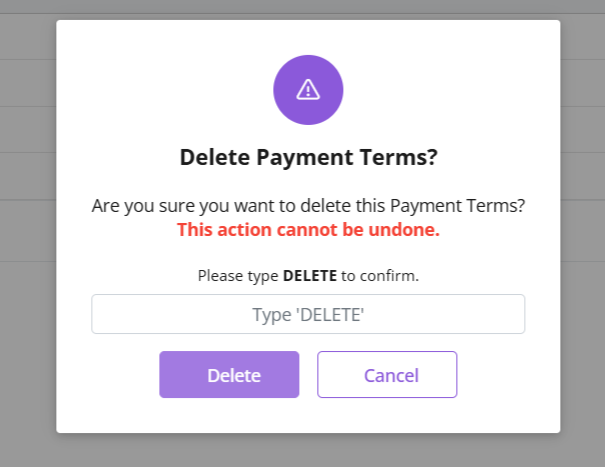
Delete Payment Term
Click ⋮ > Select Delete
Type “DELETE” to provide confirmation.
Payment term will be deleted.
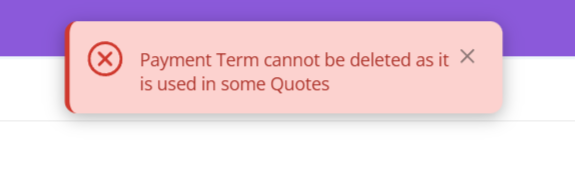
If Payment Term is associated with some other modules, e.g., Quotes, then it cannot be deleted.
You will receive an error message.
Delete relevant document first to proceed with deleting the payment term.
Discover how Zhylar can streamline your sales and elevate your business processes. Visit our website or book a demo today to experience the difference!