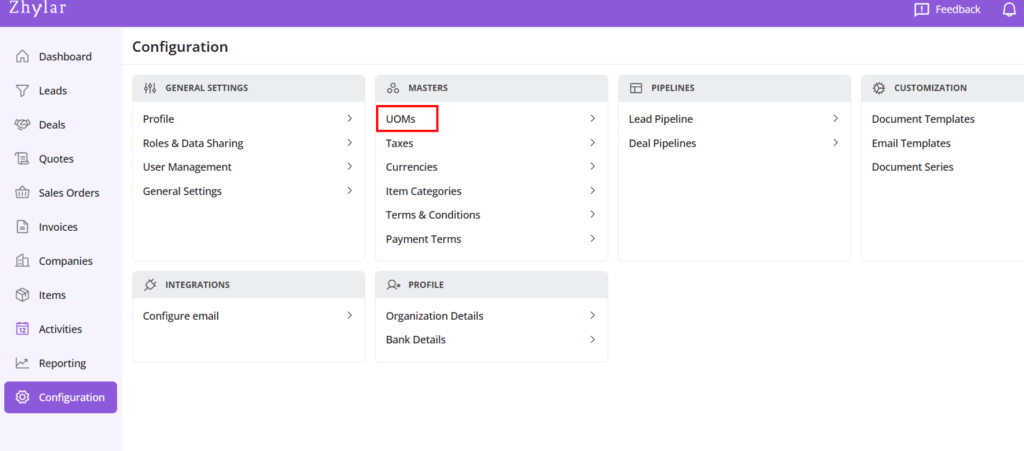
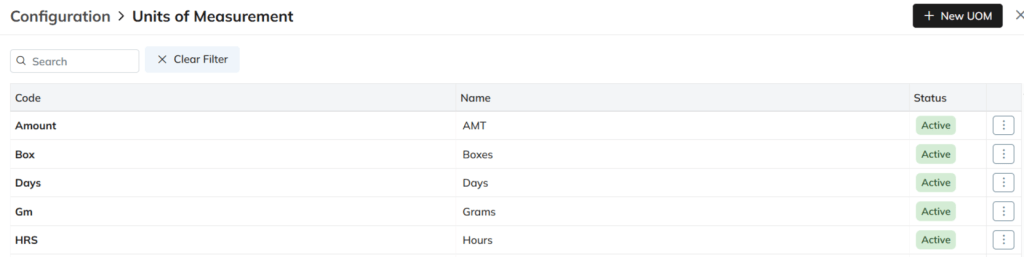
UOM or Units of Measurement refers to standardized units like kilograms, liters, or hours used to quantify products or services. It ensures accurate pricing, quoting, and inventory tracking across the CRM. UOMs are customizable to match specific business needs, making transactions more precise and consistent.
Duplicate UOM names or codes are not allowed. In case you enter a duplicate name or code, you will receive an error.
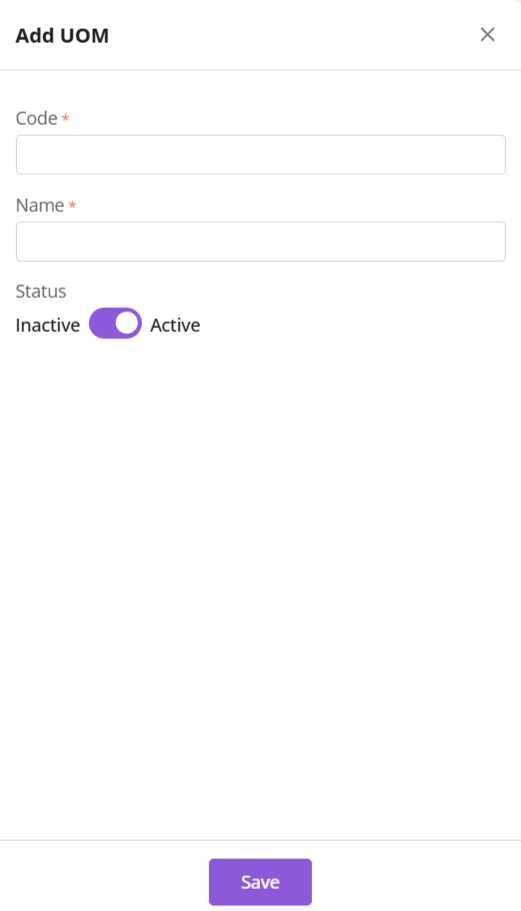
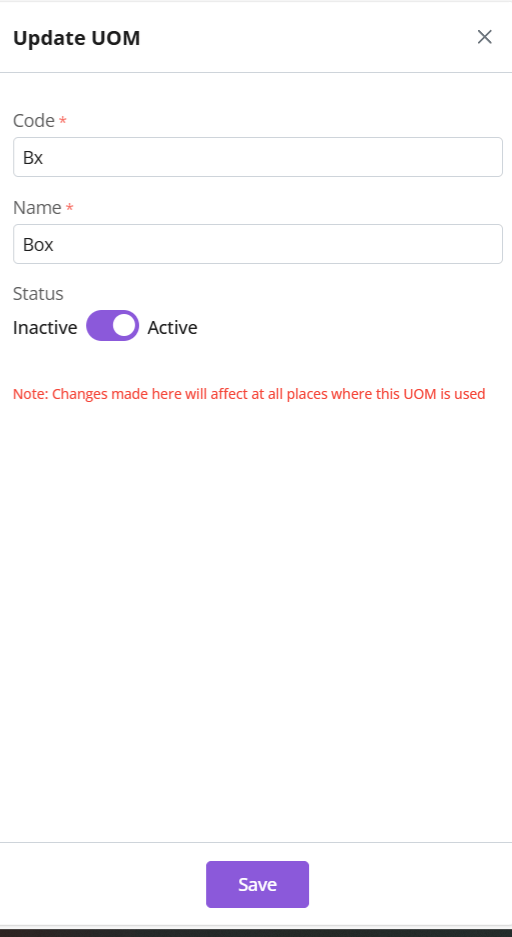
Click Save
Update UOM
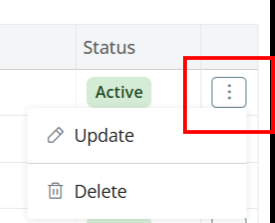
Click ⋮ 3 dots > Update → Edit → Save
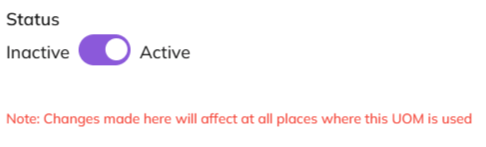
Status
Toggle UOM status from active to inactive.
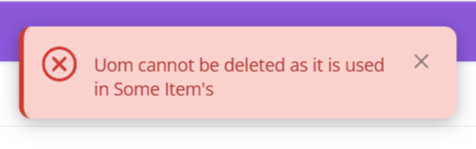
To do so, you must ensure UOM is not associated with any item.
Click Save
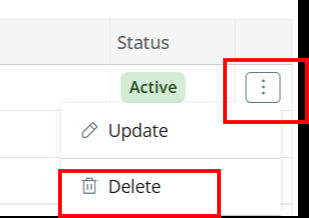
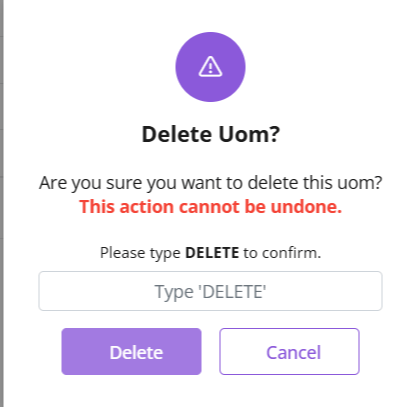
Delete UOM
Click ⋮ 3 dots > select Delete
Type “DELETE” to provide confirmation.
The UOM will be deleted.
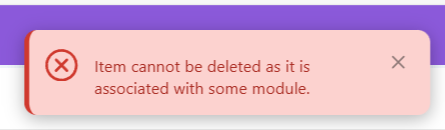
If the UOM is associated with any items, you will receive an error message
Discover how Zhylar can streamline your sales and elevate your business processes. Visit our website or book a demo today to experience the difference!
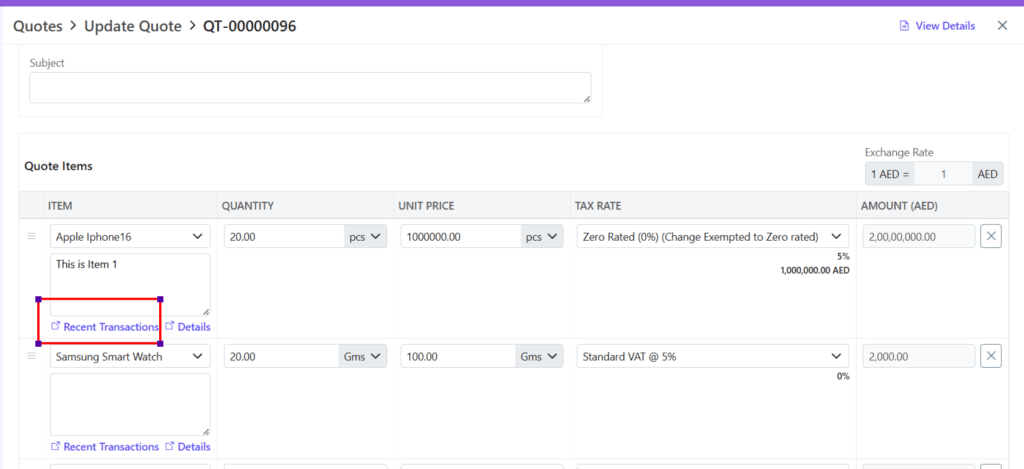
Recent transactions in Zhylar provide a quick view of an item’s latest activity. They show when, how, and at what price it was quoted or sold. They also show to whom it was sold. It tracks usage across quotes, sales orders, invoices, and even lost deals. This offers a 360-degree picture of the item’s sales history.
For new Quote, after adding item Click on Recent Transactions.
A side sheet will open.
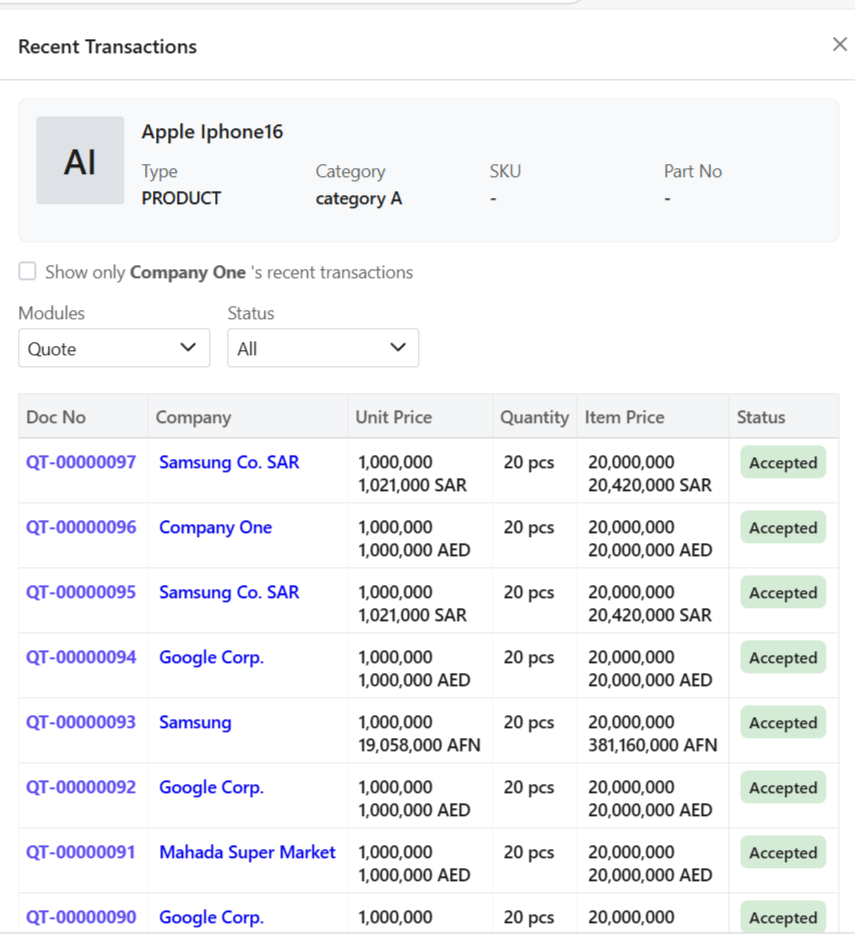
The entire transaction history will be fetched.
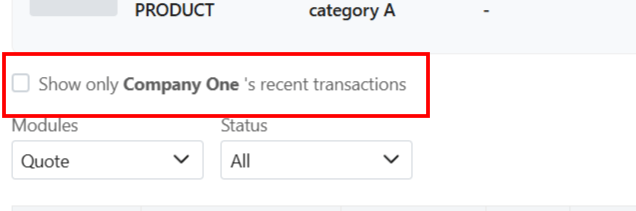
Filter Search
Filter search to obtain best results:
Via company
Tick the box to view transactions against that organization only.
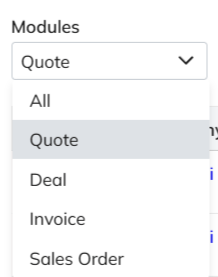
Via module
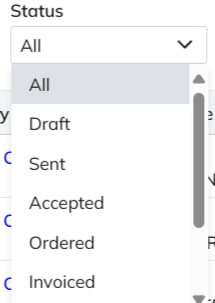
Via document status
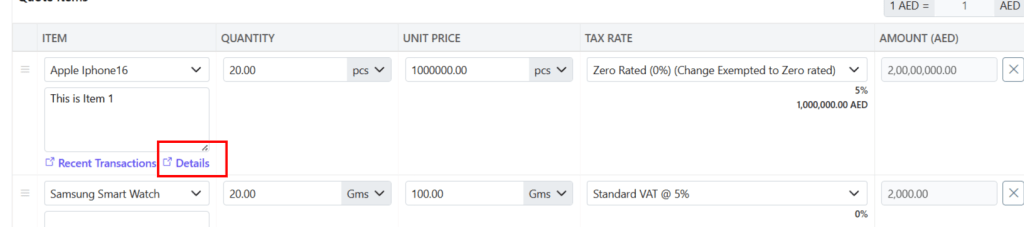
Details
Recent transactions will show the following detail for each transaction.
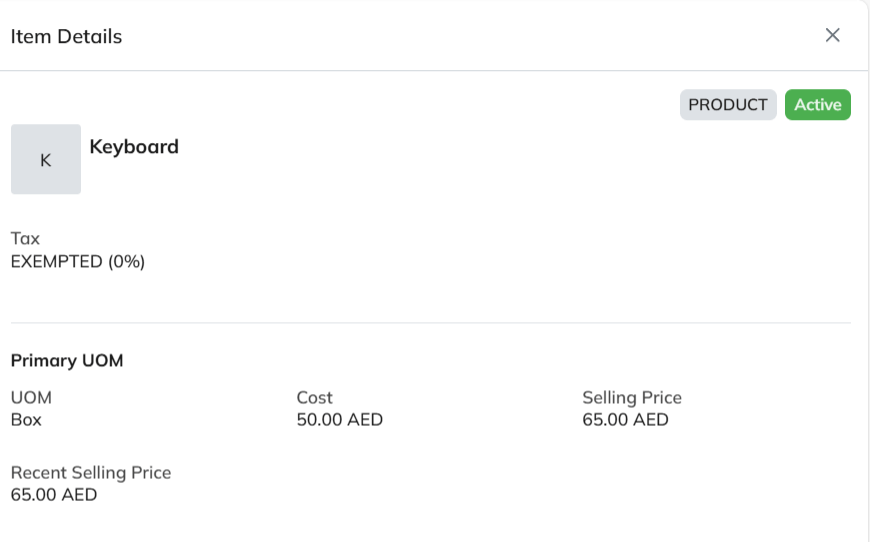
Item Details
To simply view the item details,
Click on Details.
The details of the item will be visible to you.
Discover how Zhylar can streamline your sales and elevate your business processes. Visit our website or book a demo today to experience the difference!
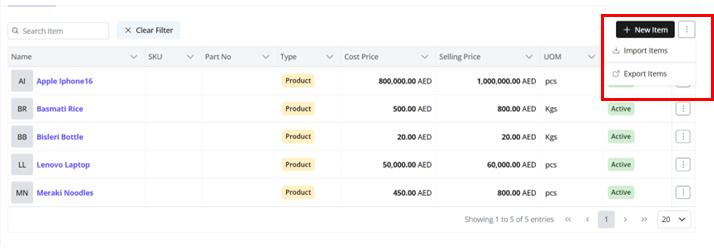
Items are the products or services your company offers, serving as the core components for quotes and sale. In Zhylar CPQ system, they include configurable options, with each item having a unique SKU and pricing.
All products are marked under two types- Products and Services.
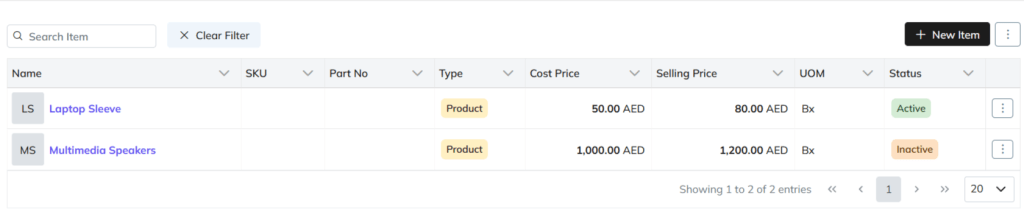
Search and filter options
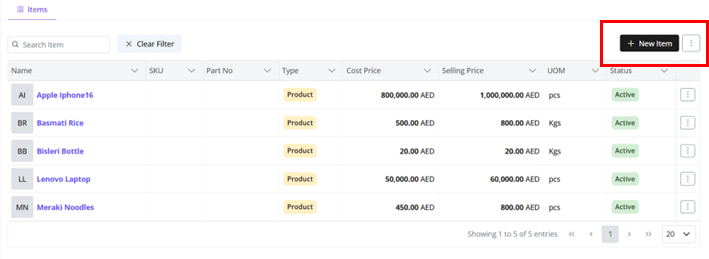
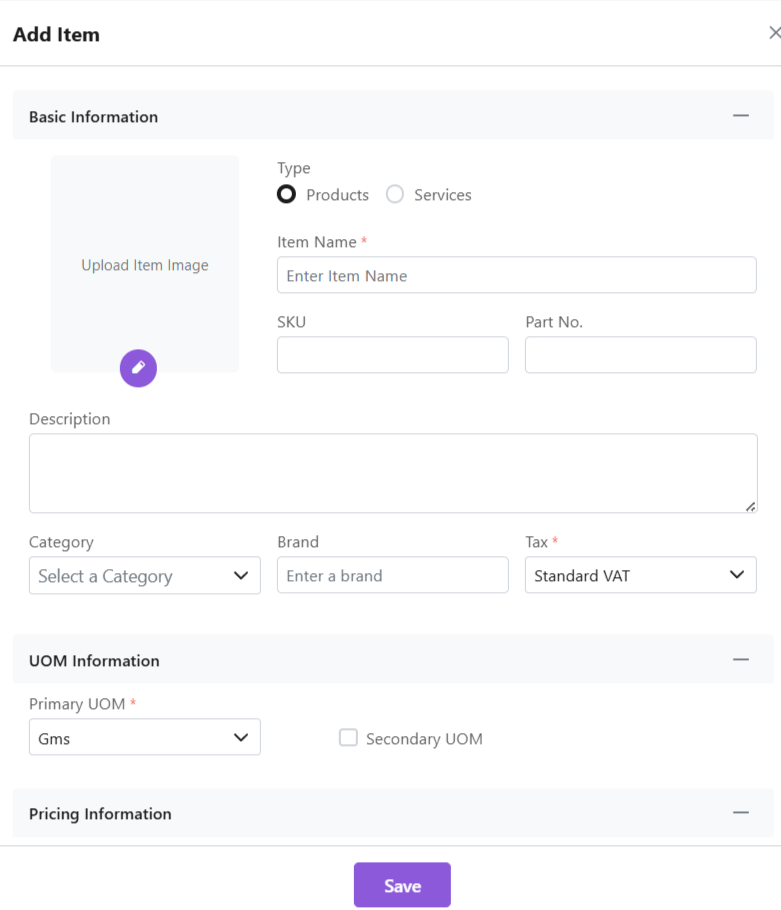
Add New Items
Click “+ New Item”
Fill required data
Add Primary UOM and Secondary UOM (refer section below).
Click “Save Item”
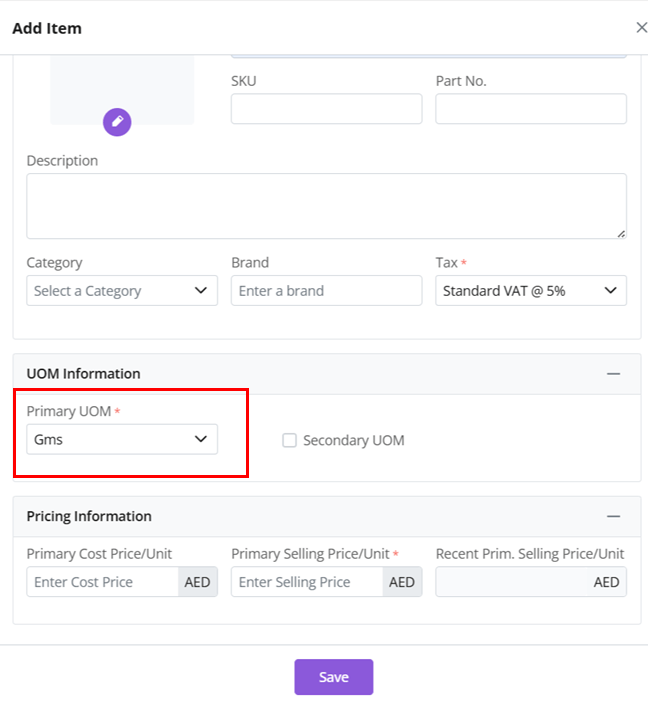
Unit of Measure (UOM)
Primary UOM: Main measurement unit (mandatory)
Secondary UOM: Alternative units (optional)
Click on the check box for “Add Secondary UOM”
E.g., a laptop could be sold by the piece (UOM- piece/pc) or in quantity if wholesale (UOM- box/bx)
Set conversion ratios (E.g., 1 box = x laptop pieces)
Remove when not needed
Import Items
To add items in bulk directly to Zhylar system, refer to the article on Import Items.
Export Items
To migrate items from Zhylar to your device;
Click ⋮ 3 dots
Select Export Items.
Items will be downloaded in excel format directly to your device
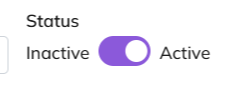
Item Status
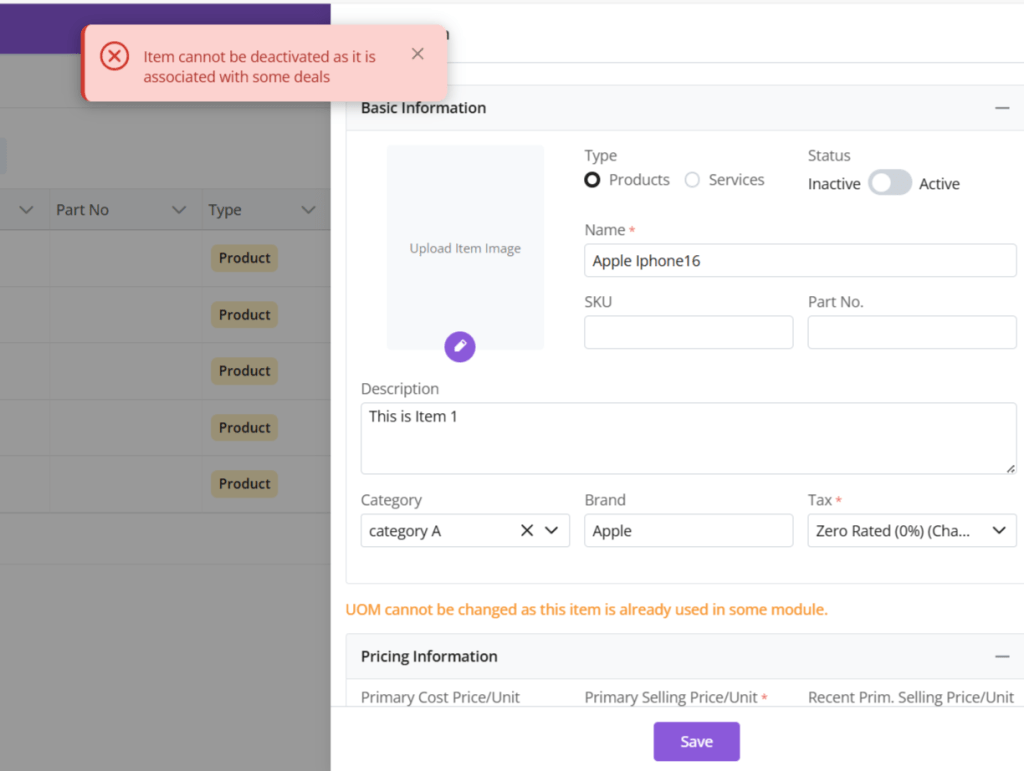
An item can be marked active or inactive.
Active items are products or services available for sale or use in transactions like quotes and invoices. Inactive items are those no longer offered or temporarily unavailable.
To mark an item inactive, toggle to inactive status.
Ensure the item is not associated with any other module. If so, you will receive an error message.
Managing Items
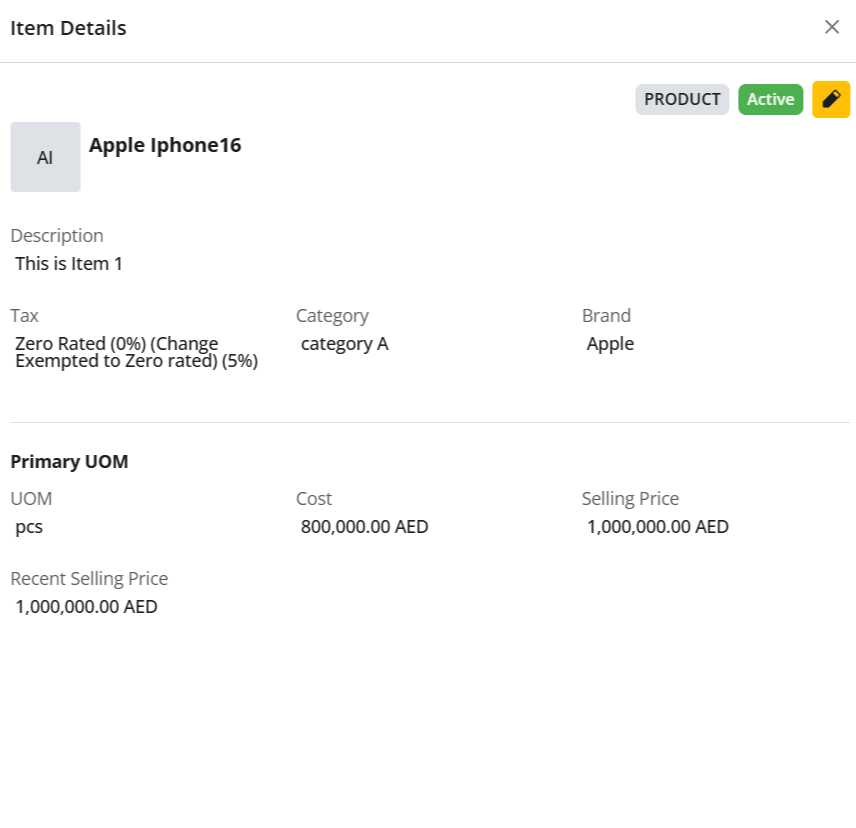
View Items
To view the details of an item
Click ⋮ 3 dots
Select View.
A side sheet will open up with all the item details.
Update
To update an item
Click ⋮ 3 dots
Select Update.
Make required changes.
Click Save.
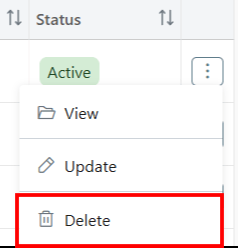
Delete
You must ensure an item is not associated with any modules. If so, item cannot be deleted.
To delete an item;
Click ⋮ 3 dots
Click on Delete.
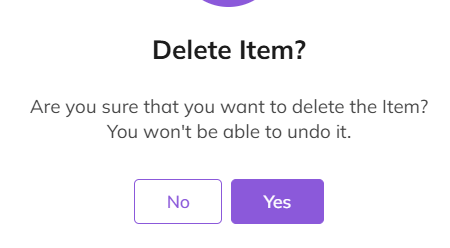
Confirm deletion.
The item will be deleted from the system.
If item is associated with some modules, you will receive an error message.
Make required changes to proceed.
Filter and Search
Use search bar for quick access
Filter by category/type or other fields
Clear filters to reset view
Discover how Zhylar can streamline your sales and elevate your business processes. Visit our website or book a demo today to experience the difference!
In Zhylar, importing items lets you quickly add your complete product or service catalogue. This includes item names, descriptions, prices, tax details, and units of measurement. You can import from external sources like spreadsheets or CSV files into a centralised inventory. This streamlines sales processes, ensures accuracy, and makes it easier for your team to create quotes, orders, and invoices.
Importing Leads is a quick way to add leads in bulk whilst avoiding any errors.
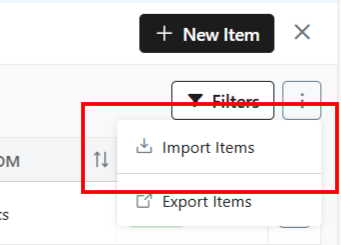
From the top-right hand corner, click ⋮ 3 dots beside Filters
Select Import Items.
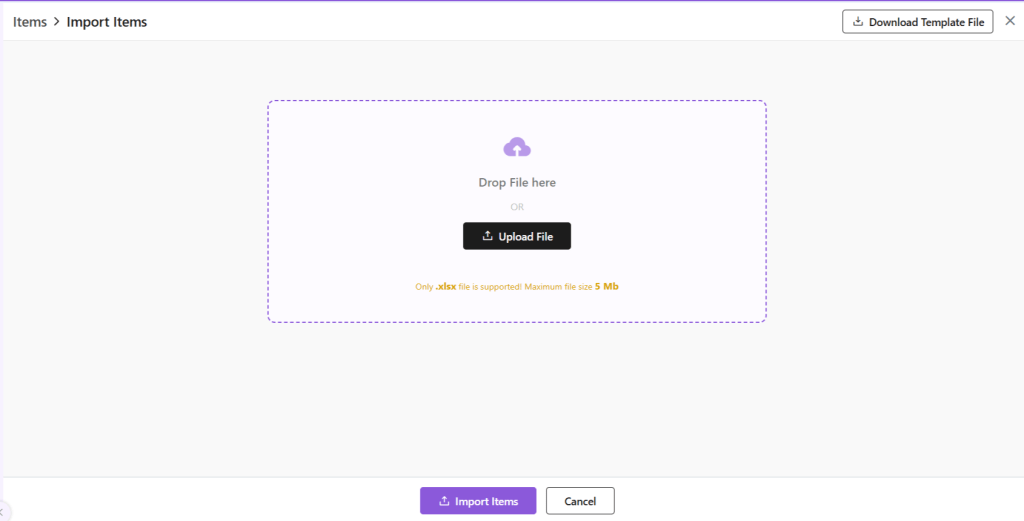
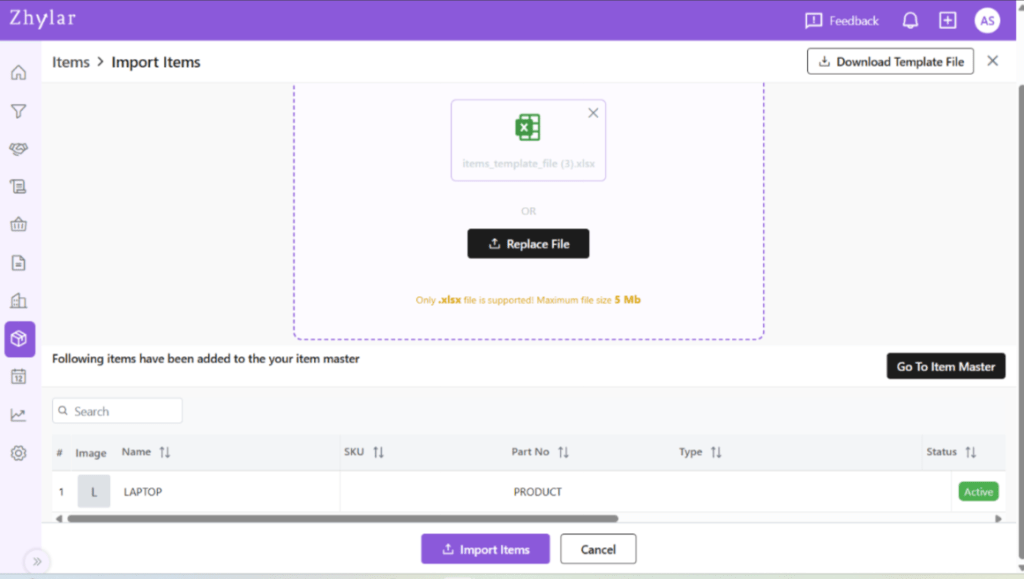
You will be taken to a new page.
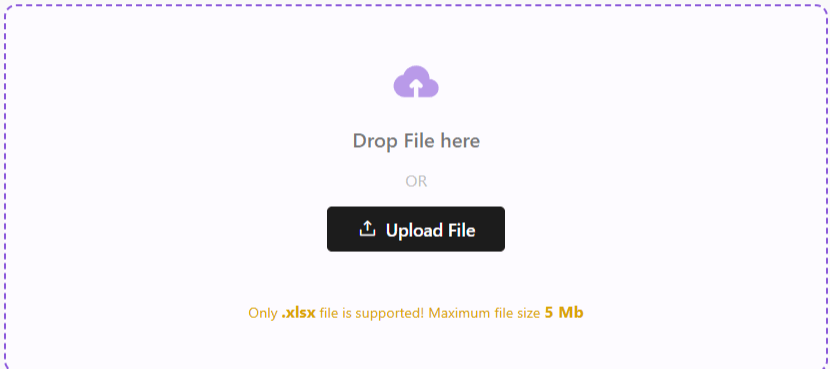
Upload a file in .xlsx format with the details of your leads.
If file is not ready, Download Template File from the right-hand corner.
Fill out the data in the filed provided.
All fields marked in * are mandatory.
Once done, upload this file back in the space provided.
Click Import Items.
Your Items will be added to the system.
From here, click on Go to Item Master to go to the Items module.
The imported item will be reflected in the Item List View.
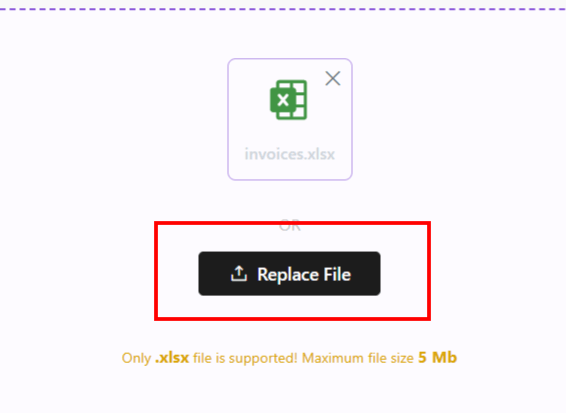
In case there is an error with the file upload, simply click Replace File and try again.
Once your Items have been imported, you can now proceed. Read about how to navigate through the Items module at Zhylar.
Discover how Zhylar can streamline your sales and elevate your business processes. Visit our website or book a demo today to experience the difference!
In Zhylar, importing customers allows you to bring all your existing customer data into one secure, centralised database. You can include names, contact details, purchase history, and account information. This data comes from external sources like spreadsheets, CSV files, or other software. This ensures your team has organised, up-to-date information to manage relationships effectively and deliver personalised service.
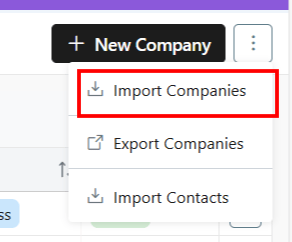
From the top-right hand corner, click ⋮ 3 dots beside +New Company
Select Import Companies.
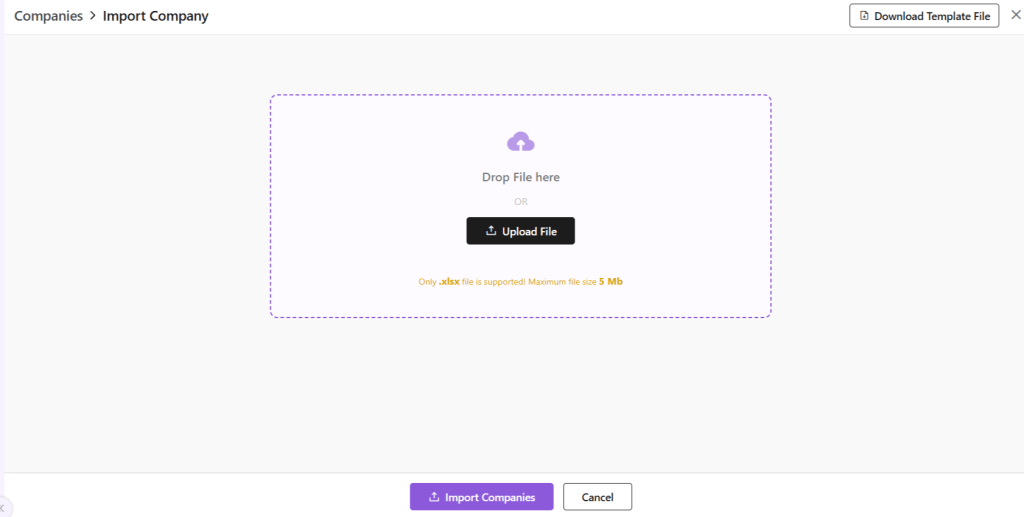
You will be taken to a new page.
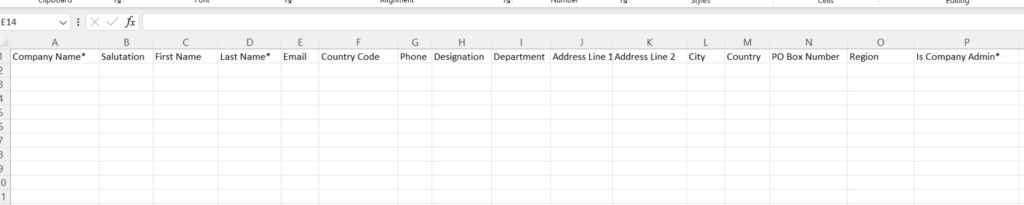
Upload a file in .xlsx format with the details of your Companies.
If file is not ready, Download Template File from the right-hand corner.
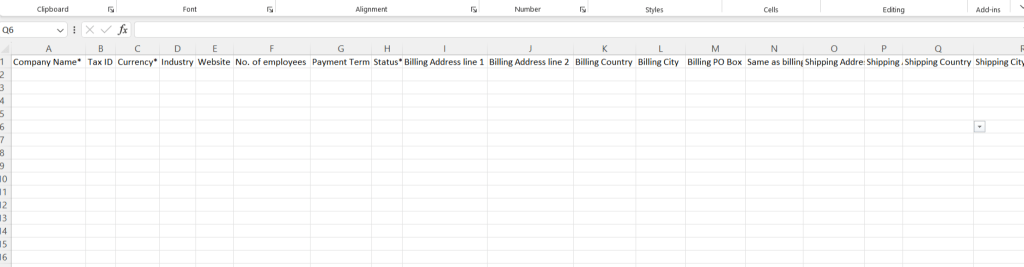
Fill out the data in the filed provided.
All fields marked in * are mandatory.
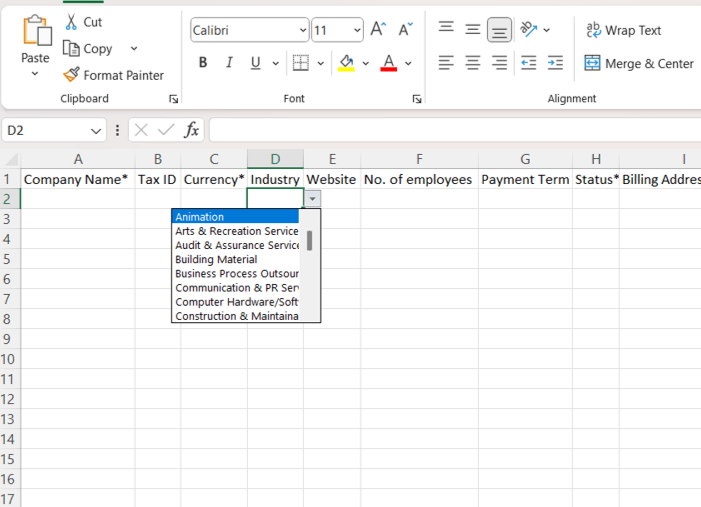
For some fields, entry can be punched manually.
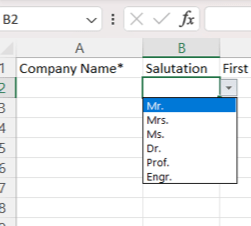
For others, such as country code, industry and such, a drop-down arrow will be there. You can select one of the pre-filled values.
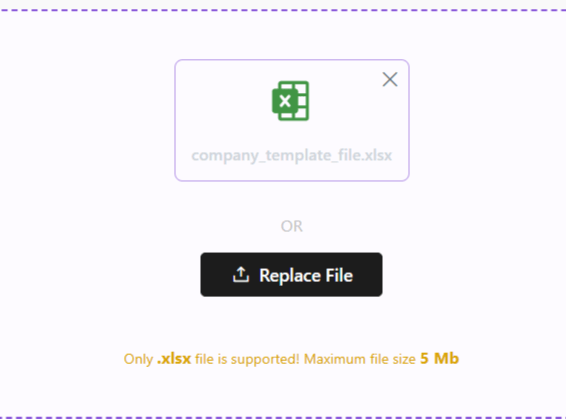
Once done, upload this file back in the space provided.
Click Import Companies.
Your Companies will be added to the system.
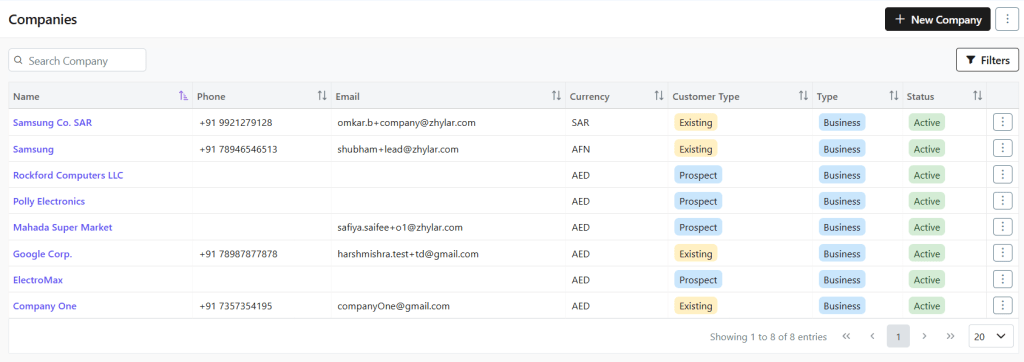
Click on Go to All Companies to go to Company List View page.
You can now see this newly added company in the list view.
In case there is an error with the file upload, simply click Replace File and try again.
Once your Companies have been imported, you can now proceed. Read about how to navigate through the Companies module at Zhylar.
Discover how Zhylar can streamline your sales and elevate your business processes. Visit our website or book a demo today to experience the difference!
Contacts in a CRM system are individual people your business interacts with, such as customers, prospects, or partners. They store key details like name, phone number, email, and job title. Each contact is linked to companies (accounts), deals, and activities. This linkage allows your team to track every conversation and interaction in one place. It enhances better relationship management.
From the top-right hand corner, click ⋮ 3 dots beside +New Company
Select Import Contacts.
You will be taken to a new page.
Upload a file in .xlsx format with the details of your leads.
If file is not ready, Download Template File from the right-hand corner.
Fill out the data in the filed provided.
All fields marked in * are mandatory.
For some fields, entry can be punched manually.
For others, such as salutation, country and such, a drop-down arrow will be there. You can select one of the pre-filled values.
Once done, upload this file back in the space provided by clicking on the Upload File button.
Click Import Contacts.
Your Contacts will be added to the system.
Click on Go to All Contacts to go to Contact List View page.
You can now see this newly added company in the list view.
In case there is an error with the file upload, simply click Replace File and try again.
Once your Contacts have been imported, you can now proceed. Read about how to navigate through the Companies module at Zhylar.
Discover how Zhylar can streamline your sales and elevate your business processes. Visit our website or book a demo today to experience the difference!
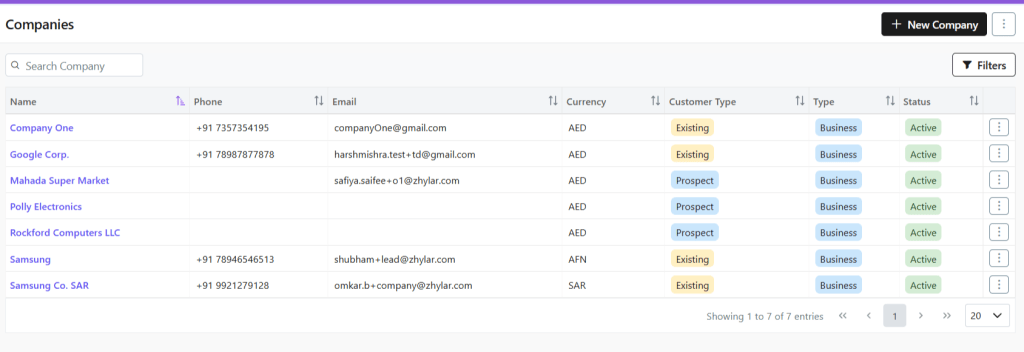
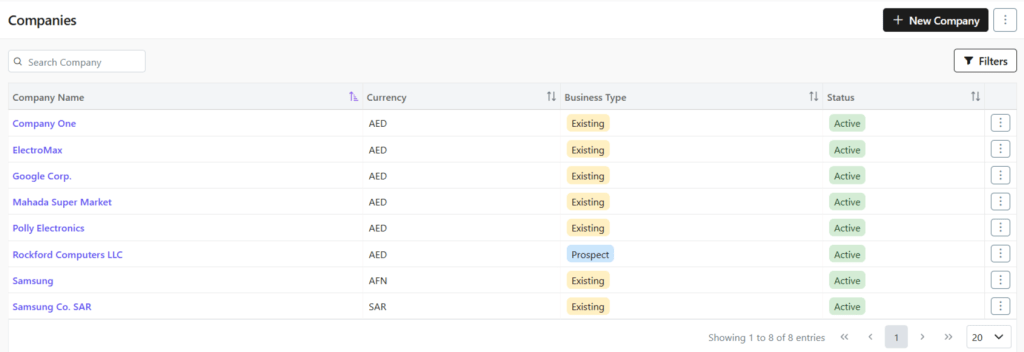
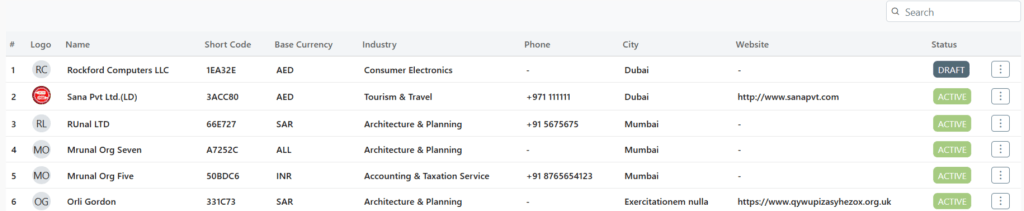
Here, you can find a list of all the companies added to the system.
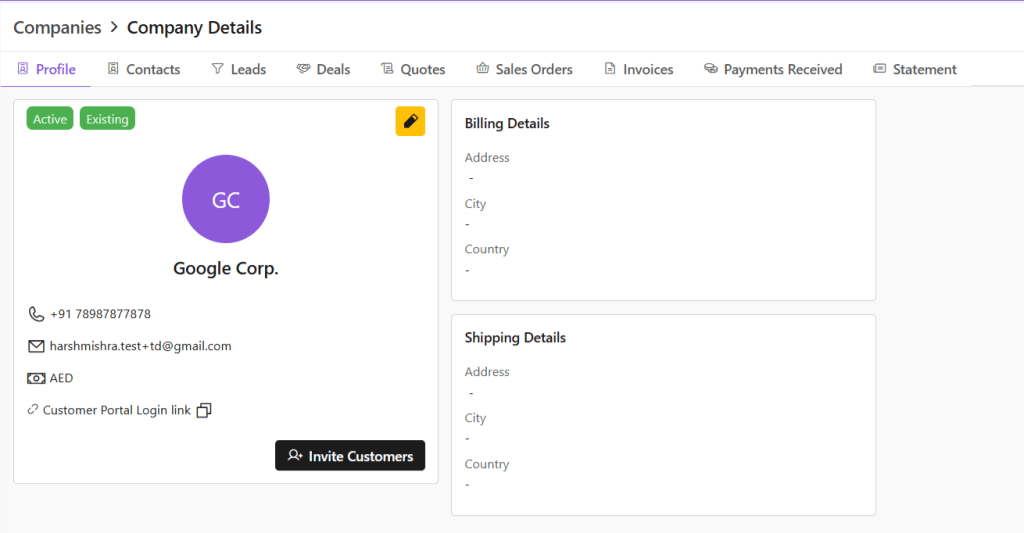
Viewing a Company Profile
To view the details of any company,
Click any company name
See complete company overview
Basic information
Recent activities
Linked contacts/deals
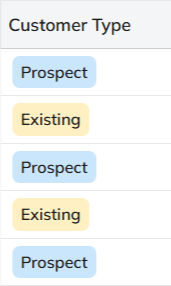
Customer Type
A company is categorized as:
Existing: A customer you’re already dealing with.
Prospect: Each customer/company is marked as a “prospect” until an invoice is generated and payment is made for said company. Once payment is made, the company is marked as “existing”.
Search Filter
Conduct a universal search across all fields through the search box.
Or search/sort through Name/Phone no./Email/Currency/Customer Type/Status.
Or, you can use the Filter button to filter your searches from a range of filters.
Check all details of the company, e.g., status, customer type, etc.
Click ✏️ Edit (yellow-highlighted pen) to edit details or invite customers directly.
Switch tabs to check data in specific modules, e.g., contacts, leads etc.
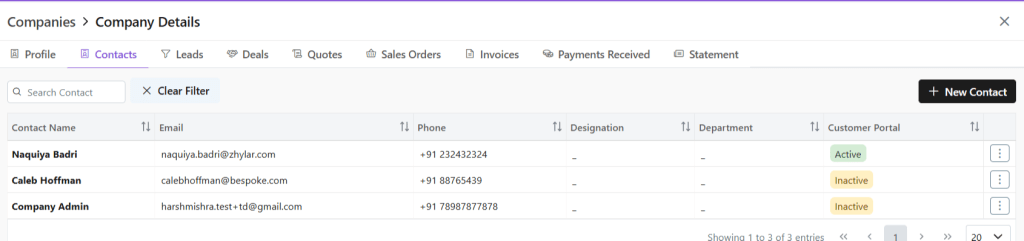
Managing Contacts
A contact is an individual person associated with a company. This person might be a decision-maker, buyer, or support staff. Your team communicates with them during business interactions.
View Contacts
Click Contacts tab
See all users added to the company
Conduct universal search or filter by fields
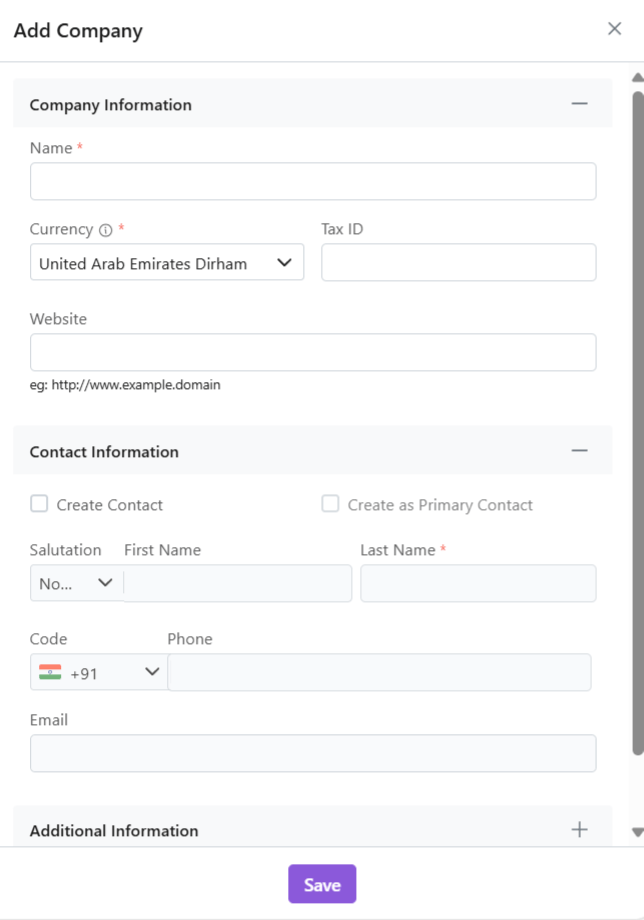
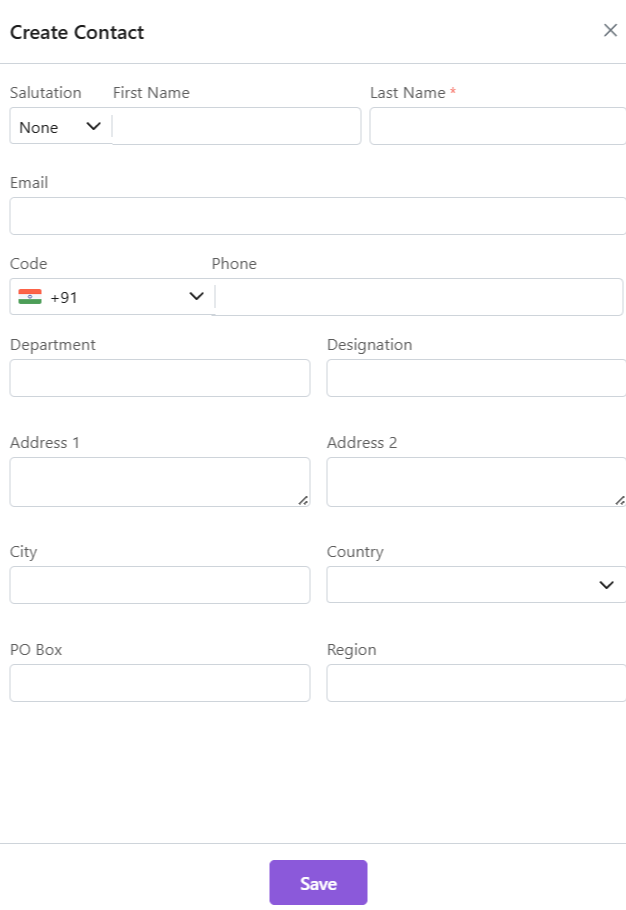
Adding a New Contact
Click “+ New Contact”
Fill required data.
Click “Save.”
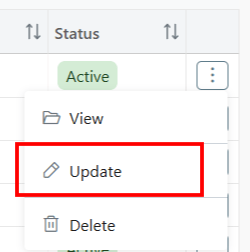
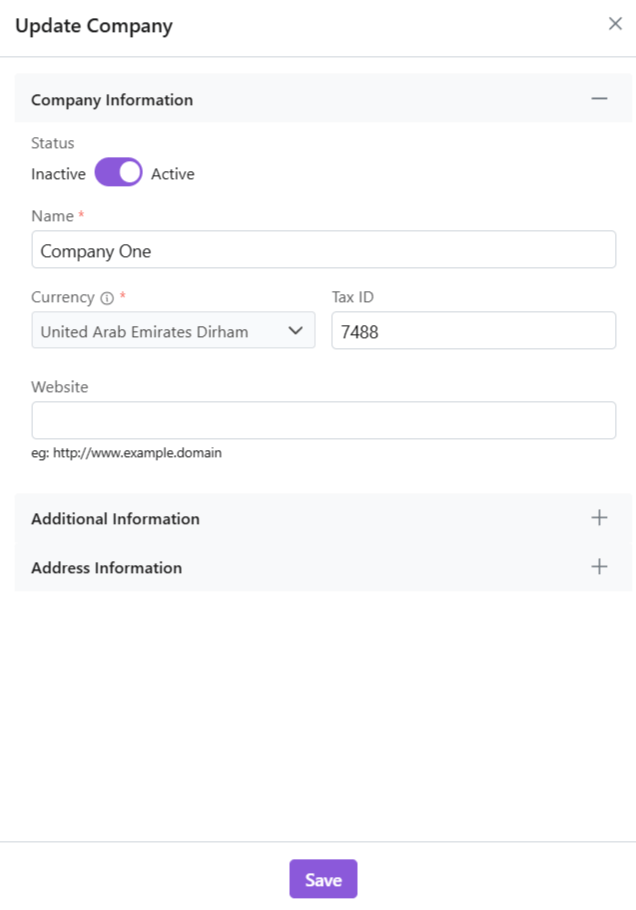
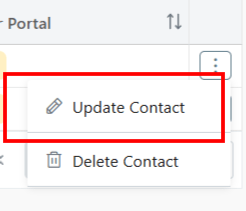
Update Contact
Click ⋮ 3 dots
Select Update
Make changes
Click Save.
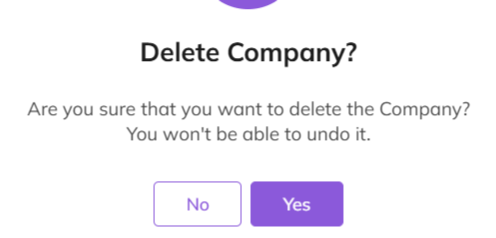
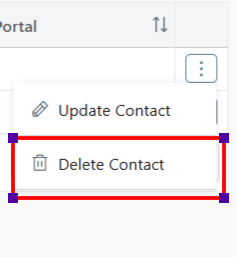
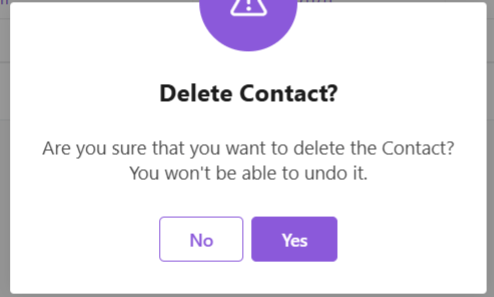
Delete Contact
Delete: Click ⋮ 3 dots
Select Delete
Provide Confirmation.
Business Activities
Leads
Click Leads tab
View all potential opportunities
Click lead name for details
Conduct universal search or sort by fields in ascending or descending order.
Deals
Click Deals tab
See all active negotiations
Add New Deal:
Click “+ New Deal”
Fill required details.
Save deal.
Conduct universal search or sort by fields in ascending or descending order.
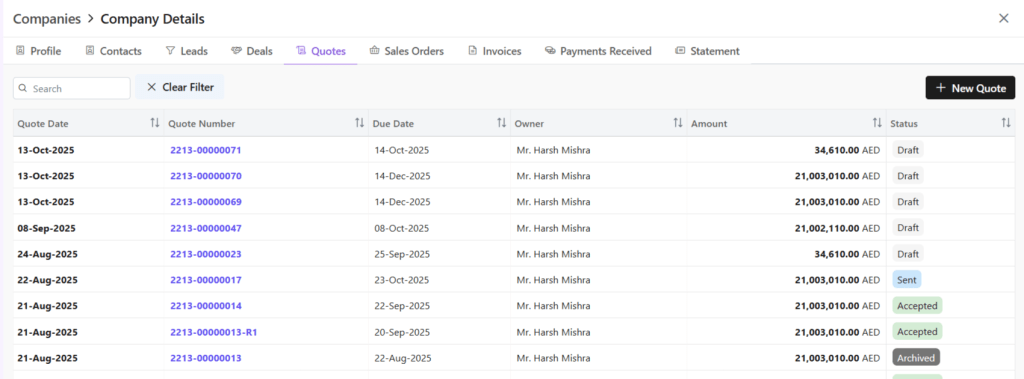
Quotes
Click Quotes tab
See all Quotes
Add New Quote:
Click “+ New Quote”
Fill required details.
Save as draft or save and send quote.
Conduct universal search or sort by fields in ascending or descending order.
Sales Orders
Click Sales Order tab
See all Sales Orders
Add New SO:
Click “+ New Sales Order”
Fill required details.
Save as draft or save and send quote.
Conduct universal search or sort by fields in ascending or descending order.
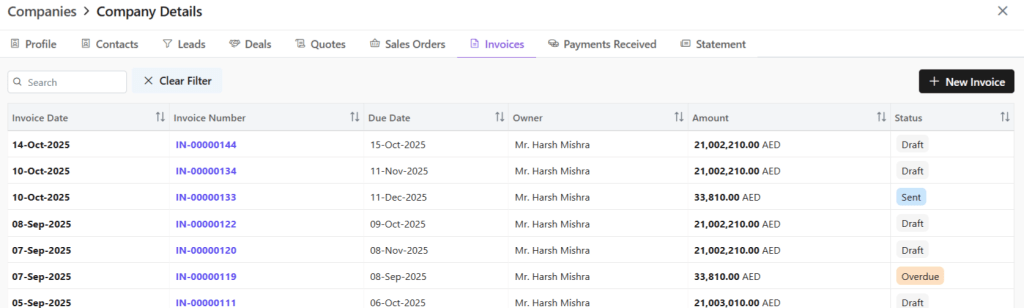
Invoice
Click Invoice tab
See all invoices
Add New Invoice:
Click “+ New Invoice”
Fill required details.
Save as draft or save and send invoice.
Conduct universal search or sort by fields in ascending or descending order.
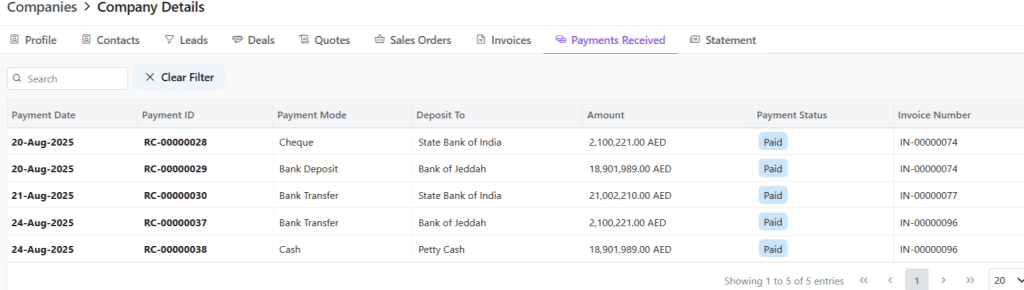
Payments Received
Check financial transactions for this company.
Click on any payment document number to view all details.
Redirected to Invoice module.
Check all details for this invoice, timeline, notes, emails, etc.
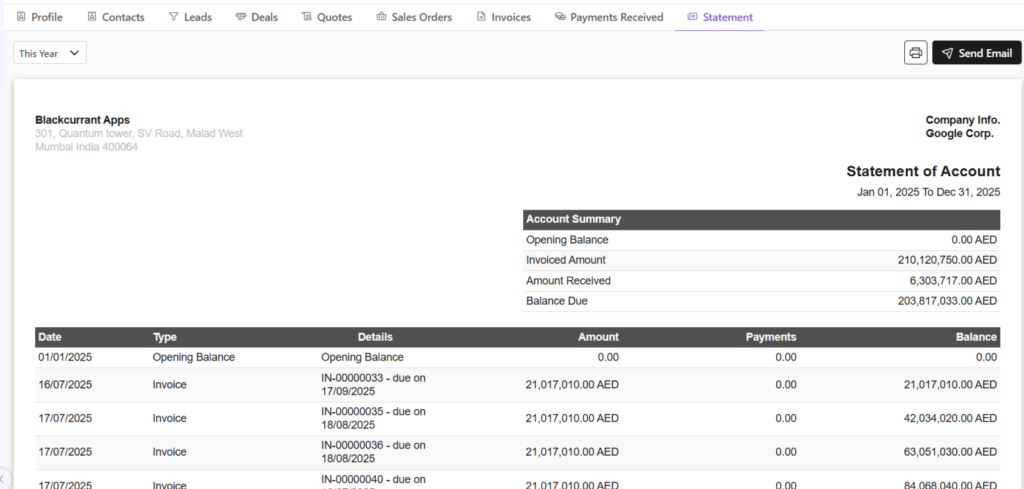
Statement
Statement of accounts is a detailed summary of all financial transactions between a company and a customer. It covers a specific period and shows invoices, payments, credits, and the remaining balance.
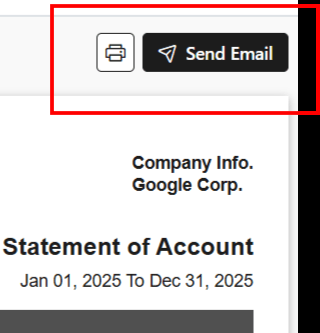
You can email the statement to your client by clicking on Send Email.
Discover how Zhylar can streamline your sales and elevate your business processes. Visit our website or book a demo today to experience the difference!
In a CRM product, organization onboarding is the process of setting up a new company to use the system effectively. It involves configuring features, training users, importing data, and integrating workflows.
At Zhylar, onboarding tailors the CRM to an organization’s needs, including custom fields, workflows, and dashboards aligned with their processes.
The user whose credentials are being used will be added as the Organization Admin or CEO.
Click on “Add Organization”.
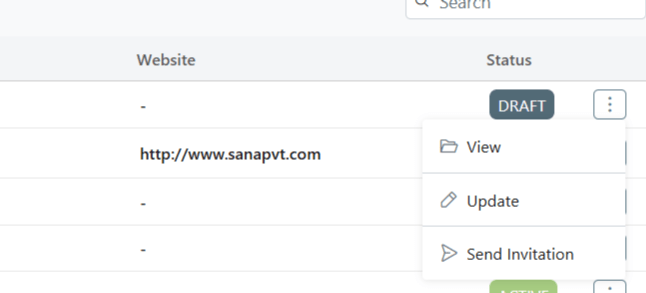
The status will show as draft initially. The user must be invited via email.
To send invitation, click on the 3 dots at the of the row.
Select “Send Invitation”
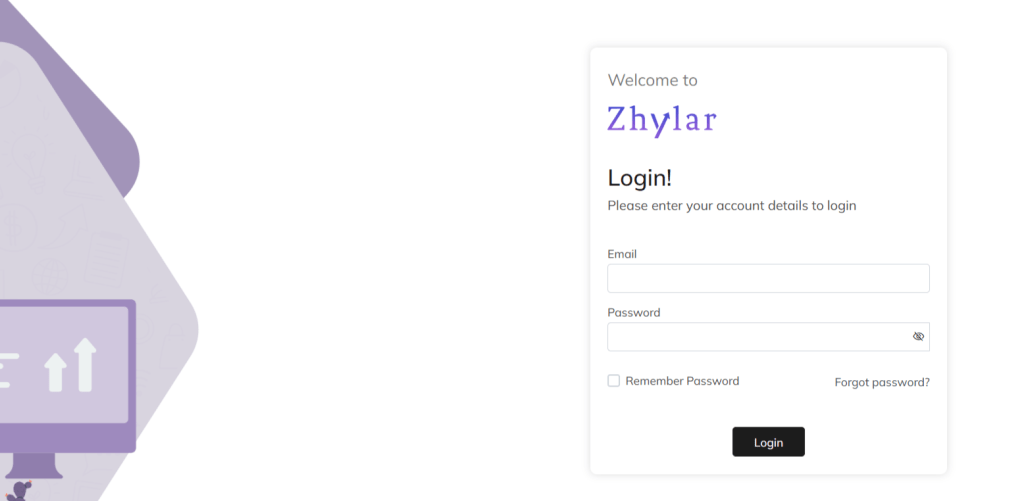
The user needs to go to their email to set up the account through the confirmation email sent. This email will be sent on the email ID provided by the user.
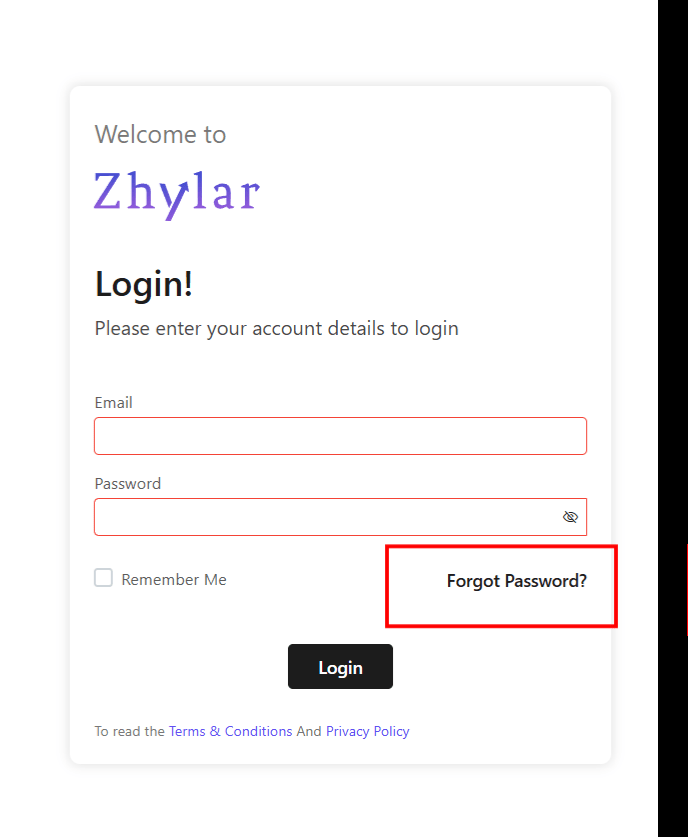
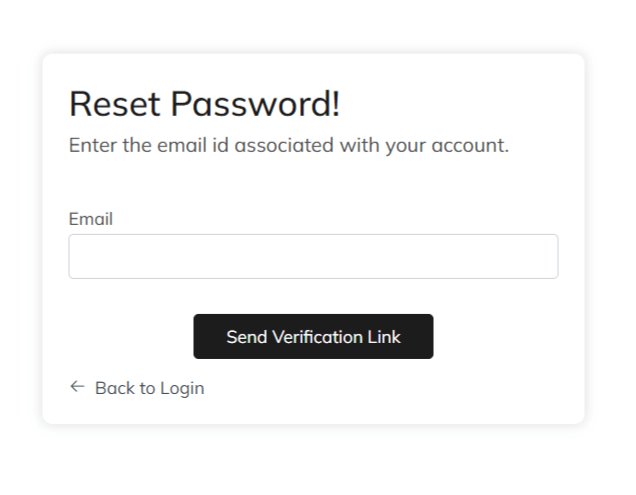
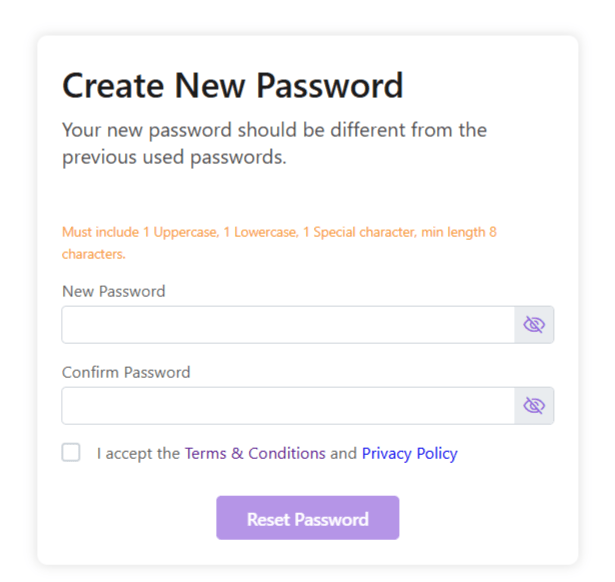
The link will redirect user to a password reset page. Reset your password proceed.
Add Organization
The organization onboarding can be done in 3 steps. The user must add the following:
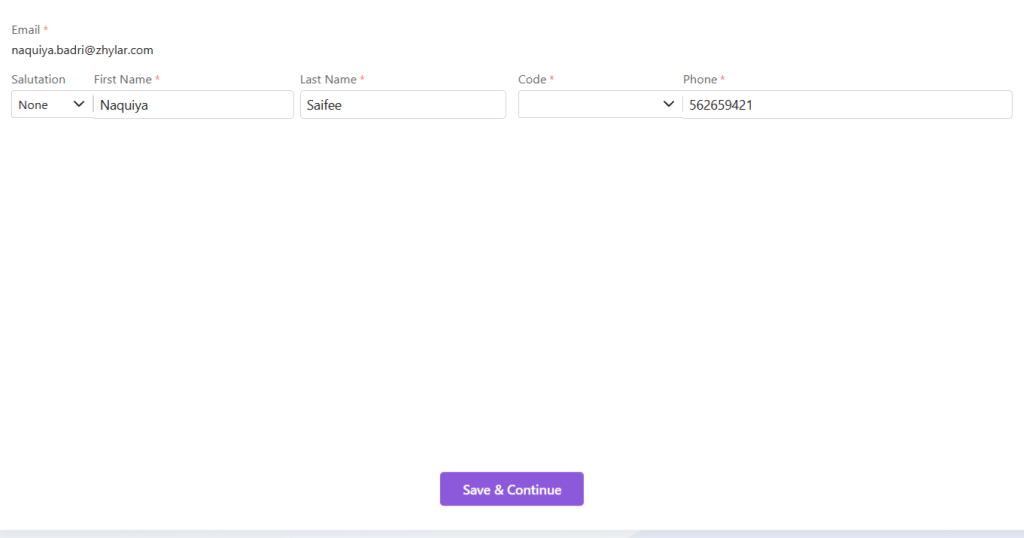
Personal details- details of the Organization Admin himself/herself
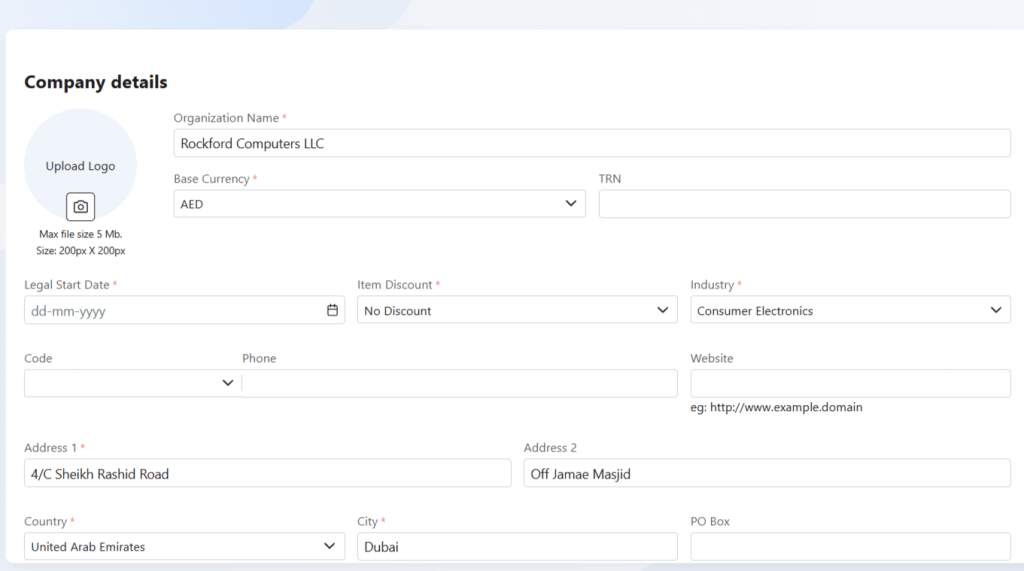
Company details- details of your organization
Invite users- add your teammates and employees to join your organization on the Zhylar platform.
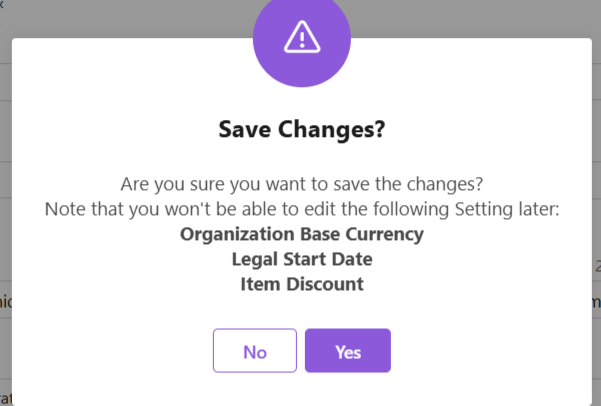
Under company details, please note the following:
Critical Setup (Immutable Fields)
Field
Importance
Base Currency
All transactions recorded in this currency
Legal Start Date
Contractual reference point
Item Discount
Line/total/none
These cannot be changed post-setup.
Add user details
Insert email ID
Click “Send Invite”
Tracking:
Status: “Invited” → “Active”
Monitor via: Configuration > User Management
Post-Setup
Admin completes company/user profiles
Configure workflows/dashboards
Discover how Zhylar can streamline your sales and elevate your business processes. Visit our website or book a demo today to experience the difference!
Your password will be reset. Login and begin using Zhylar!
Make a note on your device for future reference.
Discover how Zhylar can streamline your sales and elevate your business processes. Visit our website or book a demo today to experience the difference!
The Search and Filter feature in Zhylar helps users quickly find the exact information they need. It eliminates the need to scroll through endless records. With global search, you can look up leads, deals, customers, or items in seconds. Filters allow you to narrow results by conditions like deal stage, lead source, industry, date, or owner.
This saves time, reduces errors, and ensures sales teams always focus on the most relevant records. For example, a manager can filter leads generated “this month” or leads by “owner.” Adding more than one filter helps you quickly narrow down to the exact records you need without wasting time.
Use Cases
Find hot leads – A sales rep filters leads marked “High Priority” created in the last 7 days.
Check pending invoices – The finance team searches for invoices that are still pending or overdue.
See campaign results – A marketing manager filters leads from an email campaign to check how many converted.
The Filter option is available in the following modules:
Leads
Deals
Quotes
Sales Orders
Invoices
Companies
Items
Tasks (Under Activities)
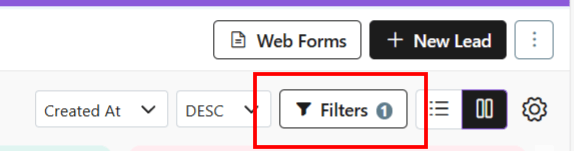
For each module, you can find the Filter button on the top right-hand corner of the page.
The Filters differ from module to module based on the module itself.
Leads
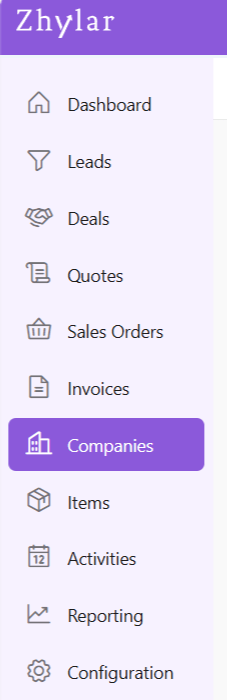
From the left-hand navigation panel, click on Leads.
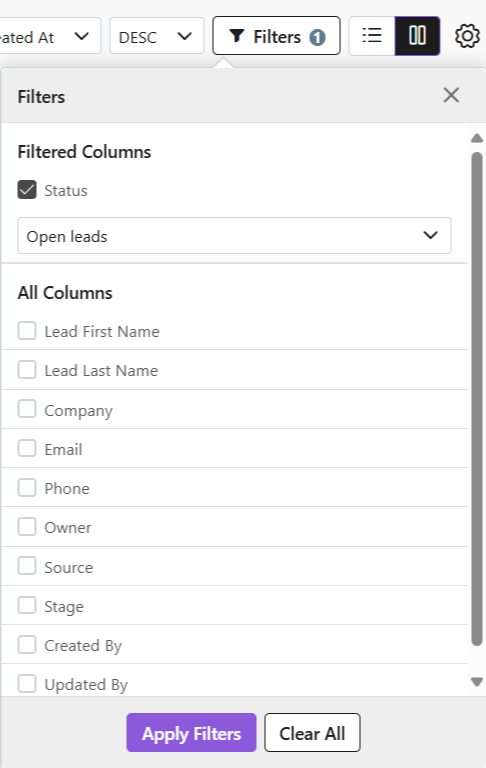
On the top-right hand corner, select Filters. A list of all the filters will show in a drop-down menu.
Select all required Filters.
Click Apply Filters.
Once done, or to make a new search, click Clear All to see all results.
All Filters will be cleared and the entire List View will show again.
Deals
From the left-hand navigation panel, click on Deals.
On the top-right hand corner, select Filters. A list of all the filters will show in a drop-down menu.
Select all required Filters.
Click Apply Filters.
Once done, or to make a new search, click Clear All to see all results.
All Filters will be cleared and the entire List View will show again.
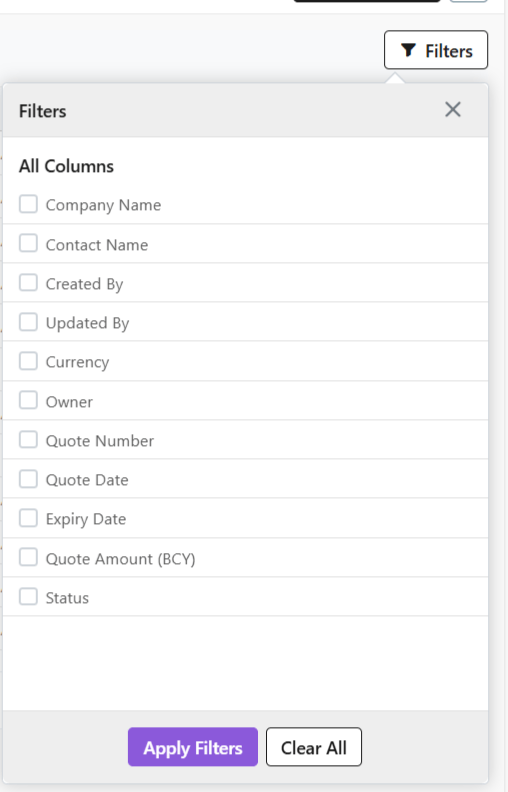
Quotes
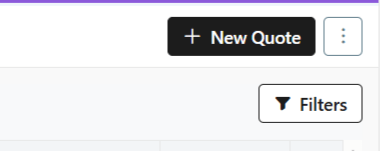
From the left-hand navigation panel, click on Quotes.
On the top-right hand corner, select Filters. A list of all the filters will show in a drop-down menu.
Select all required Filters.
Click Apply Filters.
Once done, or to make a new search, click Clear All to see all results.
All Filters will be cleared and the entire List View will show again.
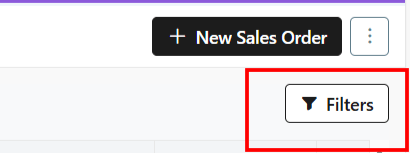
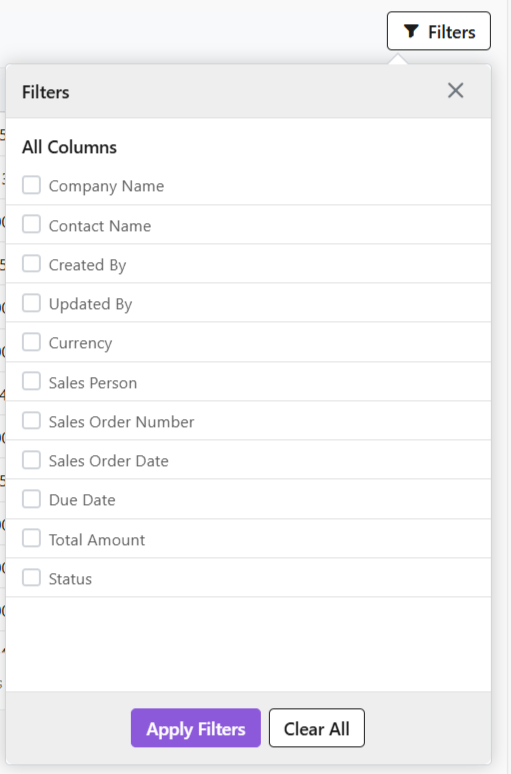
Sales Order
From the left-hand navigation panel, click on Sales Order.
On the top-right hand corner, select Filters. A list of all the filters will show in a drop-down menu.
Select all required Filters.
Click Apply Filters.
Once done, or to make a new search, click Clear All to see all results.
All Filters will be cleared and the entire List View will show again.
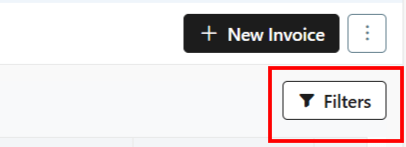
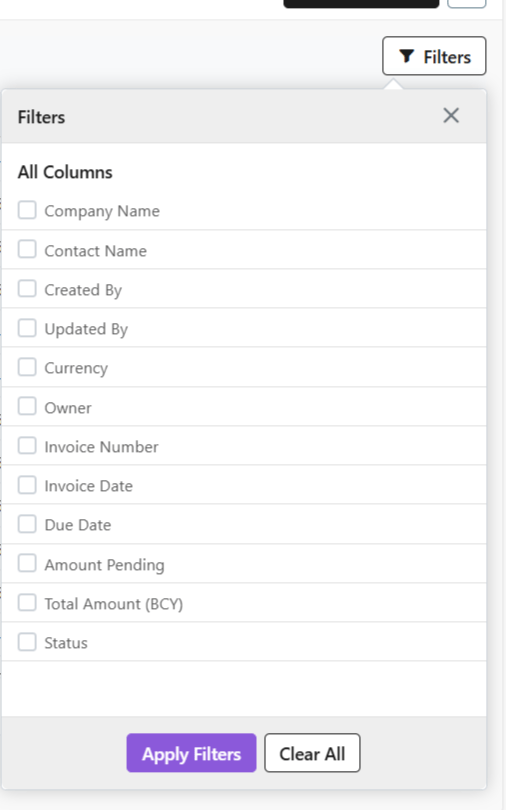
Invoices
From the left-hand navigation panel, click on Invoices.
On the top-right hand corner, select Filters. A list of all the filters will show in a drop-down menu.
Select all required Filters.
Click Apply Filters.
Once done, or to make a new search, click Clear All to see all results.
All Filters will be cleared and the entire List View will show again.
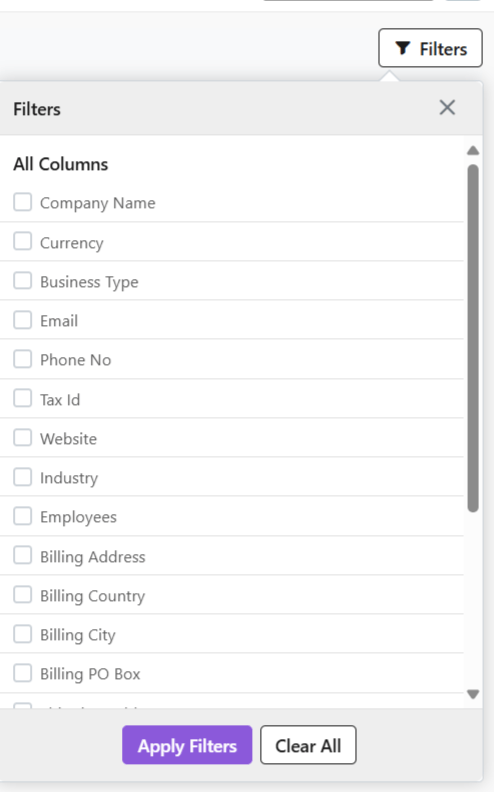
Companies
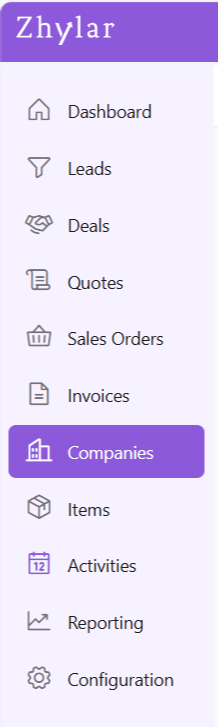
From the left-hand navigation panel, click on Companies.
On the top-right hand corner, select Filters. A list of all the filters will show in a drop-down menu.
Select all required Filters.
Click Apply Filters.
Once done, or to make a new search, click Clear All to see all results.
All Filters will be cleared and all the results will show again.
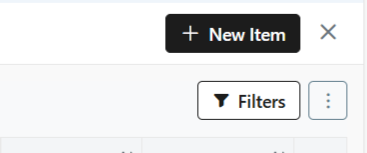
Items
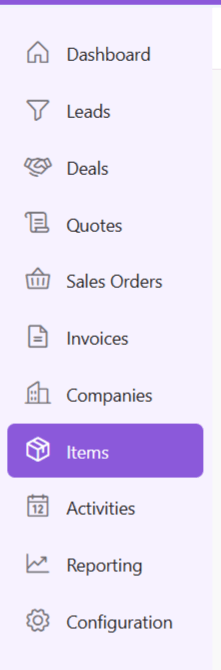
From the left-hand navigation panel, click on Items.
On the top-right hand corner, select Filters. A list of all the filters will show in a drop-down menu.
Select all required Filters.
Click Apply Filters.
Once done, or to make a new search, click Clear All to see all results.
All Filters will be cleared and all the results will show again.
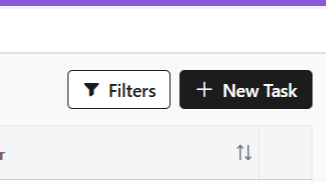
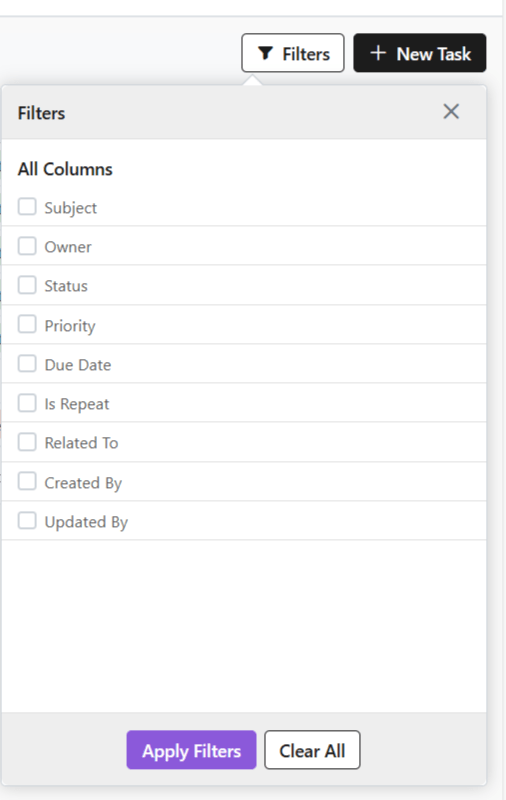
Activities > Tasks
From the left-hand navigation panel, click on Activities
Go to Tasks.
On the top-right hand corner, select Filters. A list of all the filters will show in a drop-down menu.
Select all required Filters.
Click Apply Filters.
Once done, or to make a new search, click Clear All to see all results.
All Filters will be cleared and all the results will show again.
Discover how Zhylar can streamline your sales and elevate your business processes. Visit our website or book a demo today to experience the difference!