Invoices are official documents generated after a sale is completed, detailing the products or services delivered along with payment terms. They help businesses track receivables, manage cash flow, and maintain financial accuracy. With Zhylar, invoices can be created directly from deals or sales orders. This ensures a seamless transition from closing a deal to collecting payment. Everything operates within one centralised system.
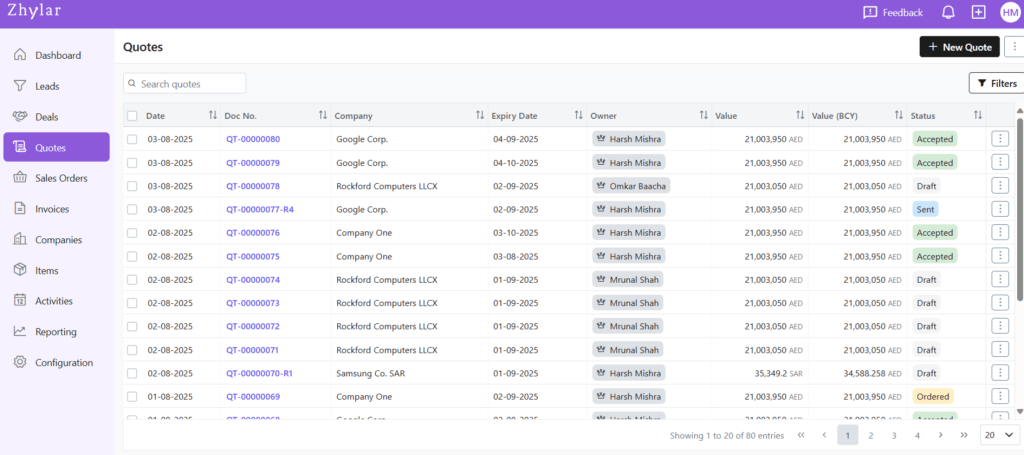
Invoice List View
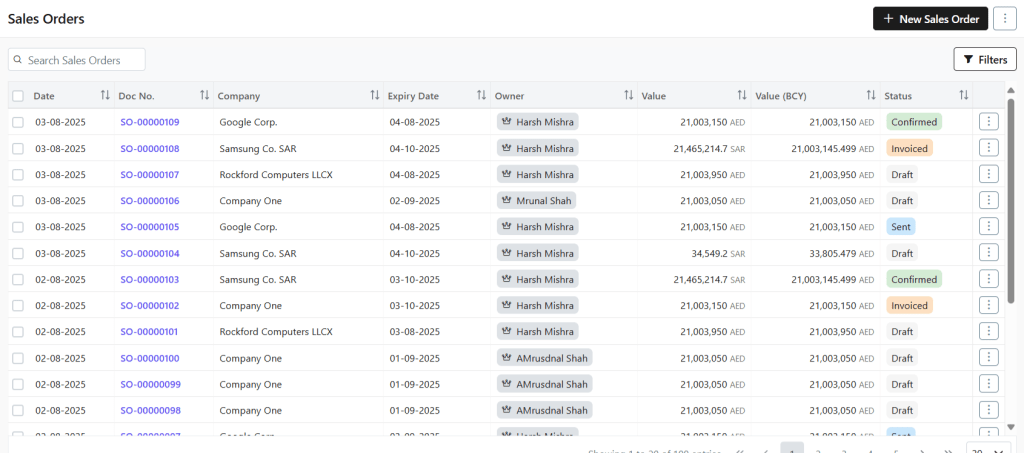
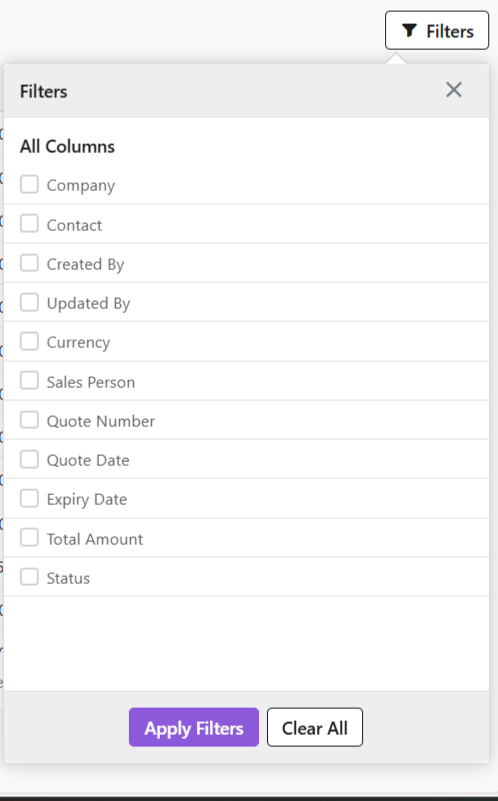
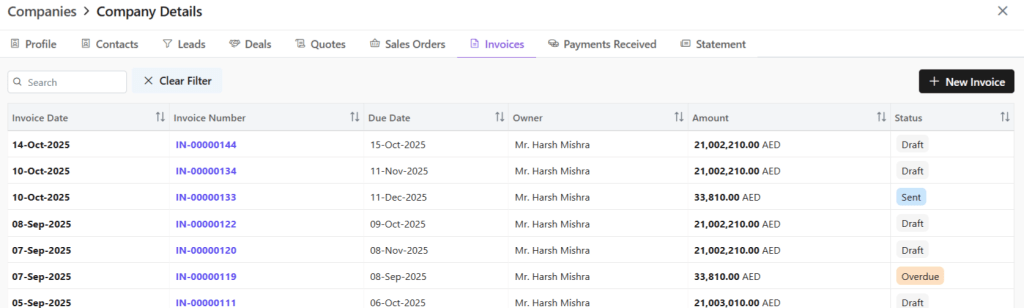
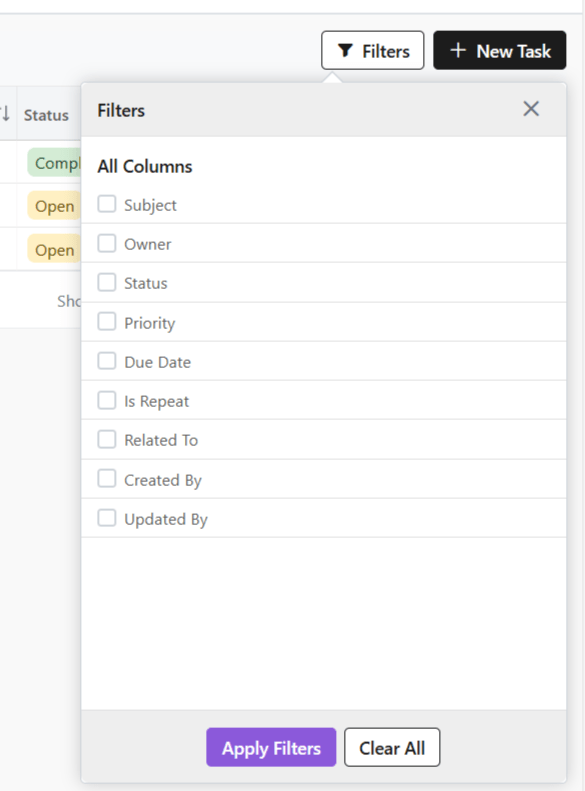
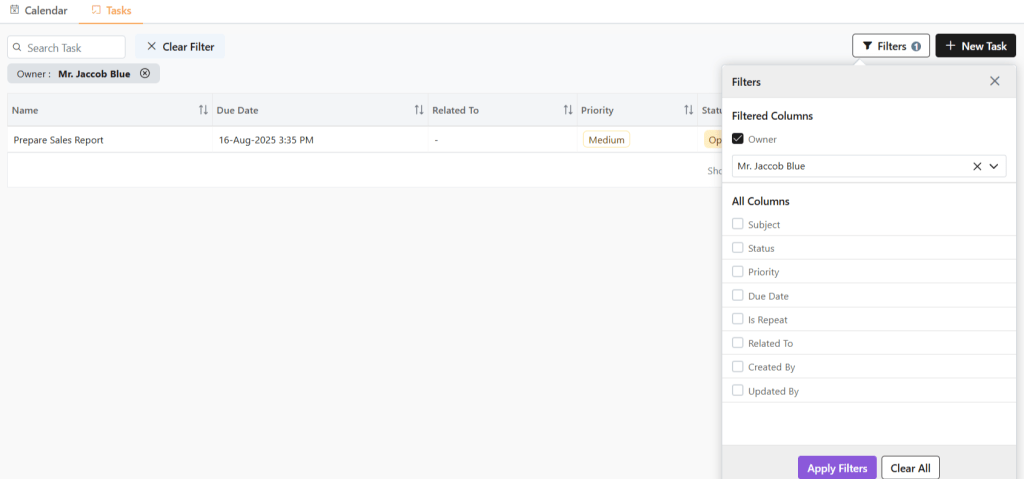
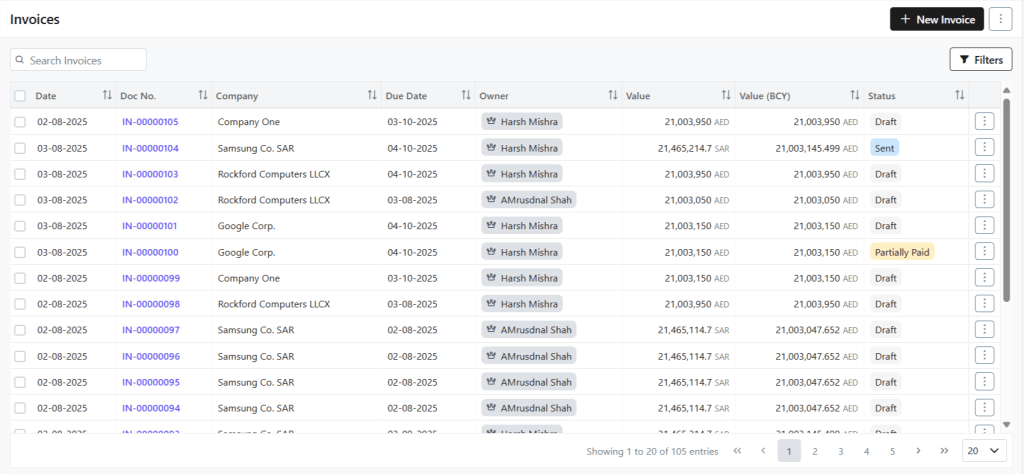
View All Invoices
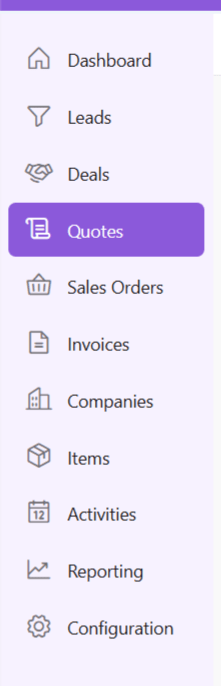
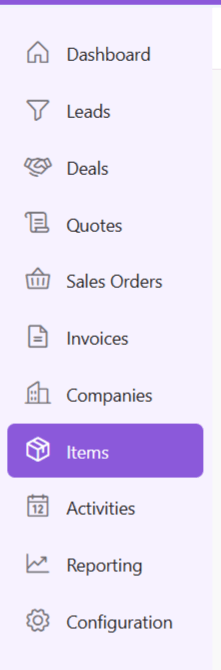
- Log in to Zhylar
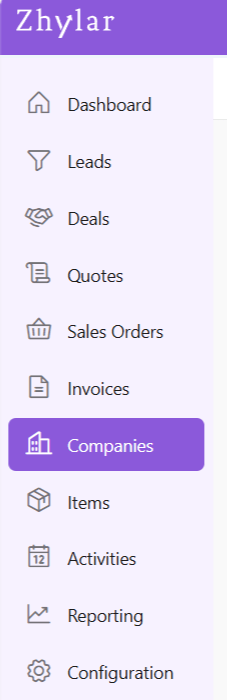
- Go to Left-hand navigation panel
- Click on Invoice
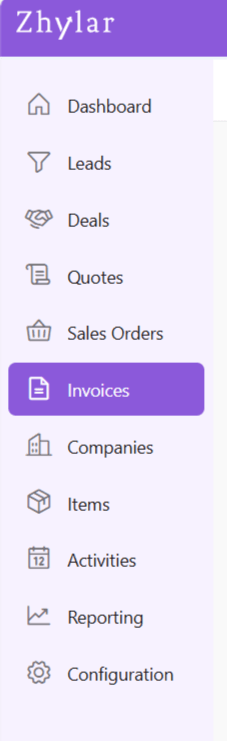
- Here, a list of all the invoices added to the system will appear.
Getting Started
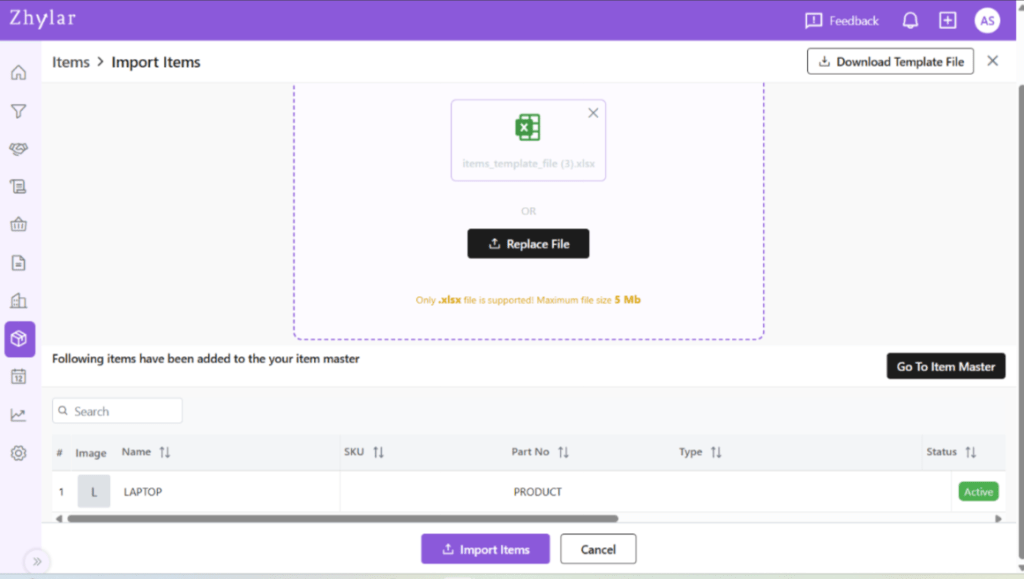
Add New Invoice
An Invoice can be added to the system in several ways.
Invoice Module
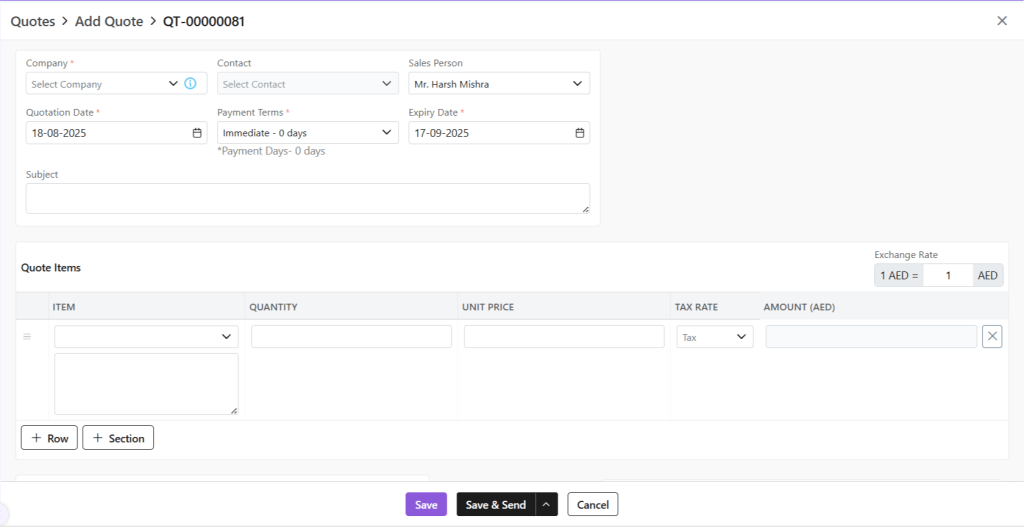
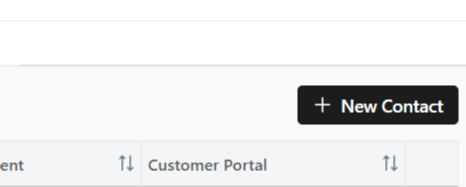
- Click + New Invoice
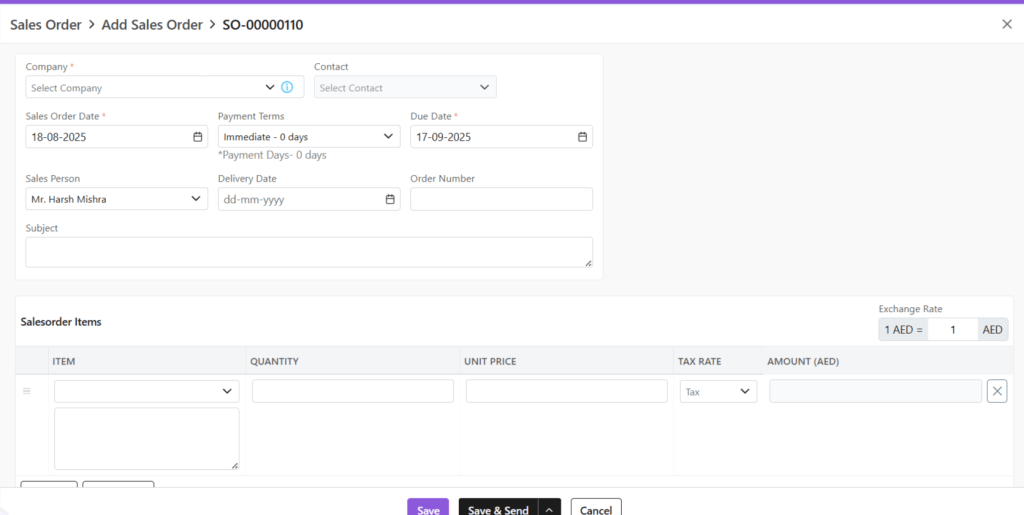
- A new page will open.
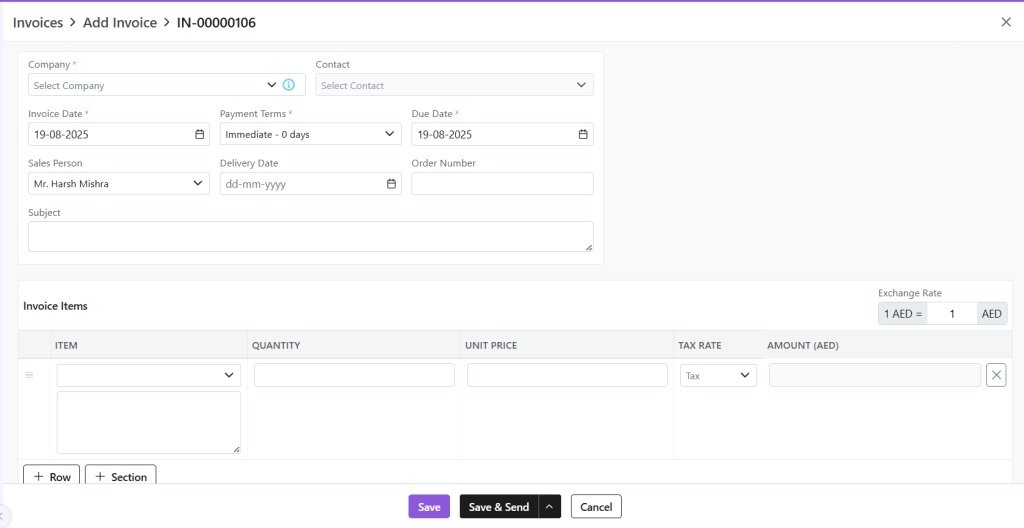
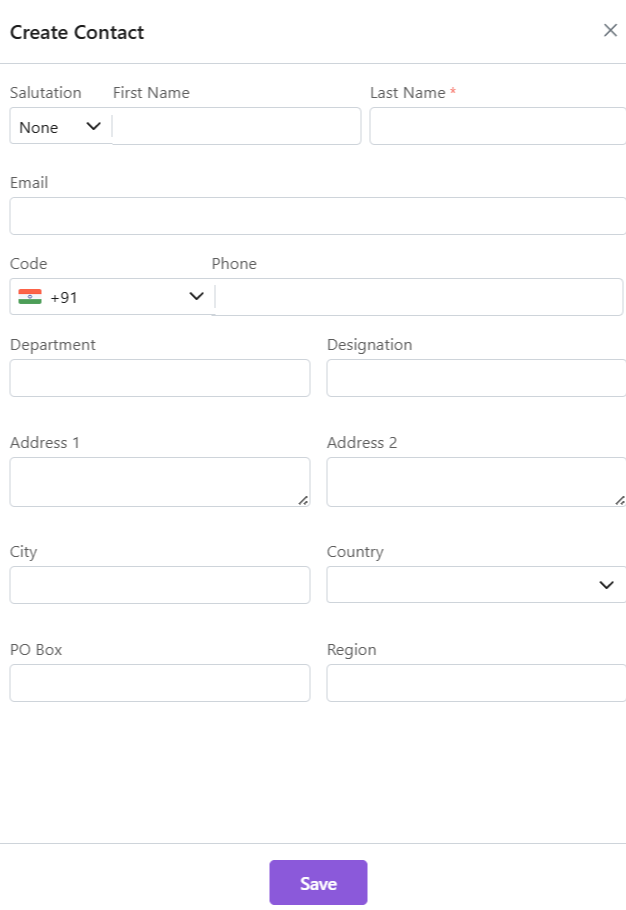
- Fill out the required details.
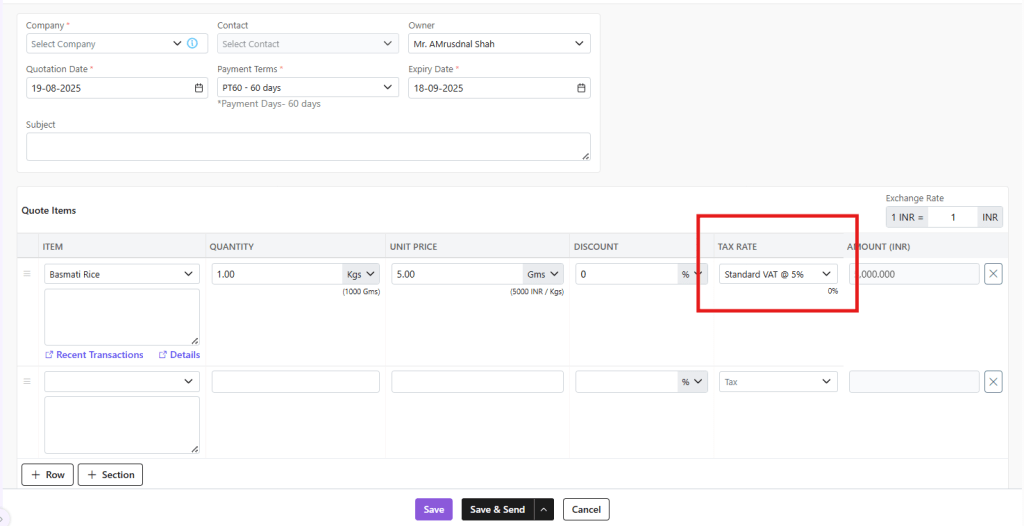
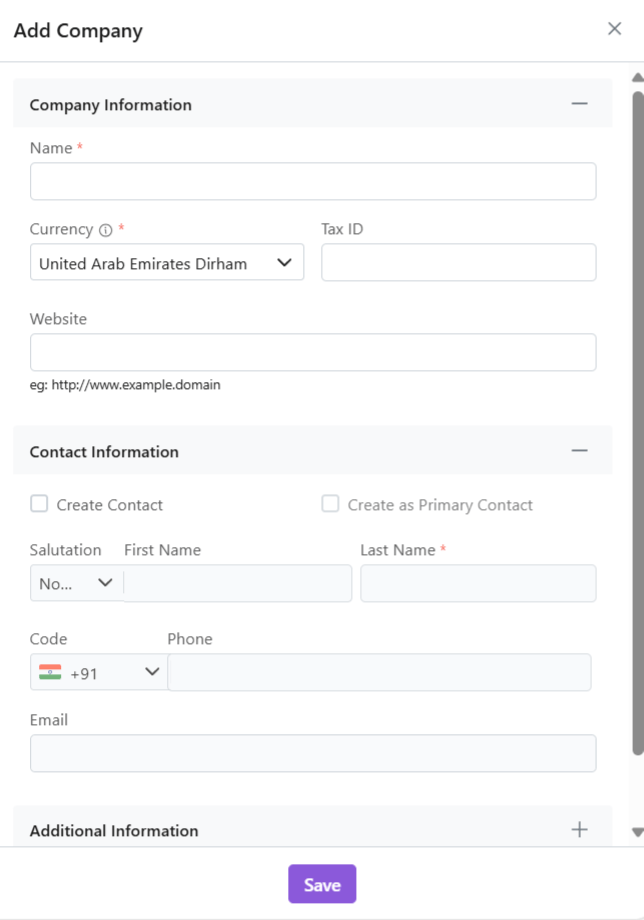
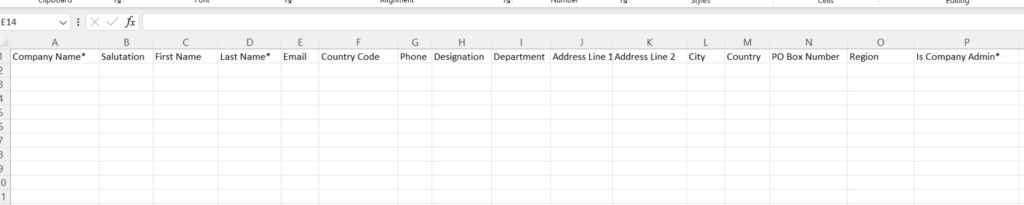
- Company: Select or add a company to whom this invoice is being sent
- Contact: Add contact from that company
- Owner: Owner is the person who created the document or to whom it is assigned
- Invoice Date: Date on which invoice was created.
- Payment Terms: Select or add payment terms
- Due Date: Due date for payment
- Subject: Optional field
- Exchange Rate: Based on company selection, the exchange rate will be populated automatically. You can also manually adjust the exchange rate at the document level itself.
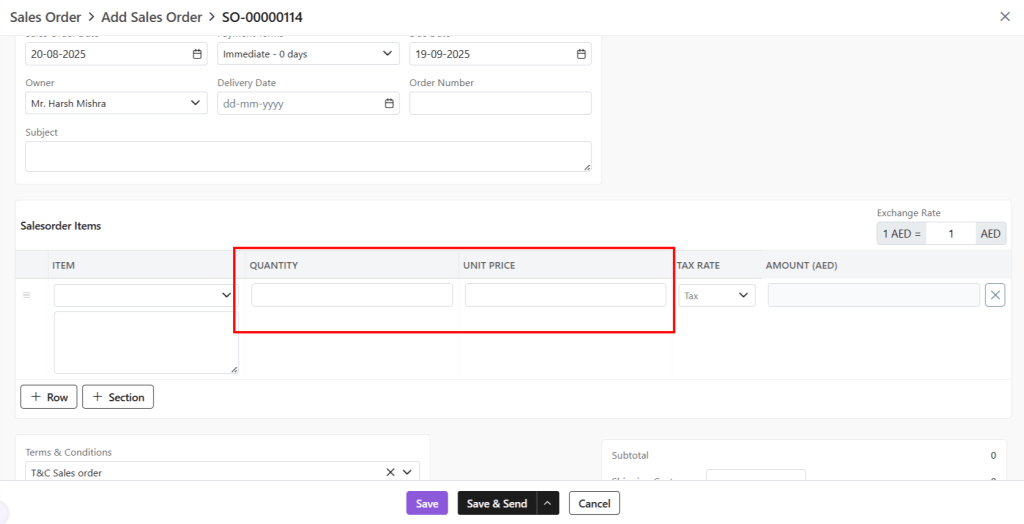
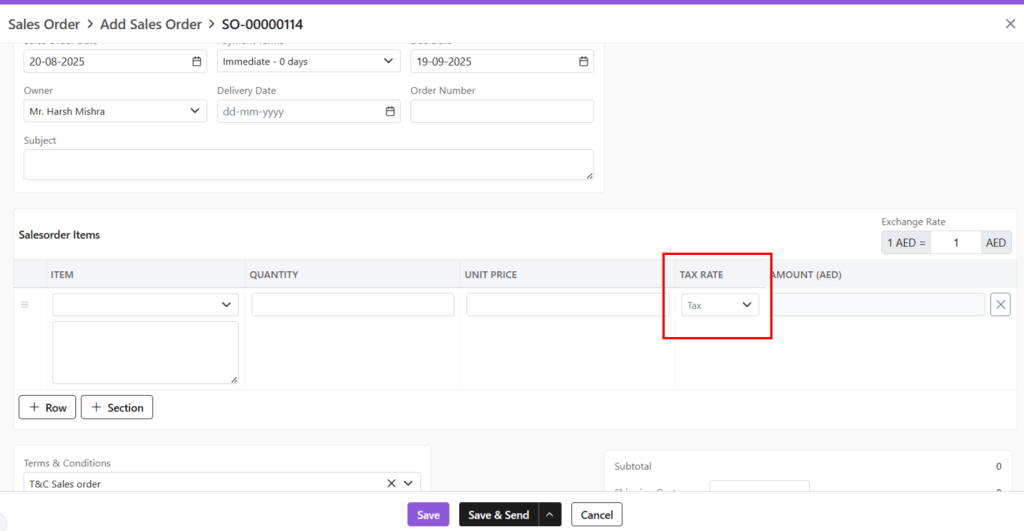
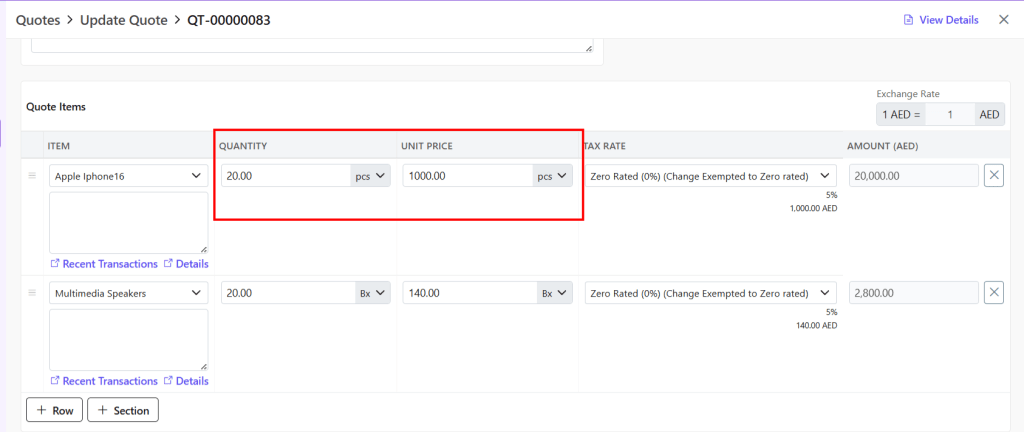
- Invoice Items: Add items to the invoice with a single click.
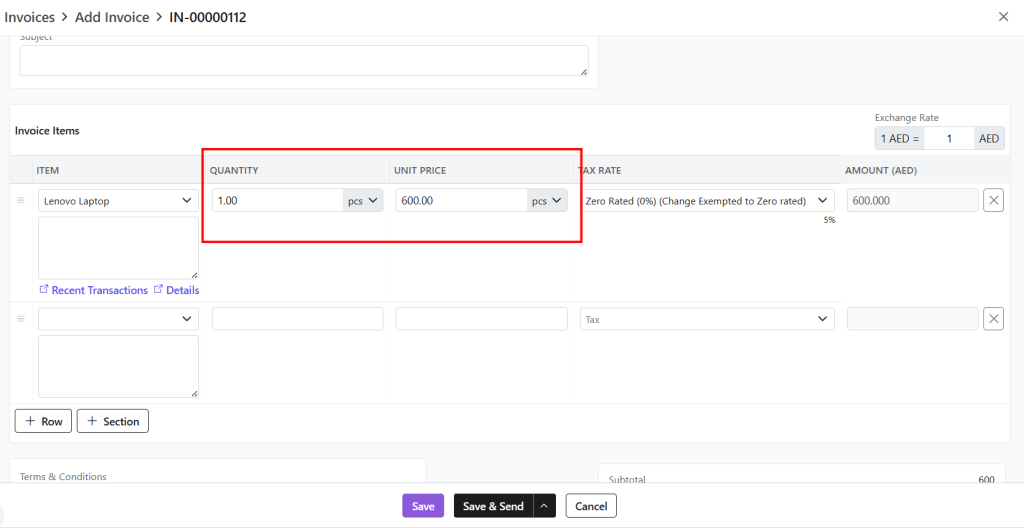
- Modify quantity and unit price
- Zhylar supports the primary and secondary UOM concept. You can specify quantity in any of the primary or secondary UOM. Additionally, unit price can be specified in any of the primary or secondary UOM.
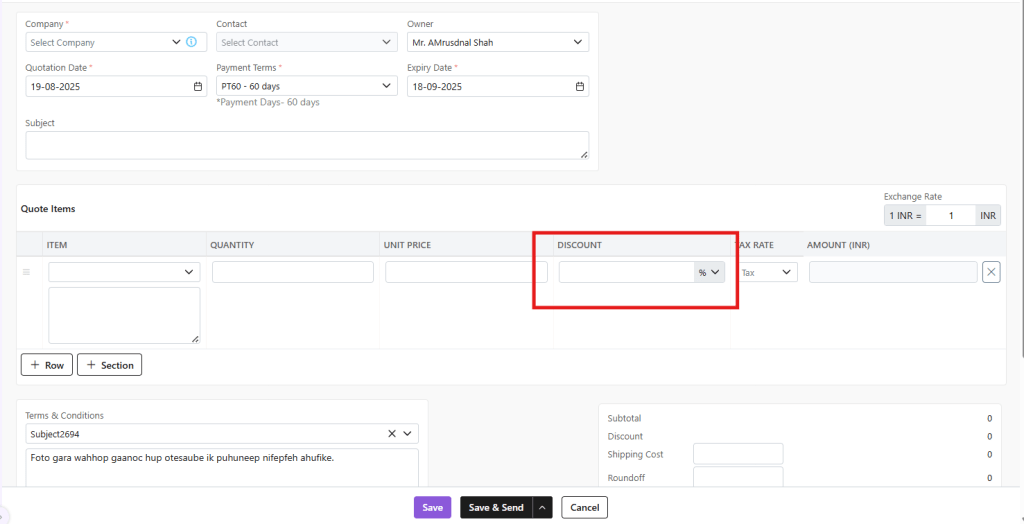
- Discount: This field is visible only if line discounts are enabled for your organization. You can specify the discount either as a percentage or as a fixed amount.
- Tax Rate: The tax will be preloaded based on the item selected. It is defined during the creation of the item. You still have the option to change the tax that is applied to the selected item.
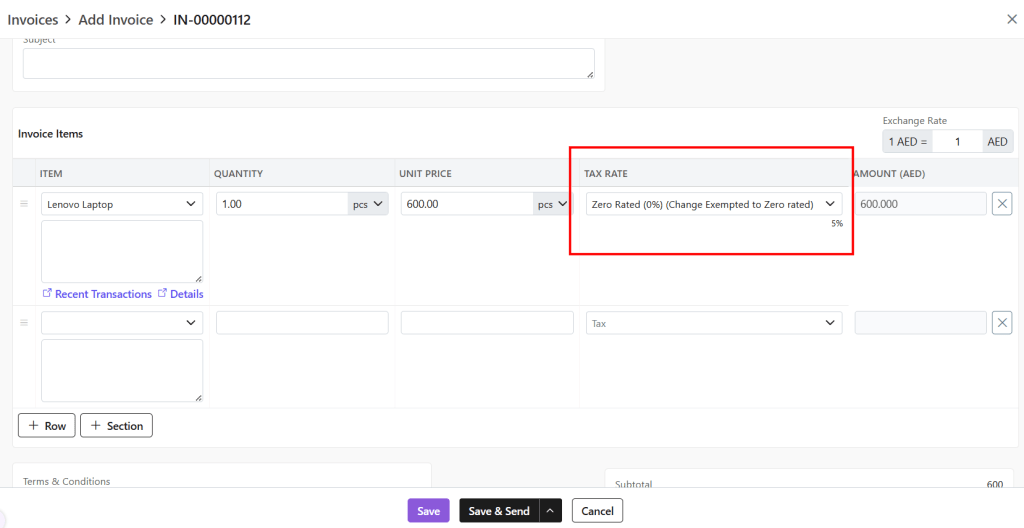
- Amount: Amount will be calculated based on Quantity * Unit Price – Discount
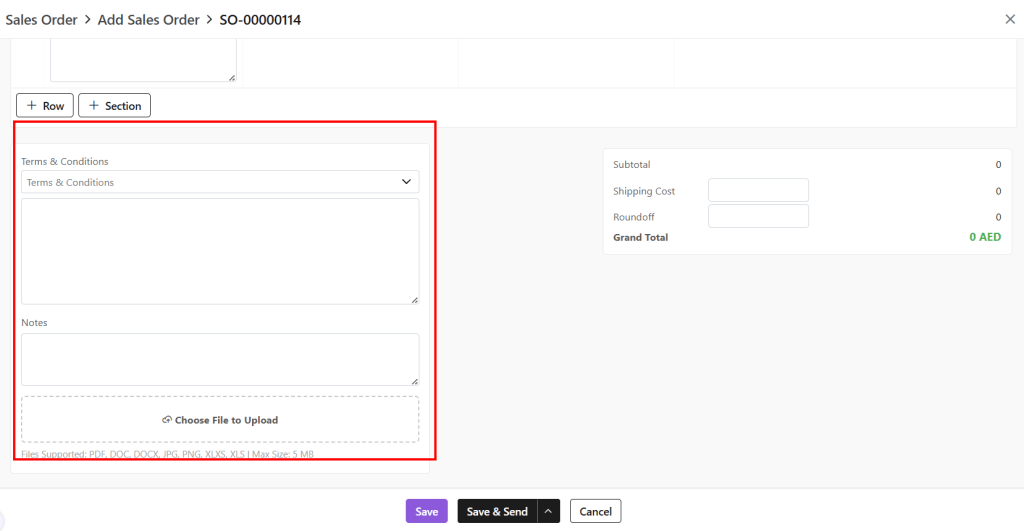
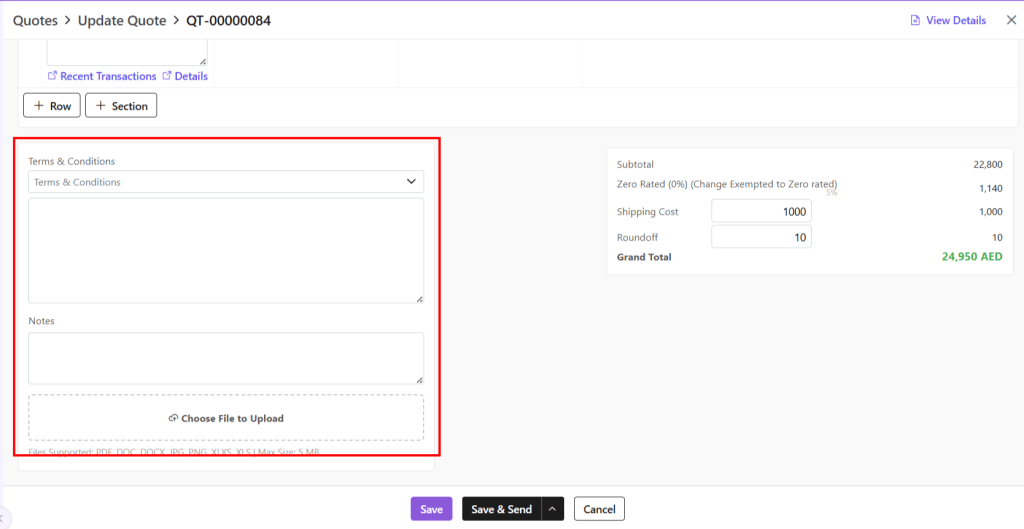
- Terms & Conditions: T&C can be selected from the defined T&C templates or can be typed manually as per your need.
- Notes: Any notes about the document to displayed to customer.
- File Upload: This is to upload related files along with documents.

- Save as Draft (edit later)
- Save & Send (send immediately)
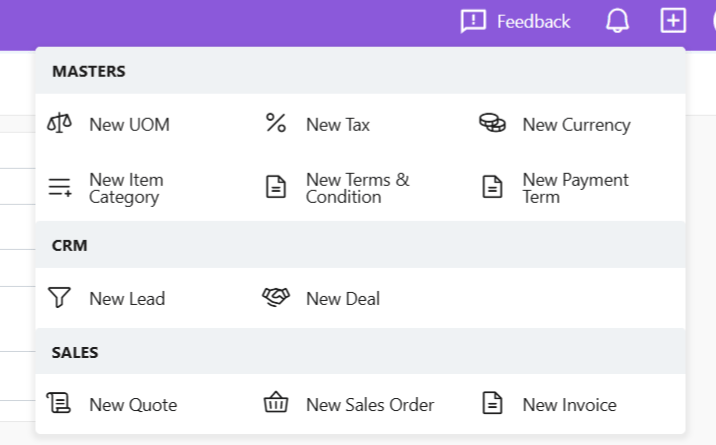
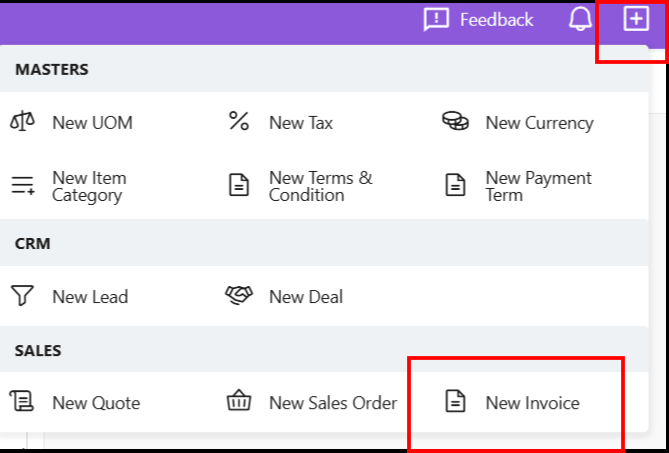
Shortcut (Header)
A new invoice can also be added by clicking the + sign next to the profile. All following steps remain the same.
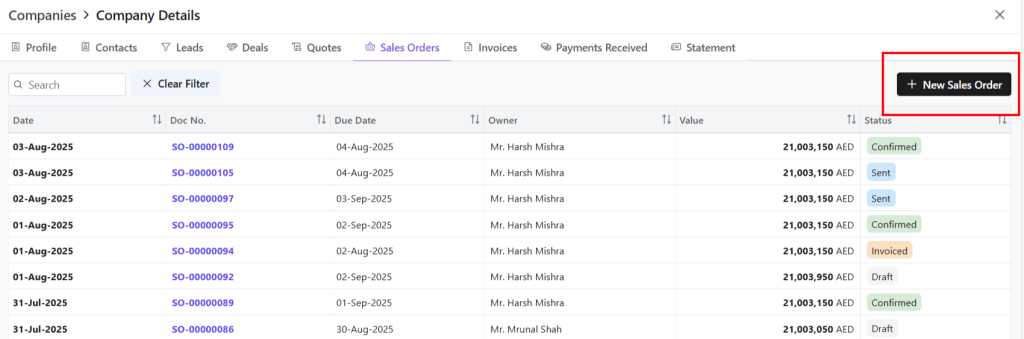
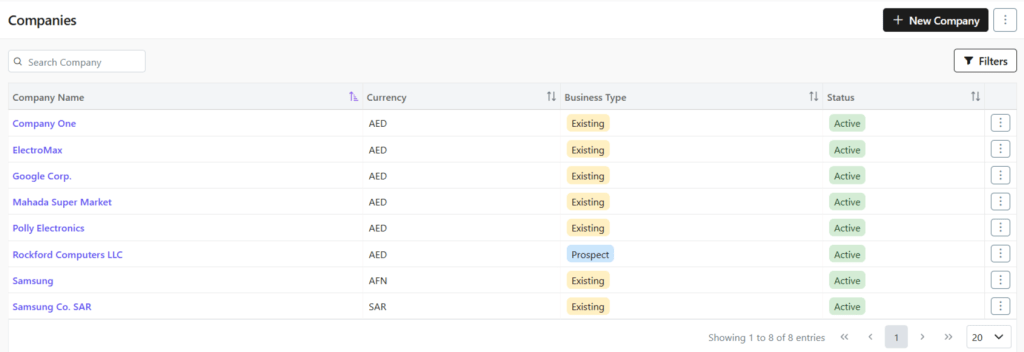
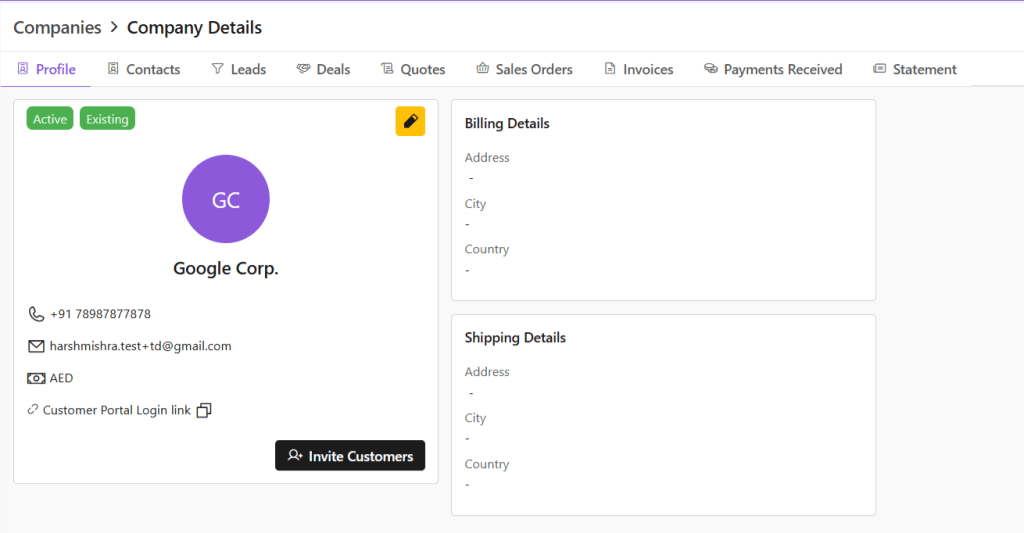
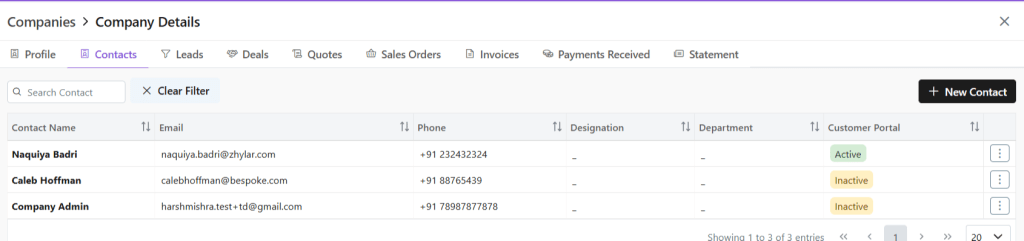
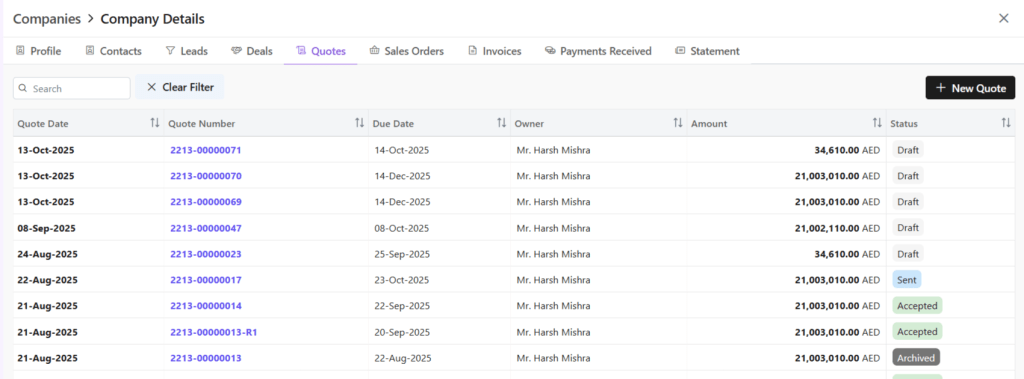
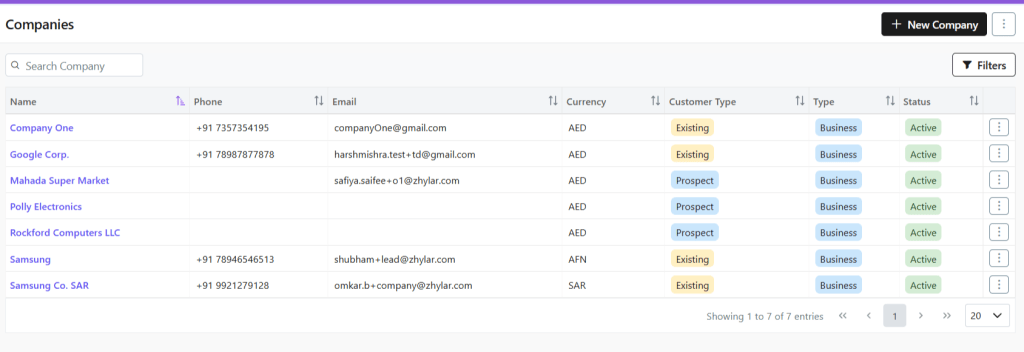
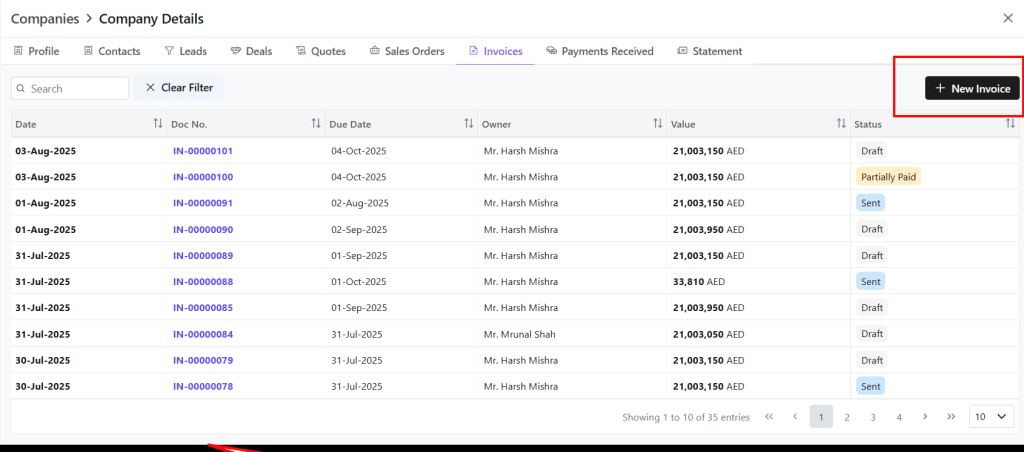
Companies Module
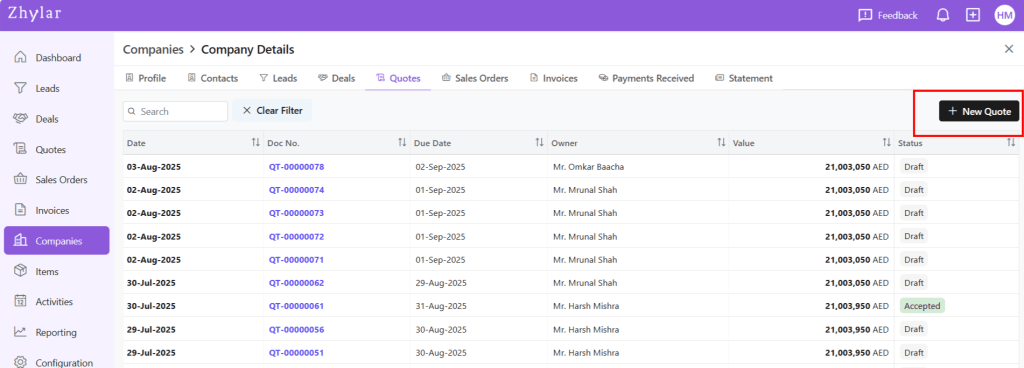
- From the Companies module, click open the company to whom you want to send an Invoice.
- Go to Invoice tab.
- Select +New Invoice
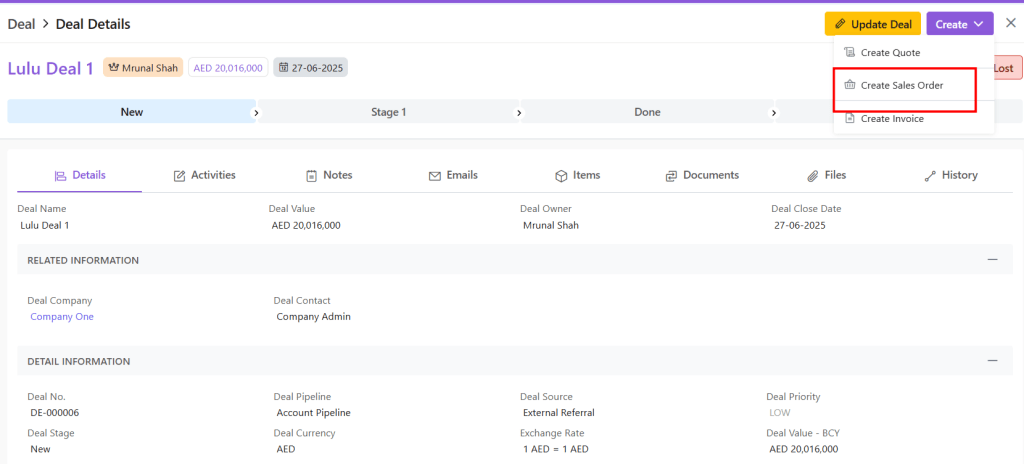
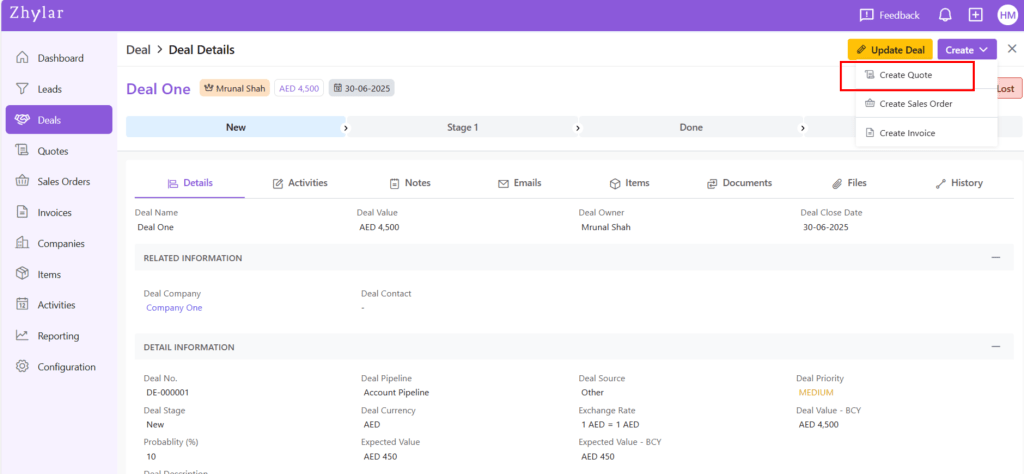
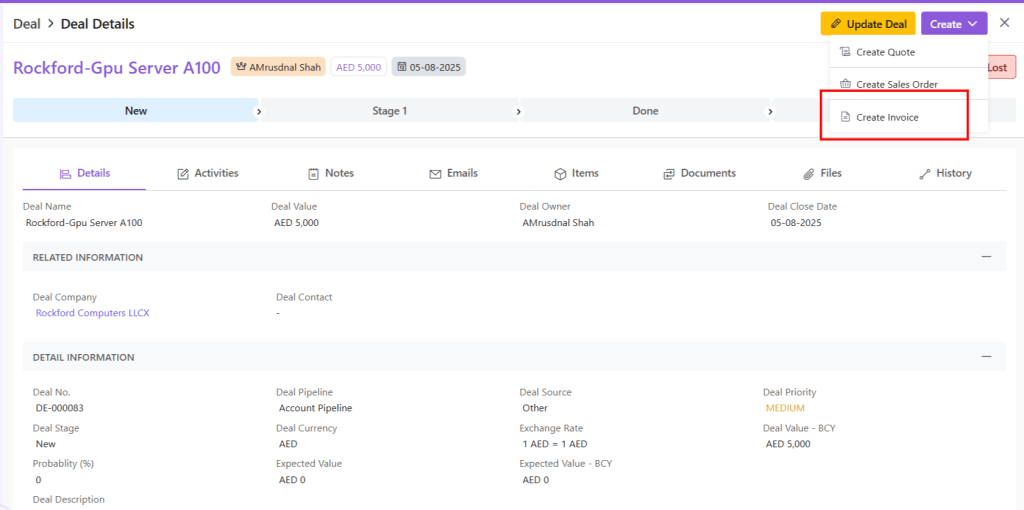
From Deal
An Invoice can also be created from a Deal.
- Go to Deals module.
- Click open the Deal for which you want to make an Invoice.
- Go to View Deal.
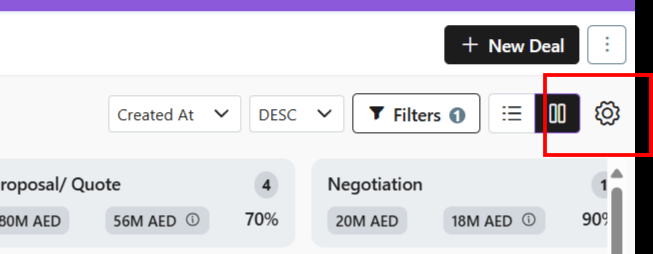
- Click Create.
- Select Create Invoice.
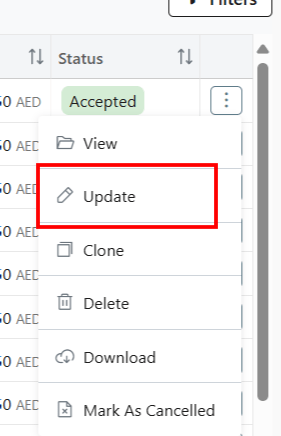
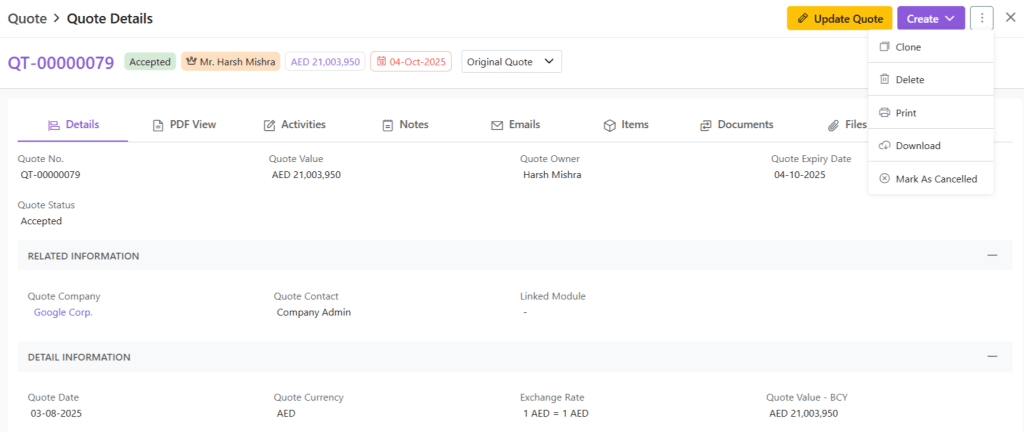
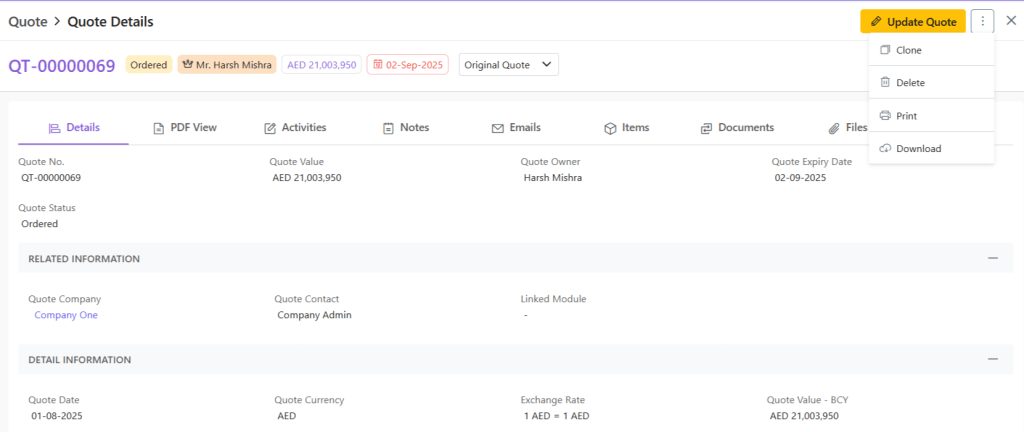
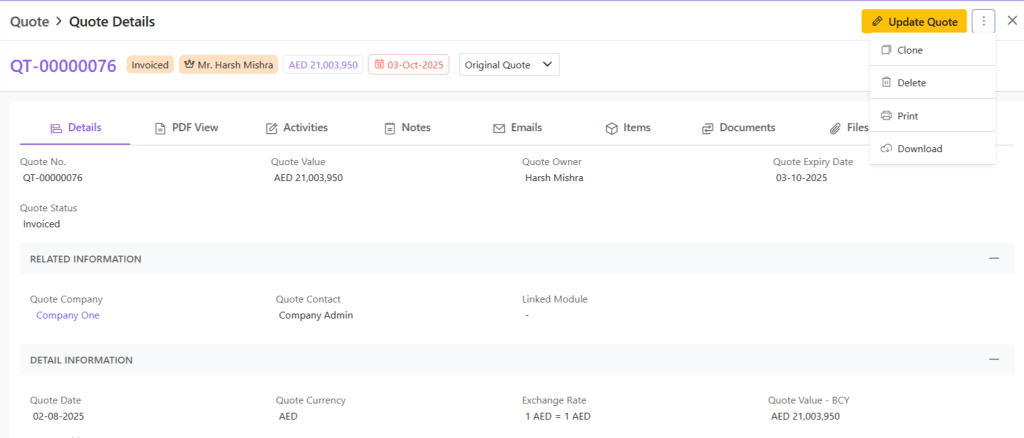
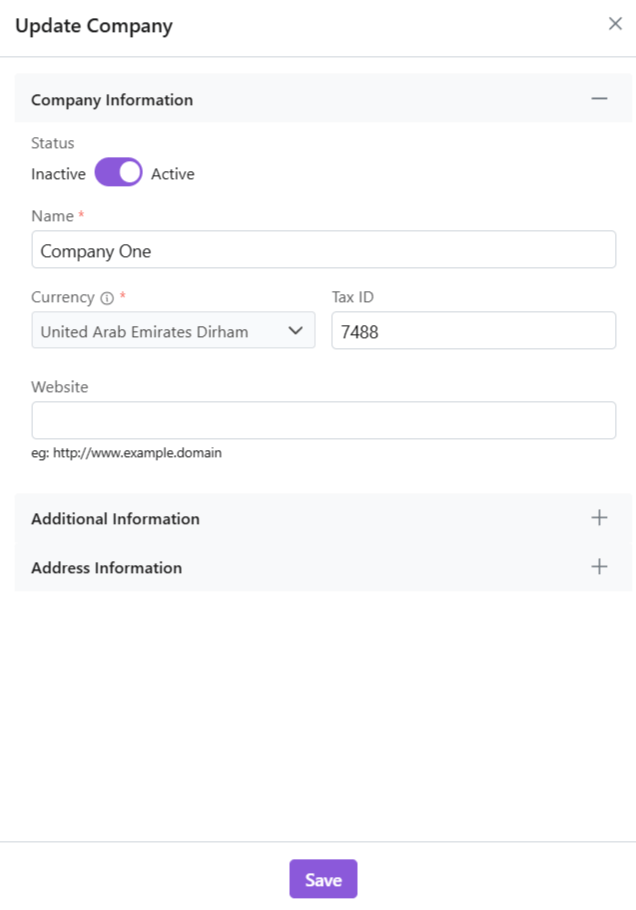
Update Invoice
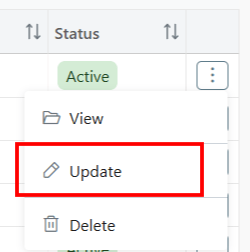
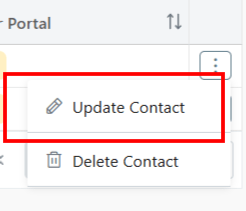
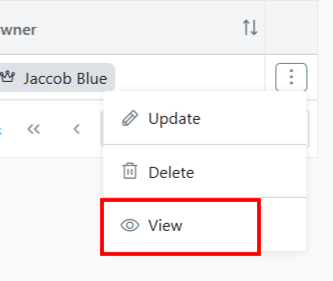
- Click on the ⋮ 3 dots
- Select Update (or View)
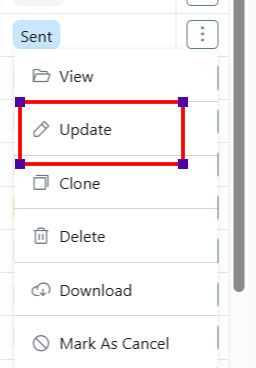
- Make changes
- Save (draft) or Save & Send
- An Invoice can be updated at any stage except if it is marked as Cancelled.
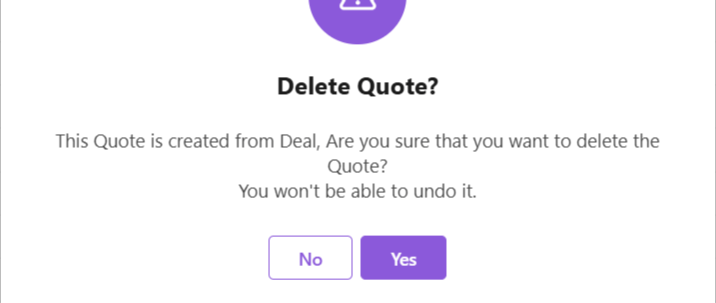
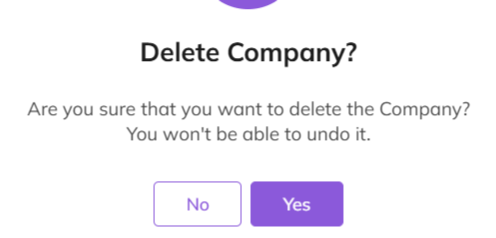
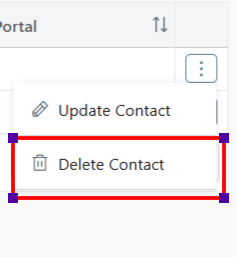
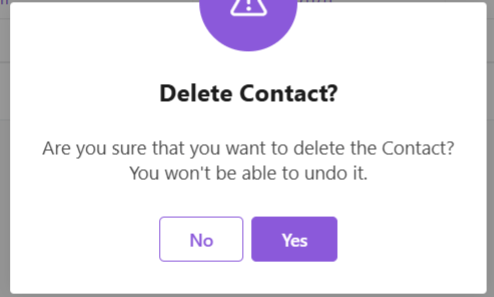
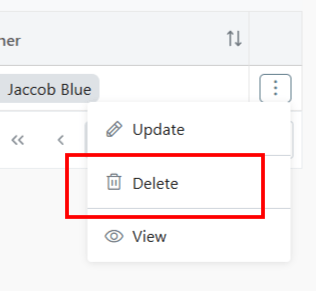
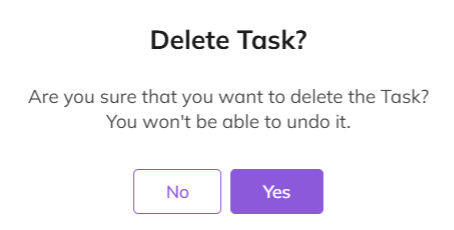
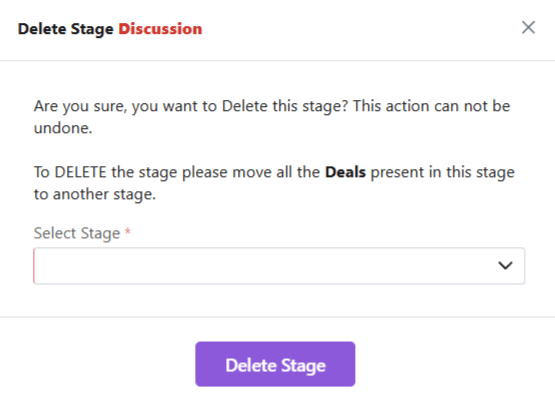
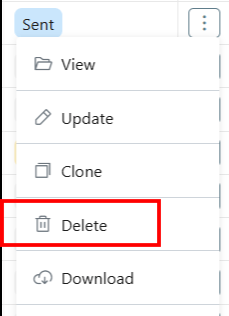
Delete Invoice
- Meaning: Permanent removal, irreversible
- Steps:
- Click Delete (document can be deleted at any time)
- Confirm deletion prompt.
- If invoice is linked with other modules, all interlinking will be deleted as well.
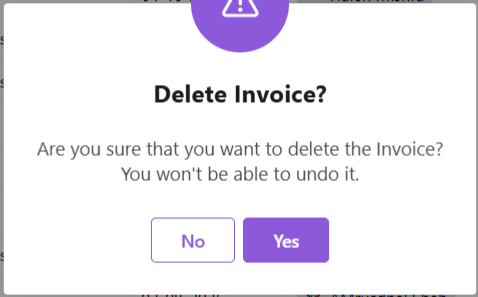
- An Invoice against which some payment has been made, e.g., partially paid, cannot be deleted.
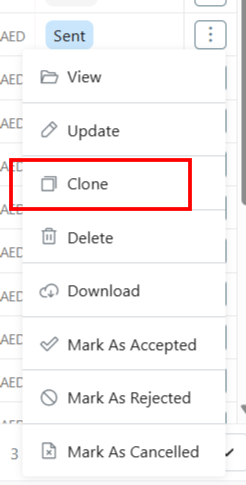
Clone Invoice
To clone an existing Invoice,
- Click on the 3 dots at the end of the Invoice you want to clone.
- Click on Clone.
- Your Invoice will be cloned immediately and automatically.
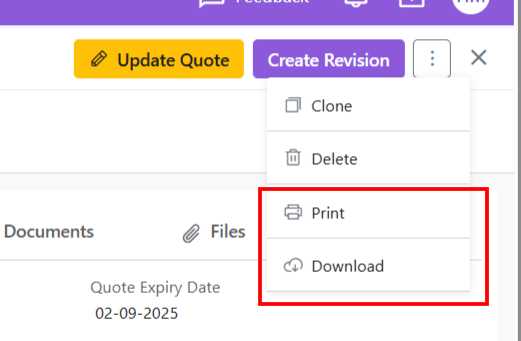
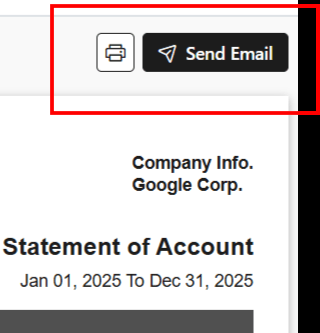
Print/Download Invoice
To download/print an Invoice,
- Open the Invoice you want to print/download.
- Click on the 3 dots on the right-hand side.
- Click on “Print” or “Download” depending on what you want to do.
- Your download will begin automatically.
- If you want to print, you can give the command.
Invoice Lifecycle (Stages & Actions)
An Invoice lifecycle refers to the complete journey of an invoice—from creation to closure. It starts in the Draft stage, moves to sent and progresses through Unpaid, Partial, Overdue, or Paid stages. Each stage reflects the invoice’s status and helps monitor payments and follow-ups efficiently.
Let us learn more in detail about the invoice life cycle in the Zhylar system.
Draft Stage
- An invoice has been created in your Zhylar system. It is not yet sent to the customer.
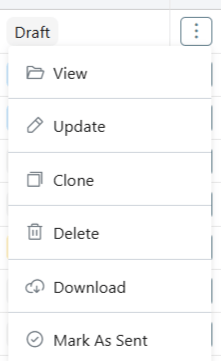
- Available actions:
- View: View the details of the document.
- Update: Make changes to an existing invoice if required.
- Clone: Make a copy of the deal that you can edit for further use.
- Download: Download a copy of the invoice to your device in PDF format.
- Delete: The invoice document is deleted from the system.
- Mark as Sent: Sends the invoice to the customer, moving it to the next status.
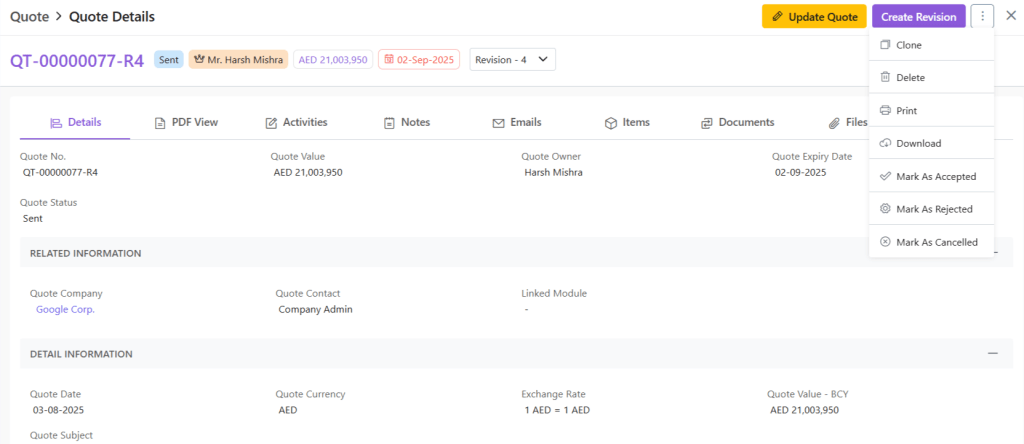
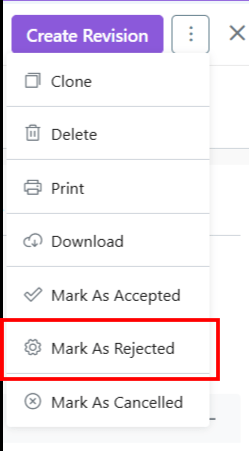
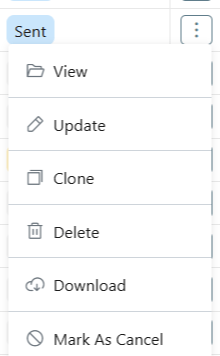
Sent
- Invoice has been sent to the customer. (Awaiting response)
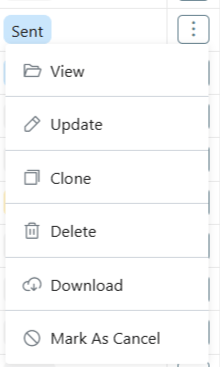
- Available actions:
- View: View the details of the document.
- Update: Make changes to an existing invoice if required.
- Clone: Make a copy of the deal that you can edit for further use.
- Download: Download a copy of the invoice to your device in PDF format.
- Delete: The invoice document is deleted from the system.
- Mark as Rejected: The client has rejected this invoice.
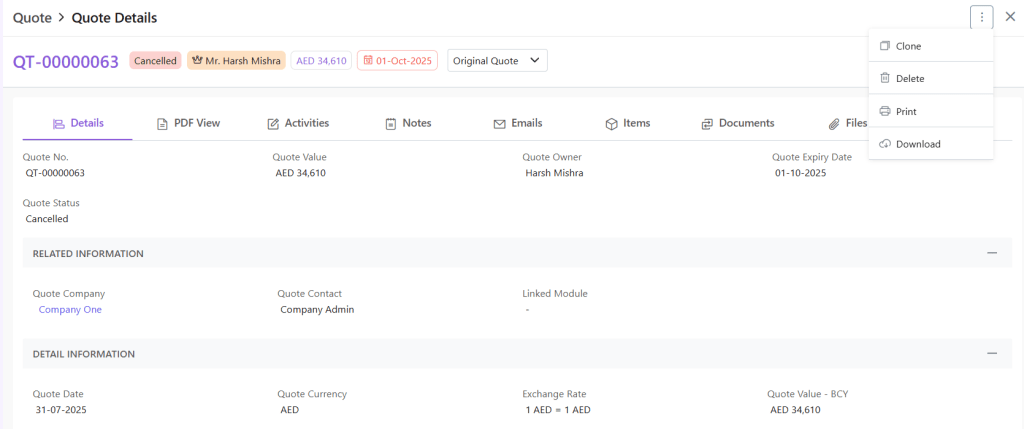
Cancelled
This invoice has been withdrawn internally. Invoice Cancellations are allowed after sending but before payment. A paid invoice cannot be cancelled.
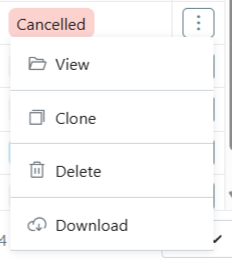
- Available actions:
- View: View the details of the document.
- Clone: Make a copy of the deal that you can edit for further use.
- Download: Download a copy of the invoice to your device in PDF format.
- Delete: The invoice document is deleted from the system.
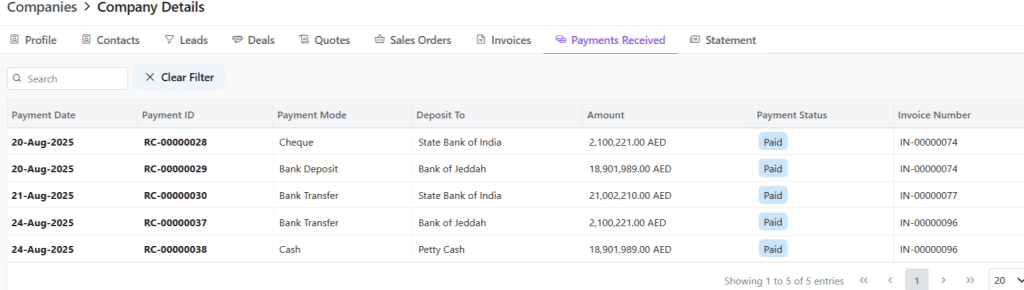
Payment status
An invoice’s payment status indicates whether the full invoice amount has been paid, partially paid, or remains unpaid.
Partially Paid
- Only a part of the total transaction amount has been paid.
- Available actions:
- View: View the details of the document.
- Update: Make changes to an existing invoice if required.
- Clone: Make a copy of the deal that you can edit for further use.
- Download: Download a copy of the invoice to your device in PDF format.
Paid
- The complete payment for the order has been processed.
Overdue
The due date for clearing the payment has been missed.
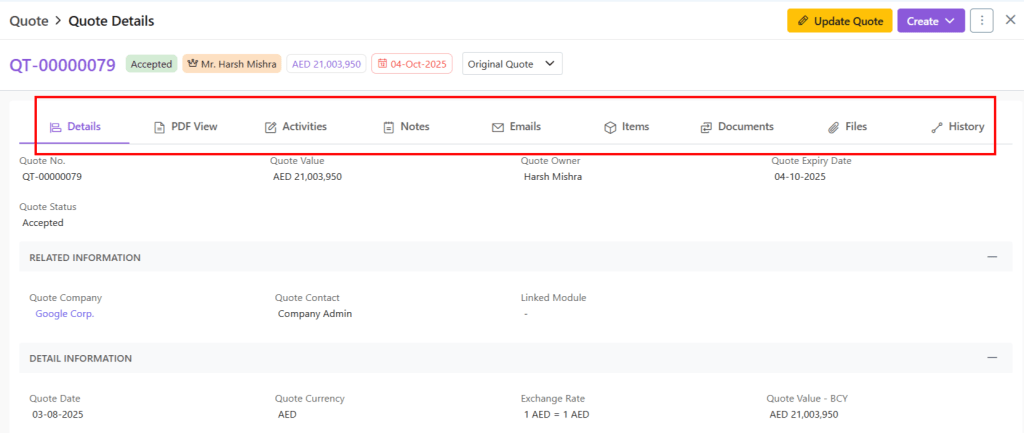
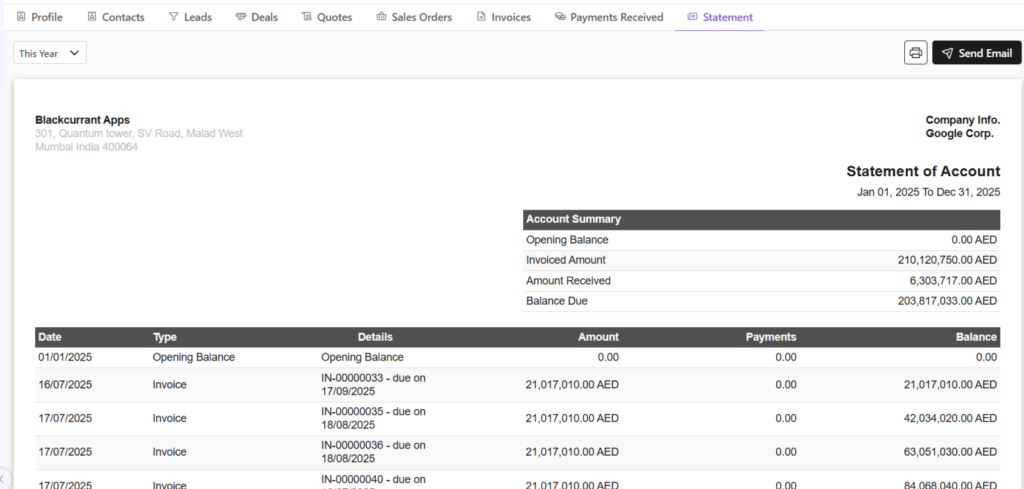
Invoice Details
When you click open any invoice, you will be provided with a wholistic inside-out-view of the invoice in your system. This includes:
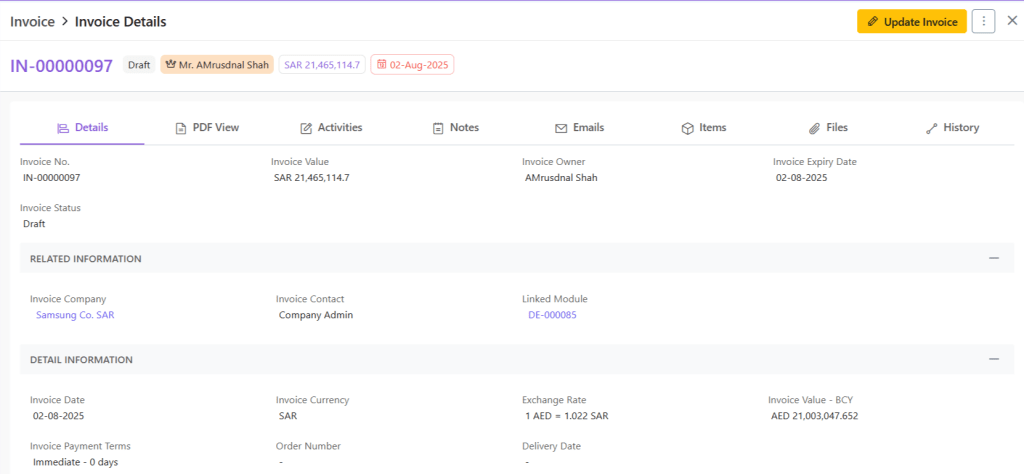
- PDF view– Final invoice layout
- Activities: Add/Track activities like calls and meetings for this transaction
- Notes– Make/Update notes
- Emails– Show email history in reference to this invoice.
- Items– All items added to this invoice.
- Documents– SO/Invoice created from this invoice.
- Files– Check files attached to this invoice.
- History– Track creation/update history
Discover how Zhylar can streamline your sales and elevate your business processes. Visit our website or book a demo today to experience the difference!