What is Role Hierarchy?
In a CRM system like Zhylar, roles determine user data access levels. They assign permissions to each user within the organization. Roles ensure data privacy and control by allowing only authorized team members to view, edit, or manage specific records. With hierarchy-based roles, managers can oversee their team’s activities. Individual users focus only on the data relevant to their responsibilities. This setup maintains data security while allowing appropriate visibility based on roles and responsibilities.- Roles (what is your role in your org/designation)
Key Components
Zhylar implements top-down hierarchical role structure. A role in Zhylar decides two important things:
- Position in company hierarchy – It shows who reports to whom (like CEO → Manager → Sales Rep)
- Data access control – It defines what each user can see or edit on the Zhylar platform.
Getting Started
- Log in to Zhylar
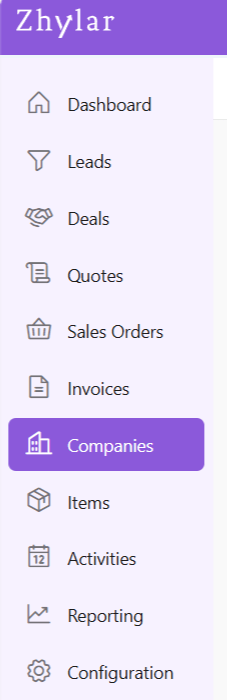
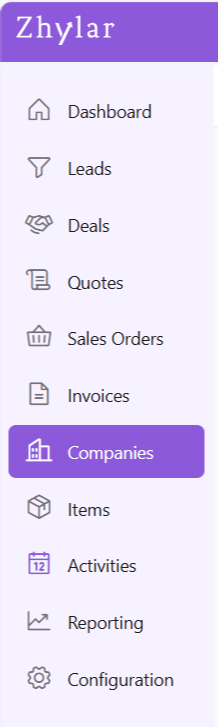
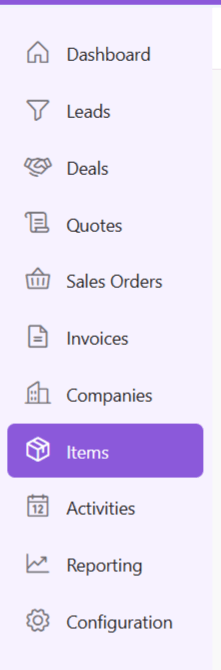
- Go to Left-hand navigation panel
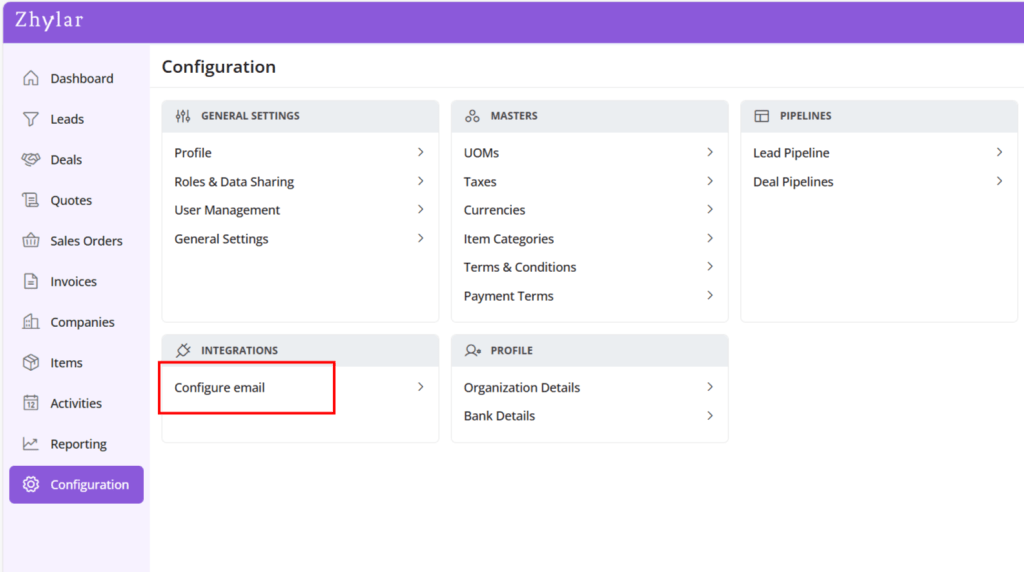
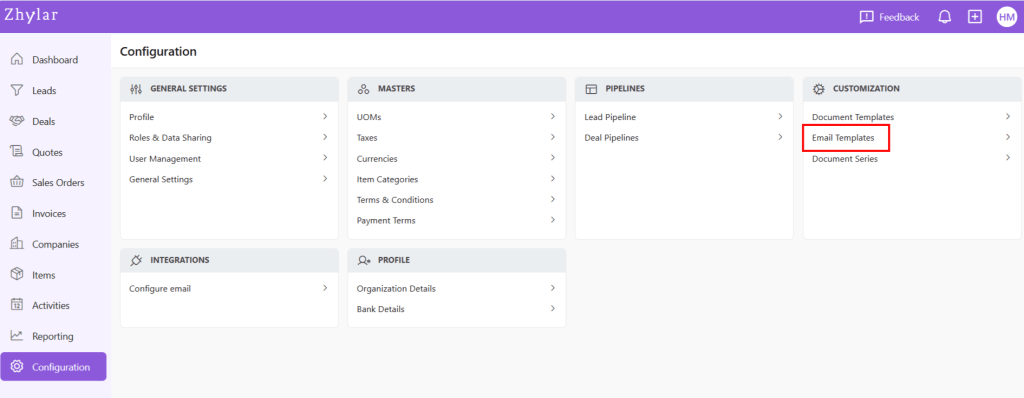
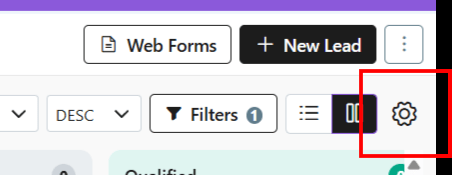
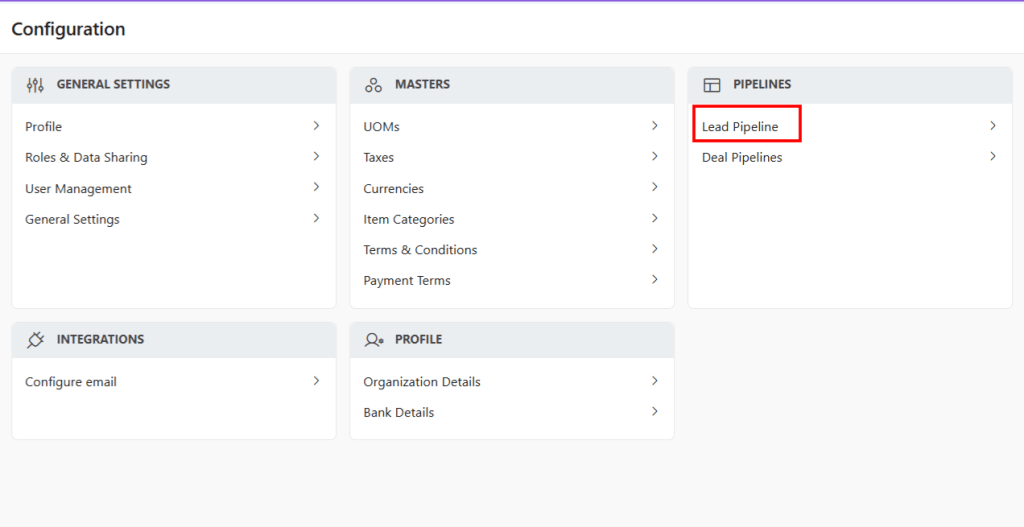
- Click on Configuration
- Under General Settings tab, select Roles & Data Sharing
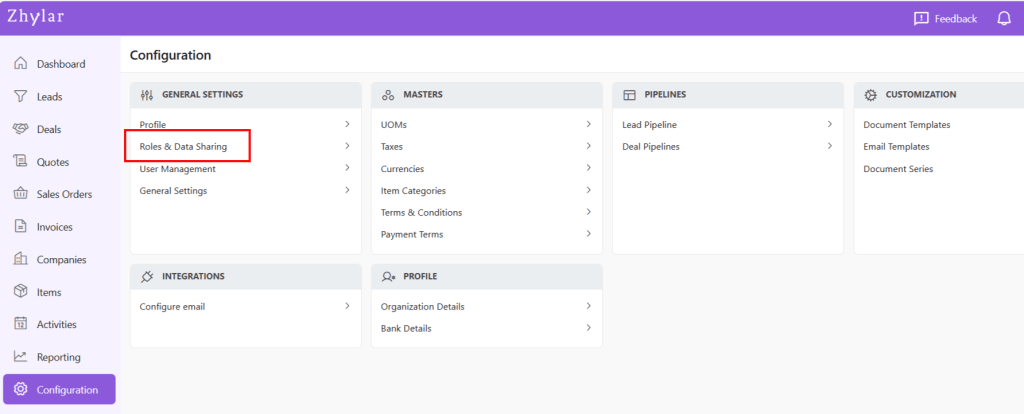
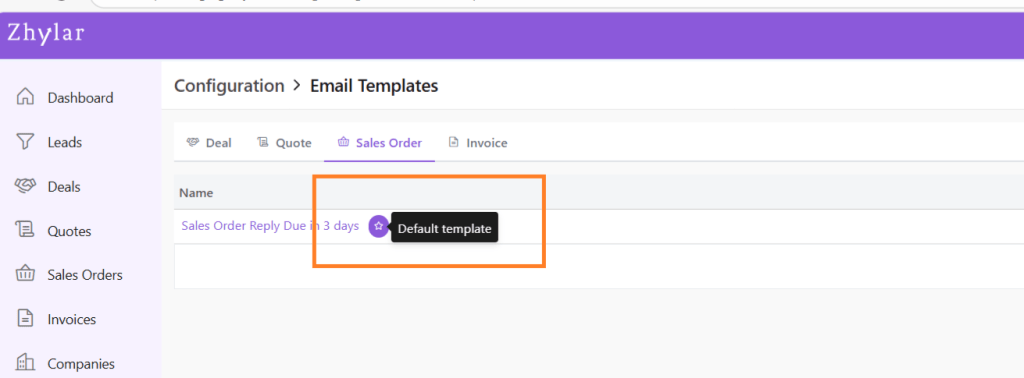
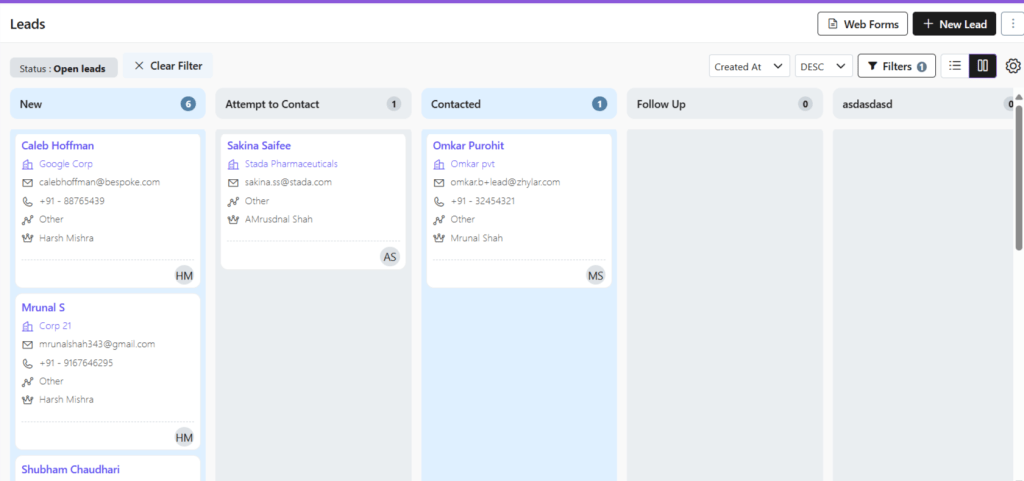
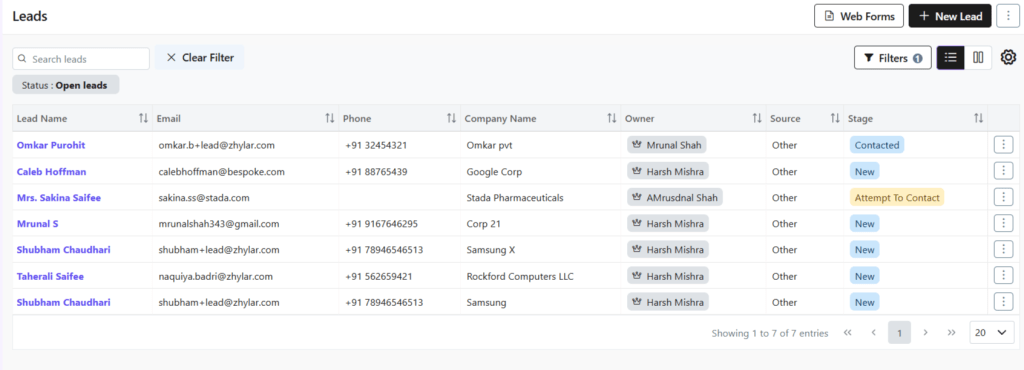
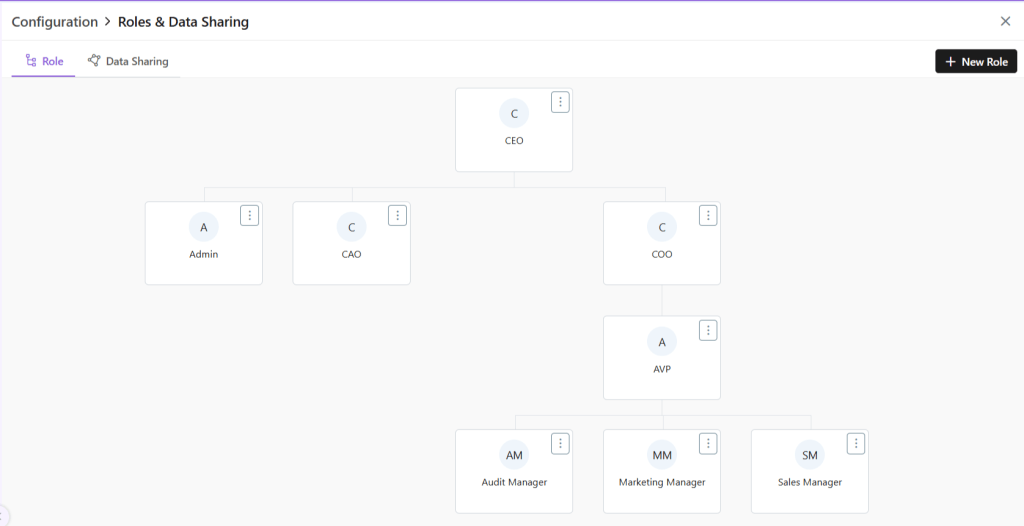
- When you click on Roles and Data Sharing, you will be taken to a new page.
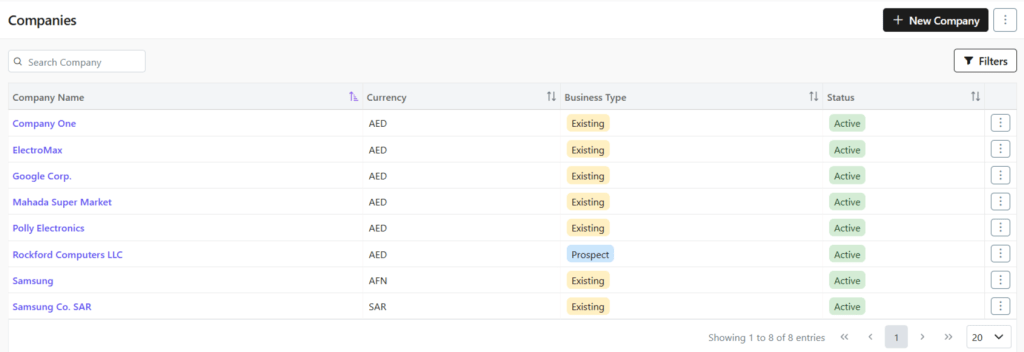
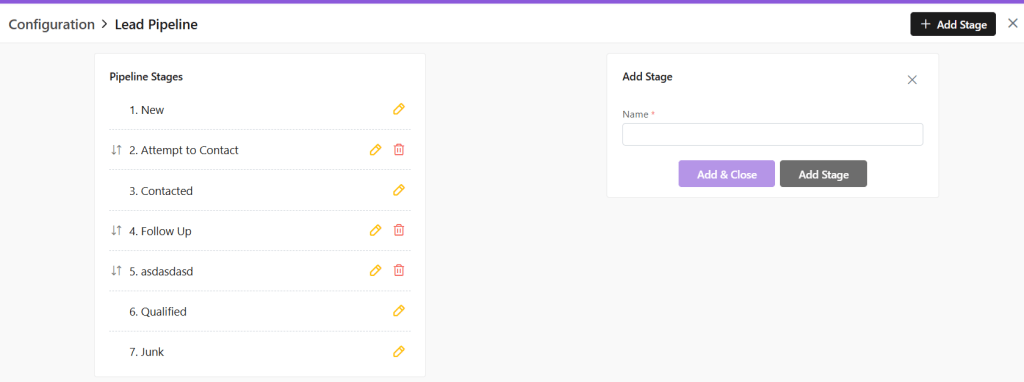
- Here, you can see all the roles added to the system. The hierarchy of roles is illustrated like a flow chart.
Managing Roles
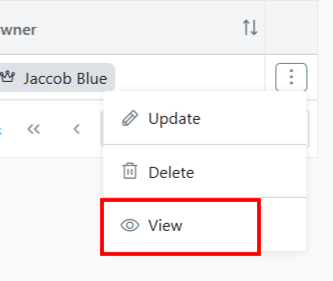
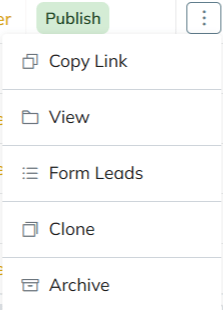
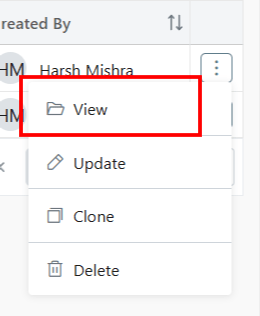
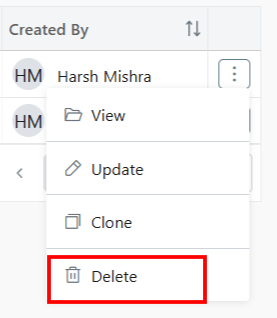
View Role
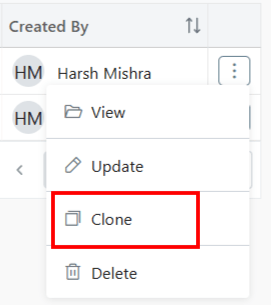
- Click ⋮ 3 dots
- Select View
- Check details.
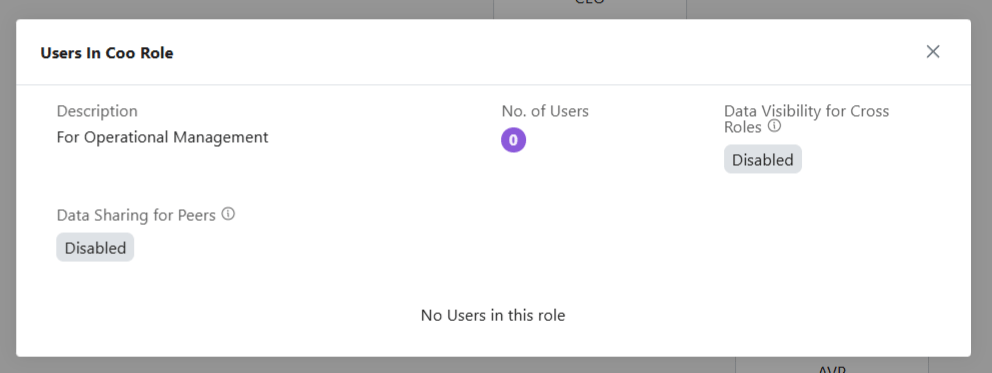
- Click X on the top-right of the box to close.
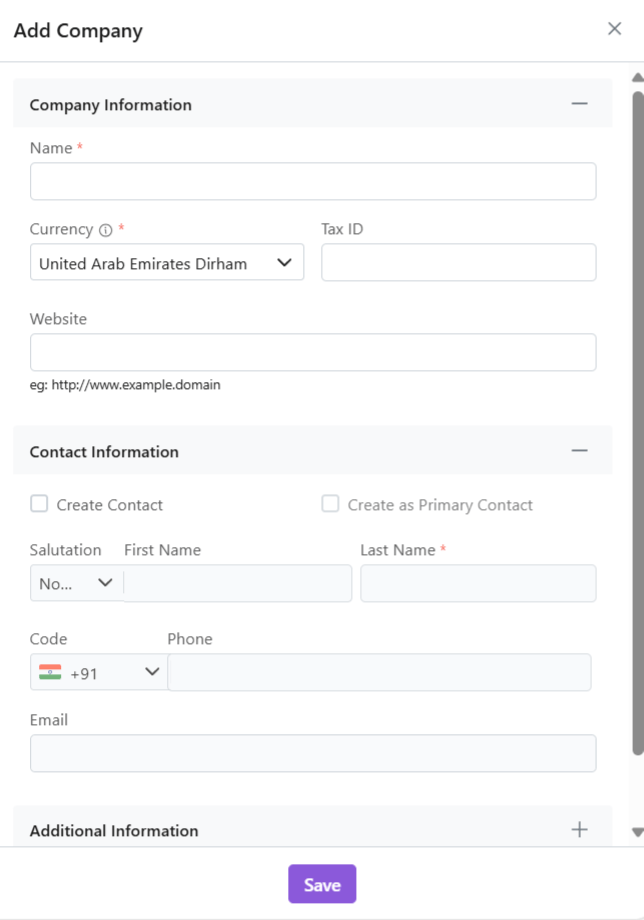
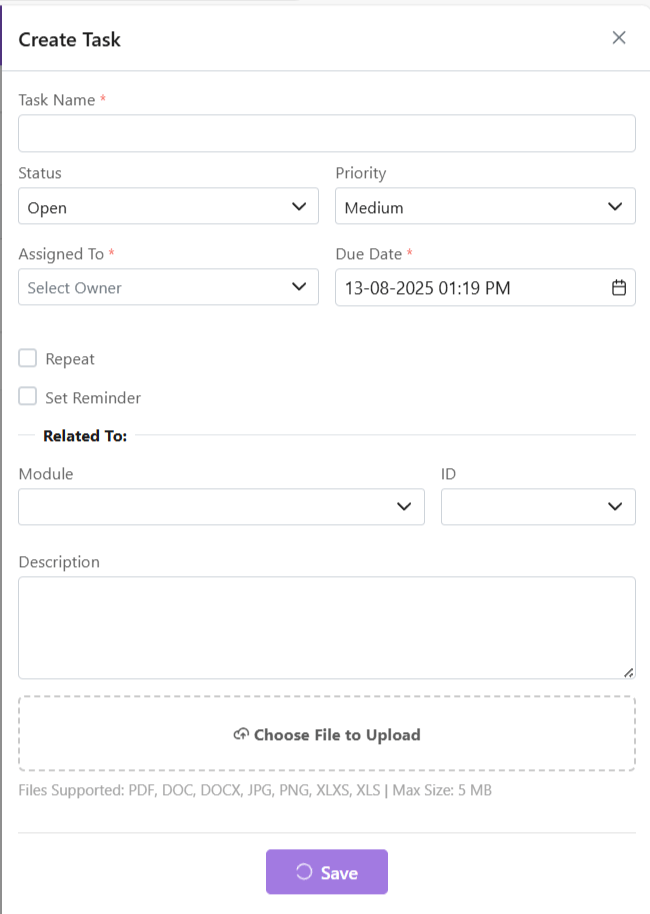
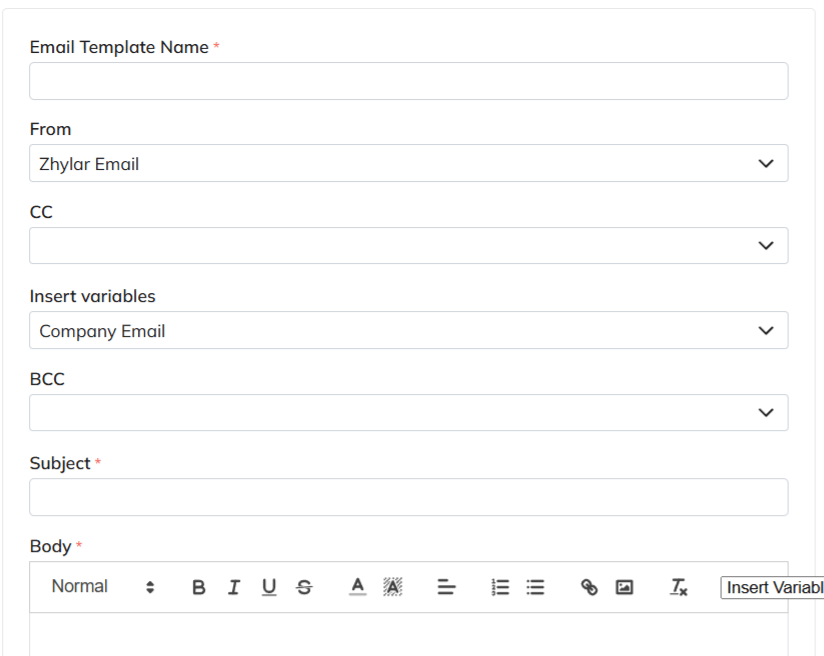
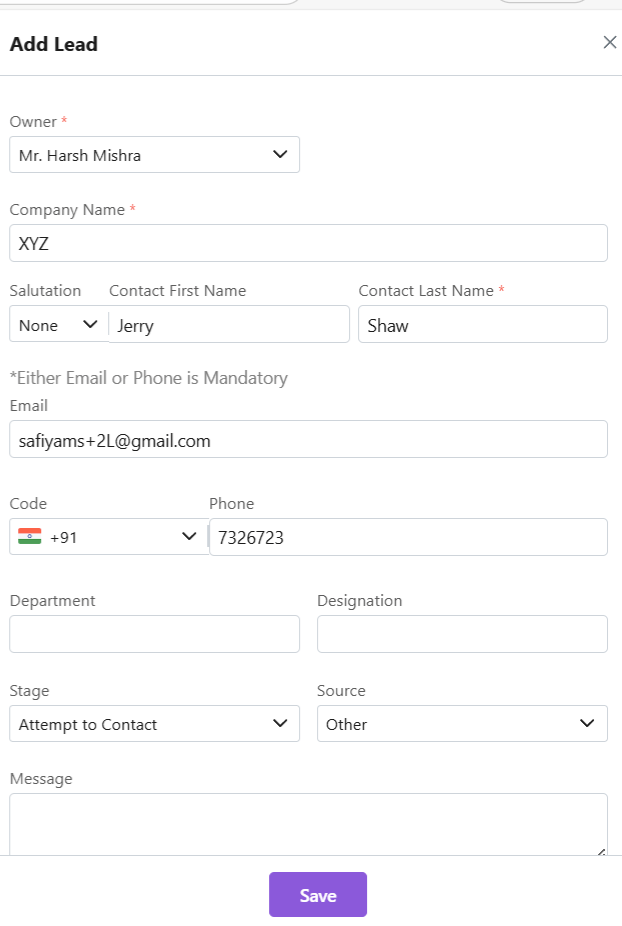
Add New Role
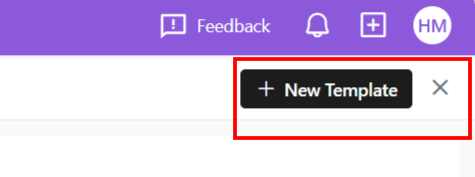
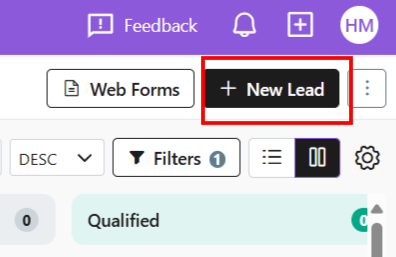
- To add a new role, click + New Role
- Alternately, click on the ⋮ 3 dots of the Role name under whom you want to add a new Role.
- Select +Add
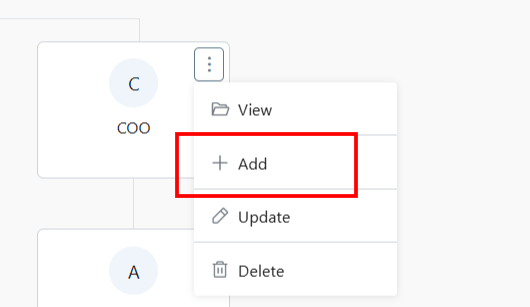
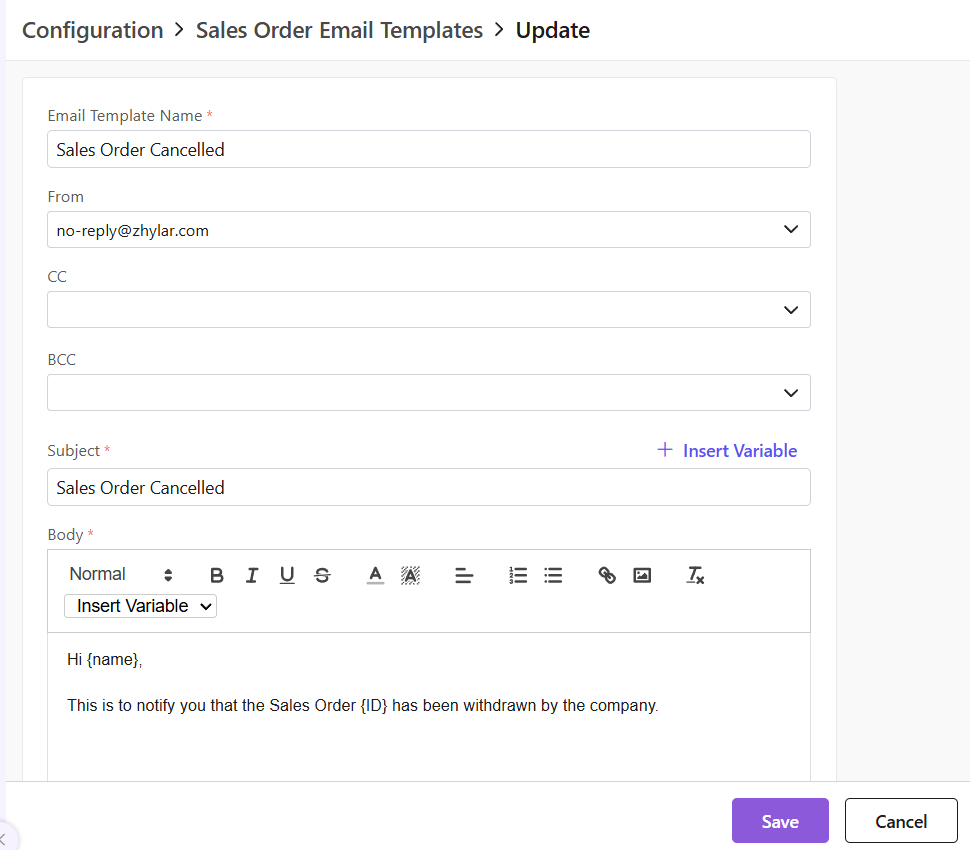
- A side sheet will open.
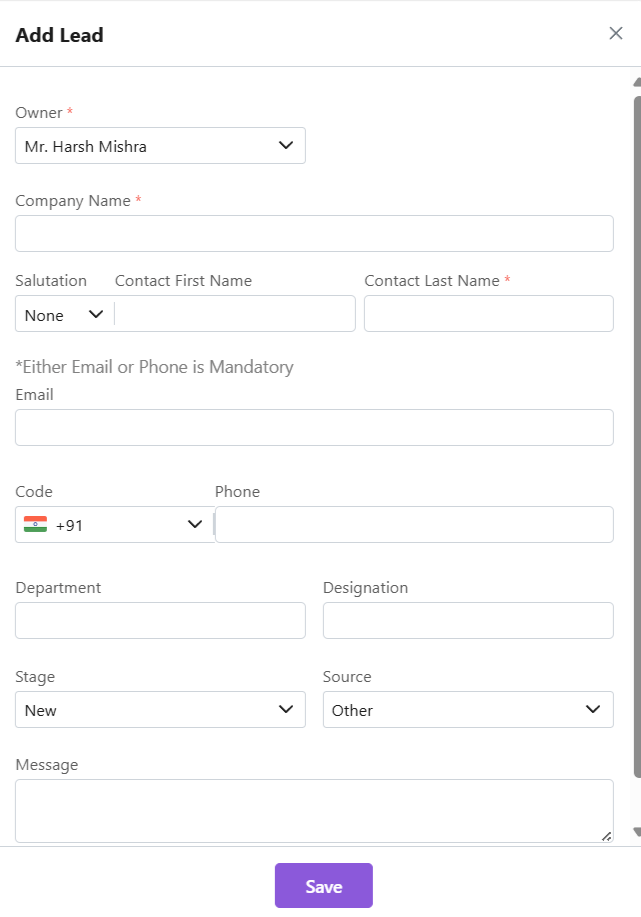
- Fill out the details.
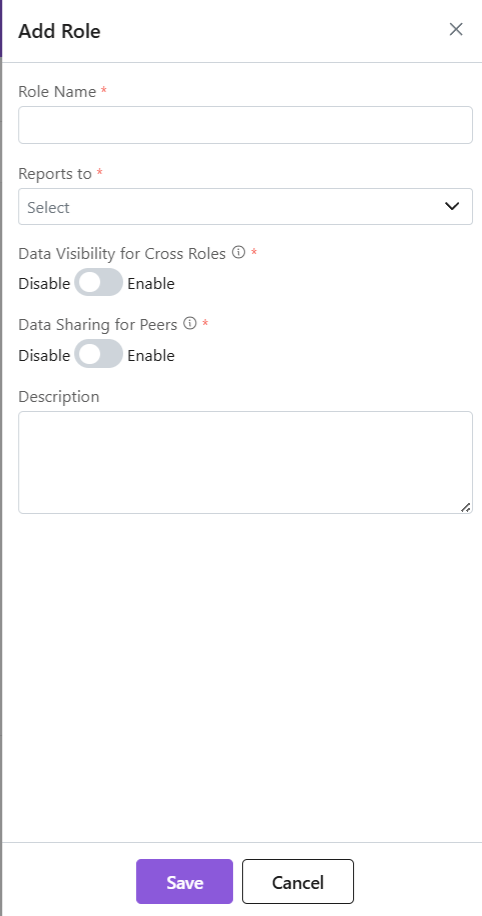
- Click Save.
- The new role will be added.
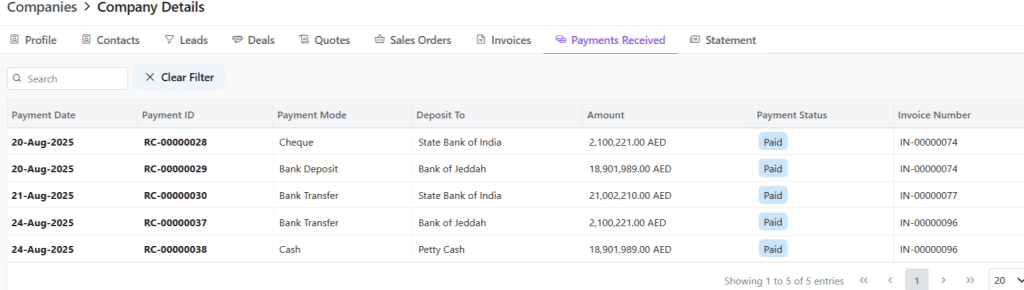
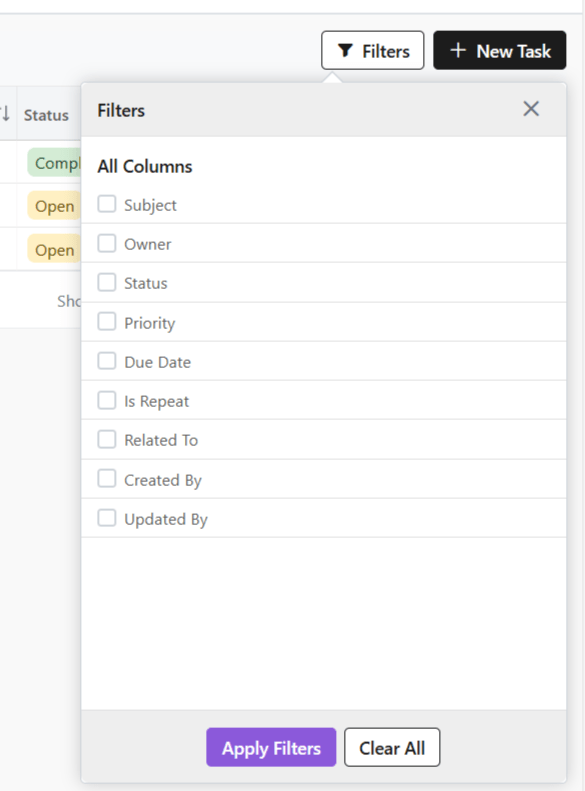
Data Access:

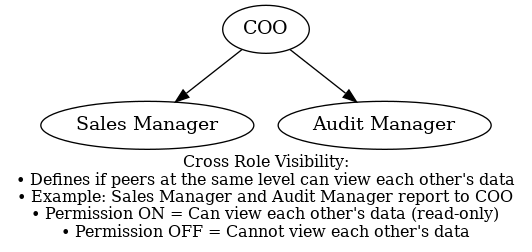
Data Visibility for Cross Roles: If two or more persons are at the same level of hierarchy, it determines if they can view each other’s data. This rule checks if they have visibility of each other’s information. It shows whether they can or cannot view each other’s data. For example, if the Sales Manager and Audit Manager both function at the same level of hierarchy, i.e., report to the COO, then they are considered cross roles. Enabling or Disabling this permission will permission will determine if they can view the data or not. (View access only)
Data Sharing for Peers: This determines if 2 or more persons are in the same role. They will be able to access each other’s data or not. For example, an organization may have 2 Sales Managers, they are considered peers. So, enabling or disabling this permission will determine if they can gain access (Read/Write/Update/Delete) to each other’s data or not.

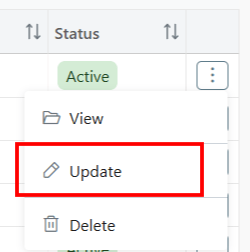
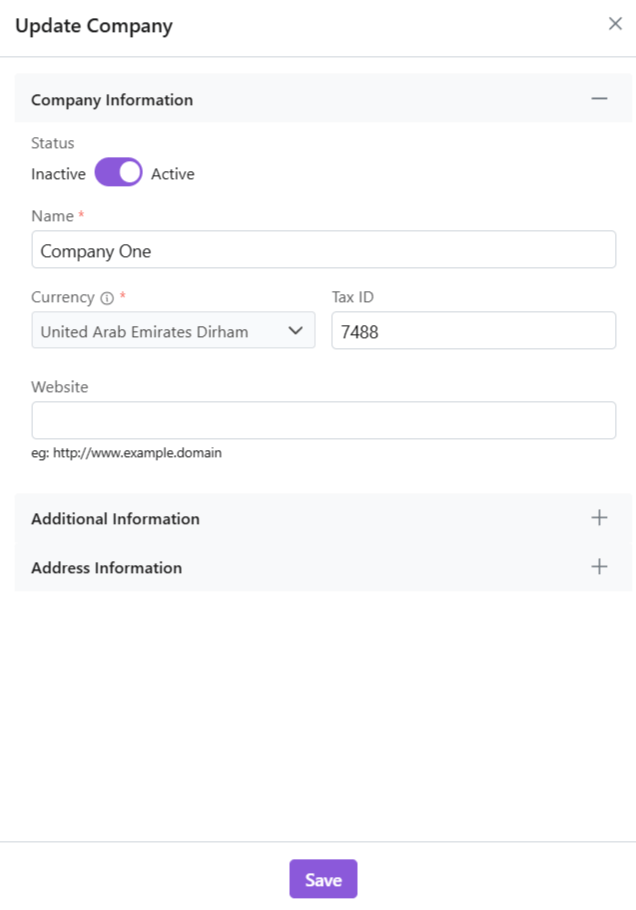
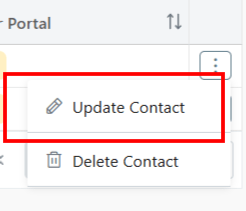
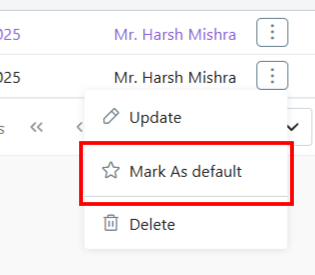
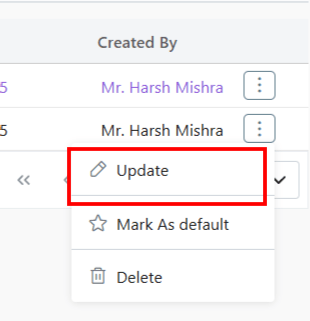
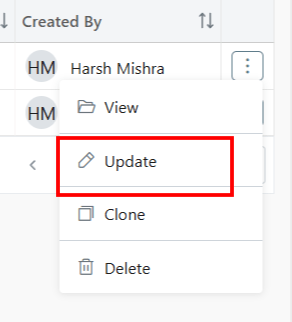
Update Role
- Click ⋮ 3 dots
- Select Update
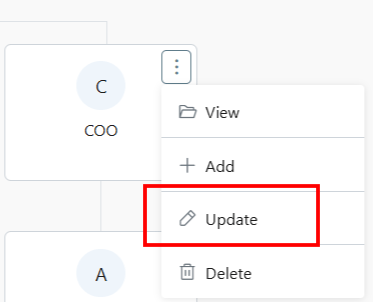
- Make changes.
- Click Save.
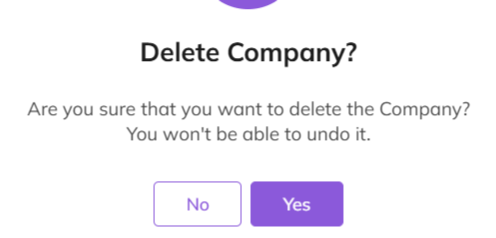
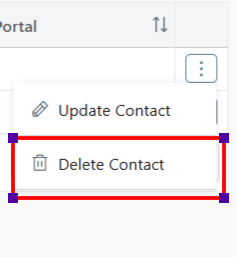
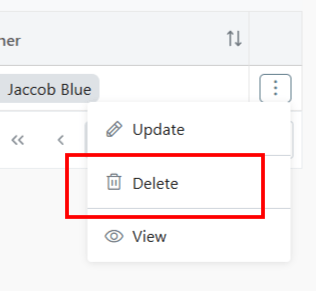
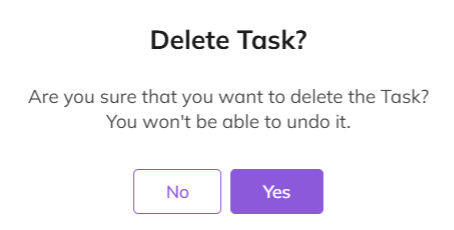
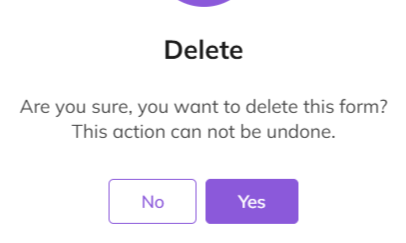
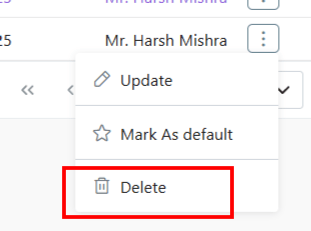
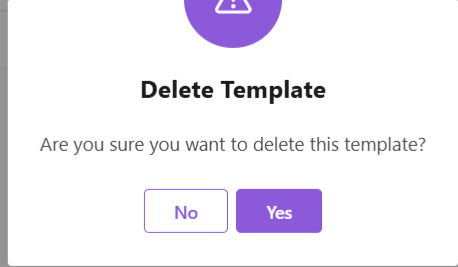
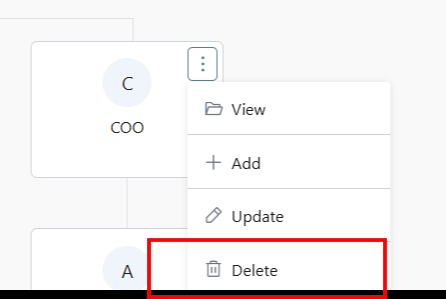
Delete Role
- Click ⋮ 3 dots
- Select Delete
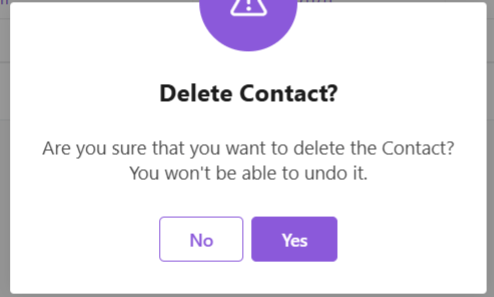
- You will be required to transfer all associated users under this role to another role.
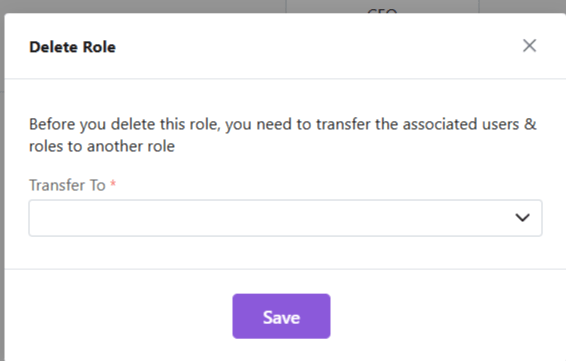
- Once you have done the needful, click Save.
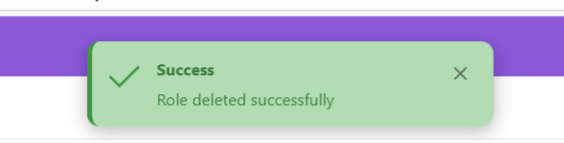
- The role will be deleted successfully.
Note: Hierarchy + Roles = Secure yet collaborative access control.
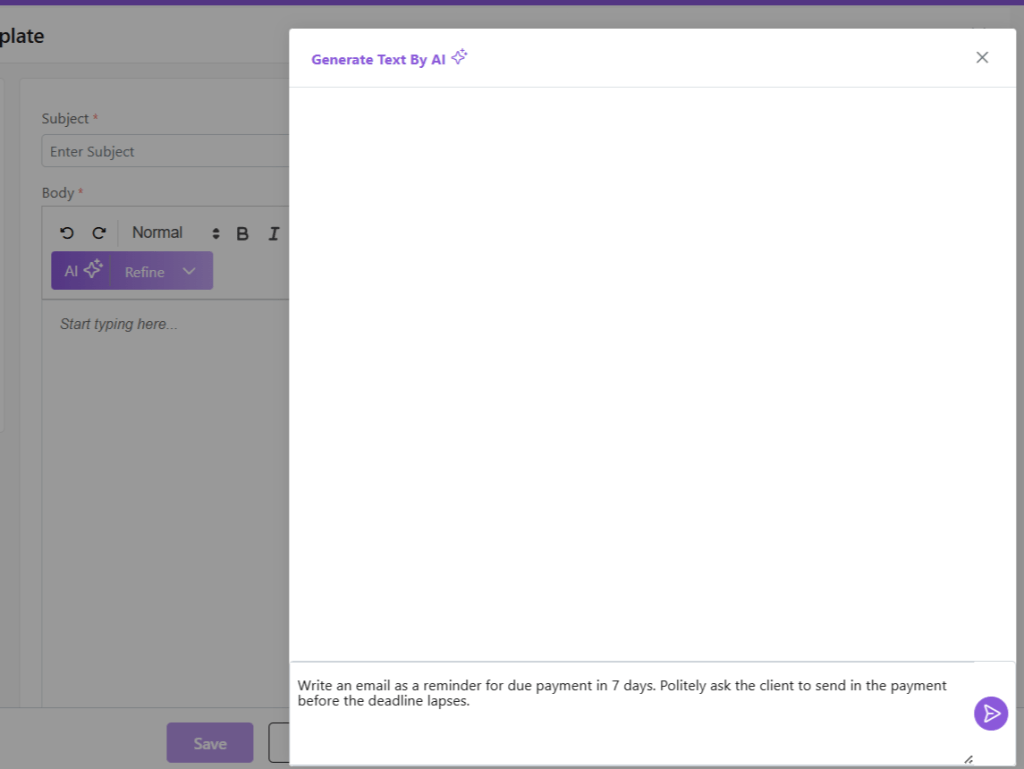
Discover how Zhylar can streamline your sales and elevate your business processes. Visit our website or book a demo today to experience the difference!