What are Lead Pipelines?
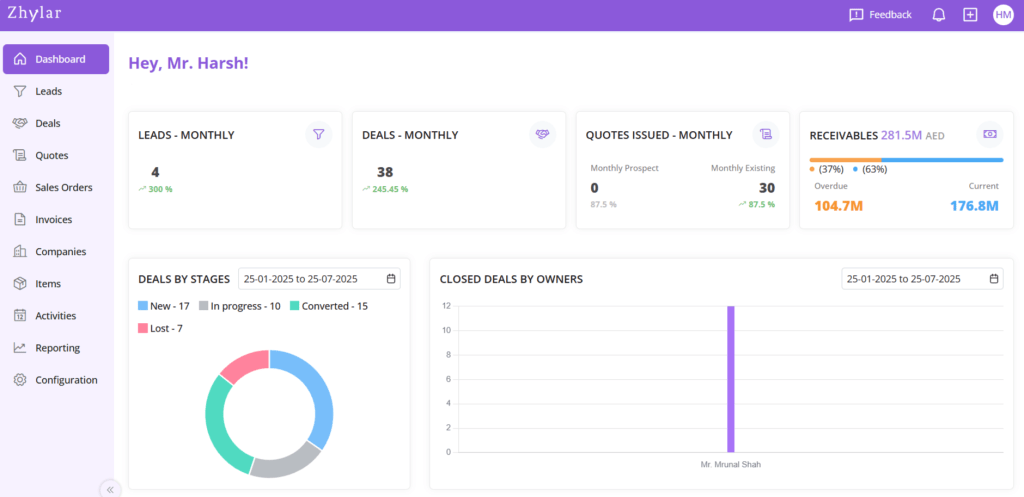
In Zhylar, lead pipelines are structured workflows that track your leads from initial contact to successful conversion. You can customize stages to match your sales process, identify bottlenecks, and prioritize high-value opportunities. With our visual Kanban view, your team can easily drag and drop leads between stages. This process ensures a smooth, organized, and transparent sales journey.
Pipeline Management
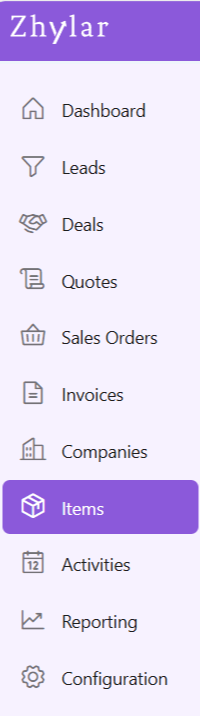
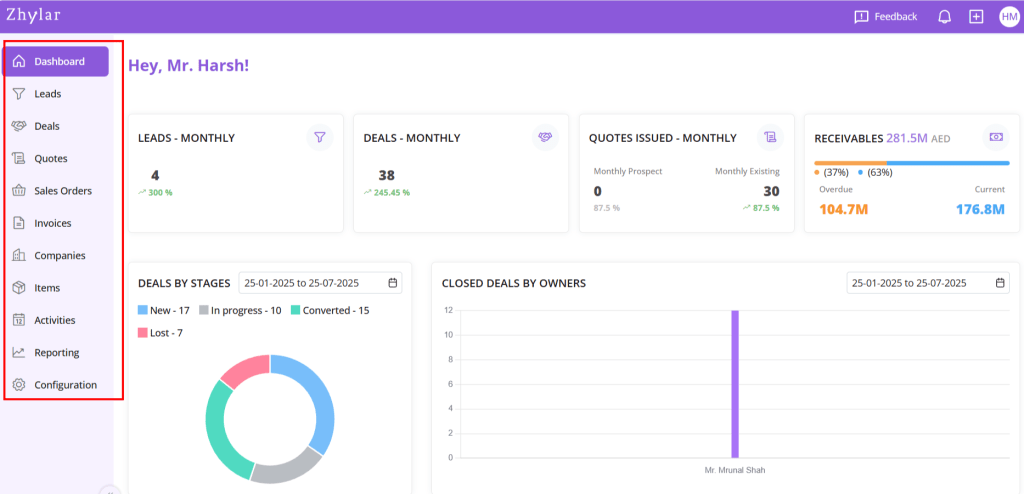
- Log in to Zhylar
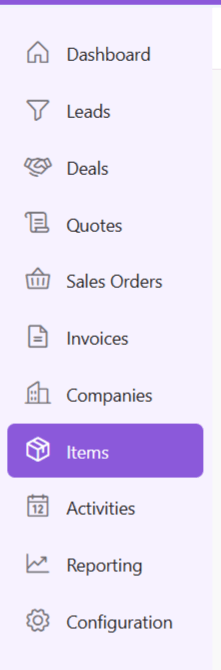
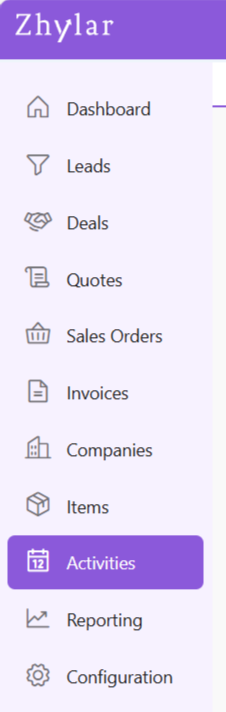
- Go to Left-hand navigation panel
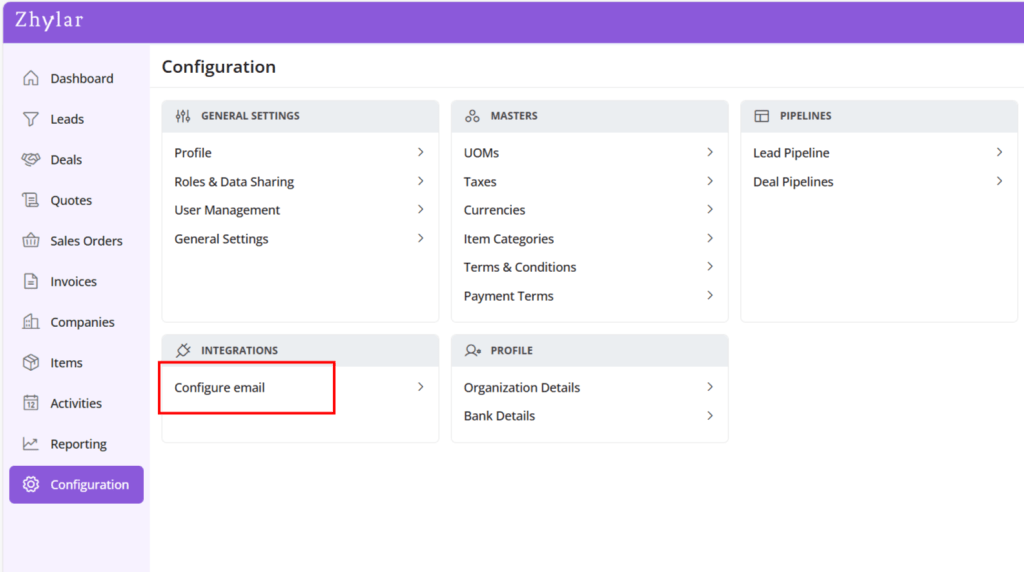
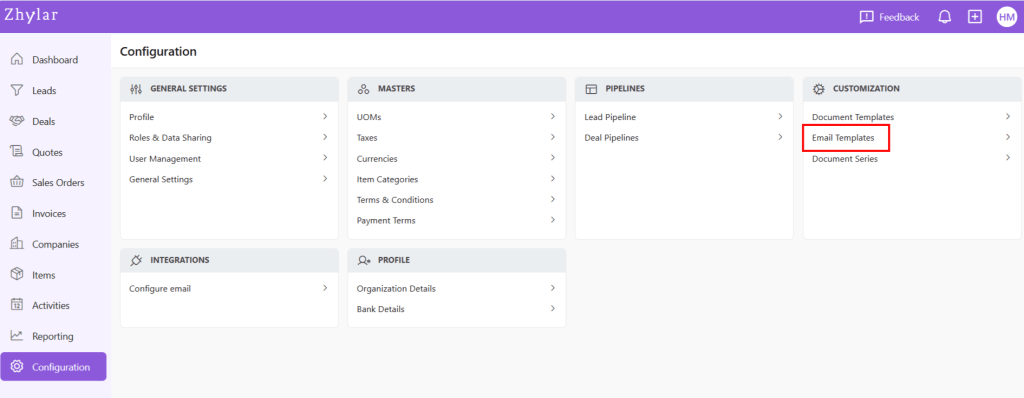
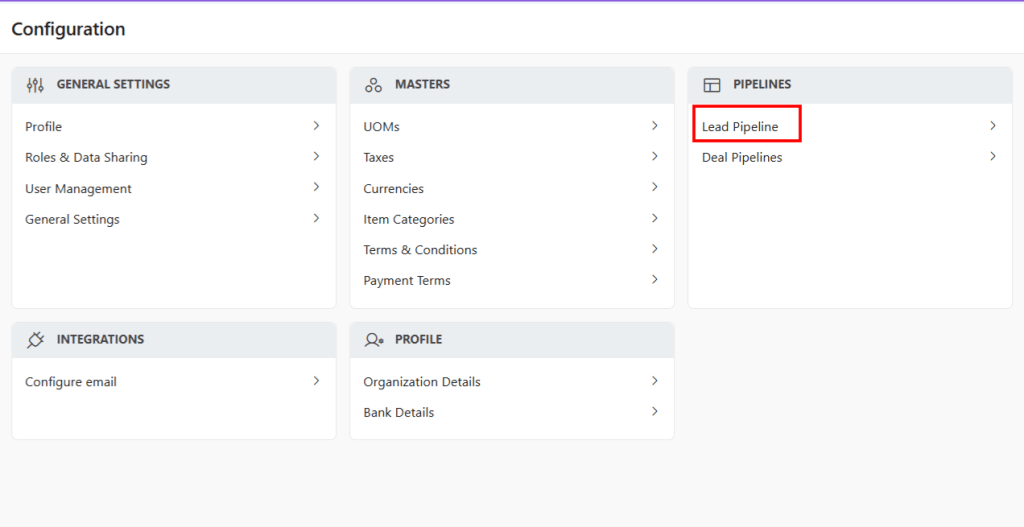
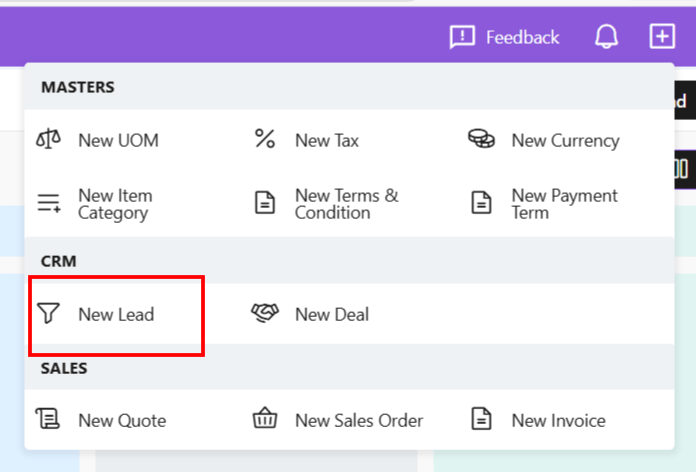
- Click on Configuration
- Under Pipelines, select Lead Pipelines.
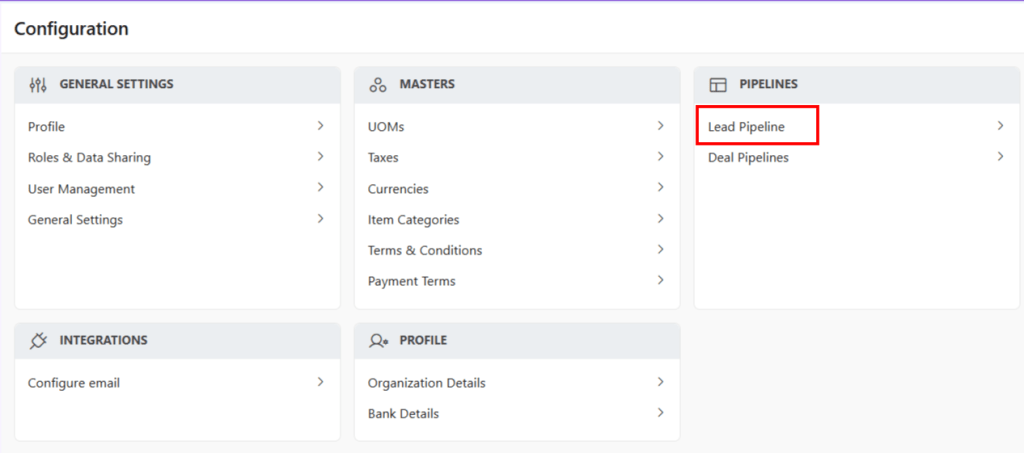
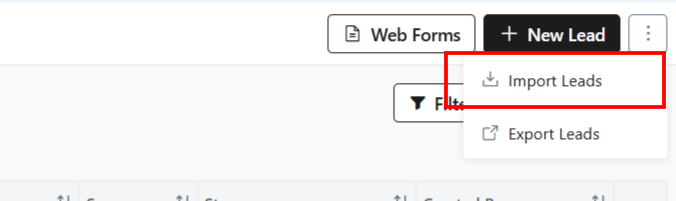
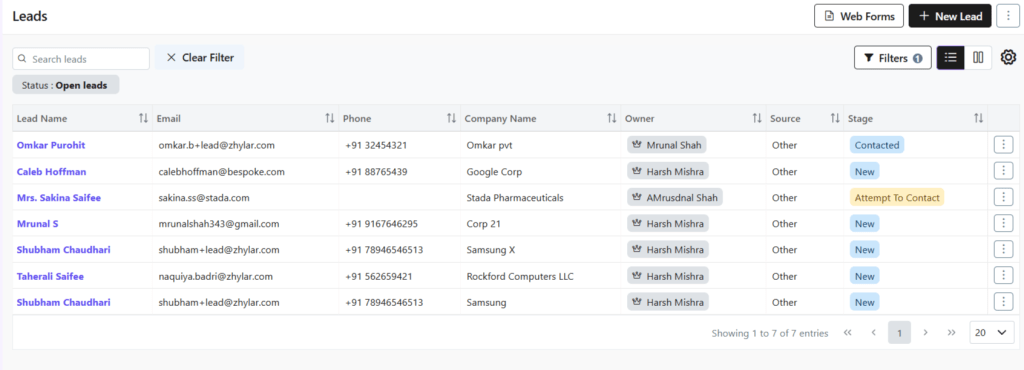
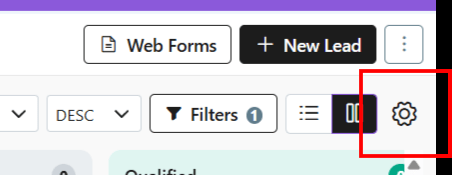
- Alternately, you can also go to the Leads Module Click ⚙️.
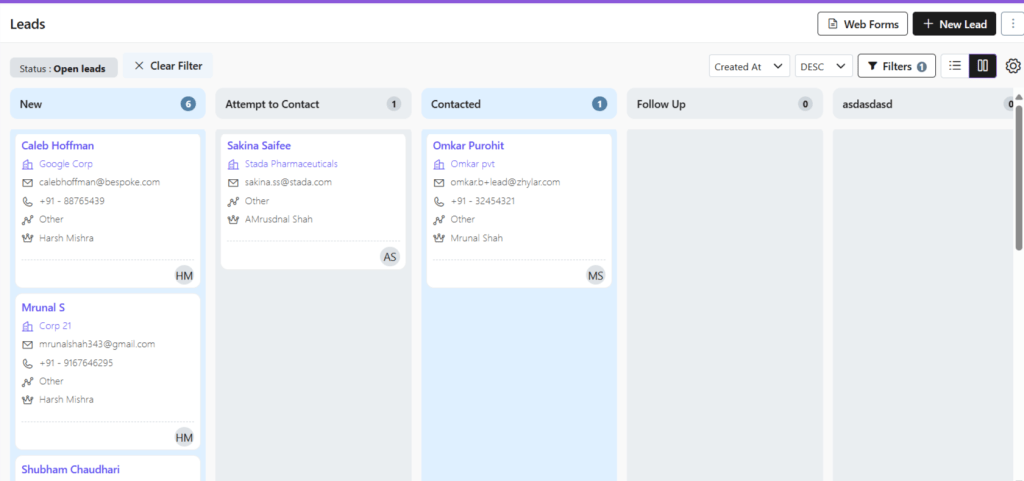
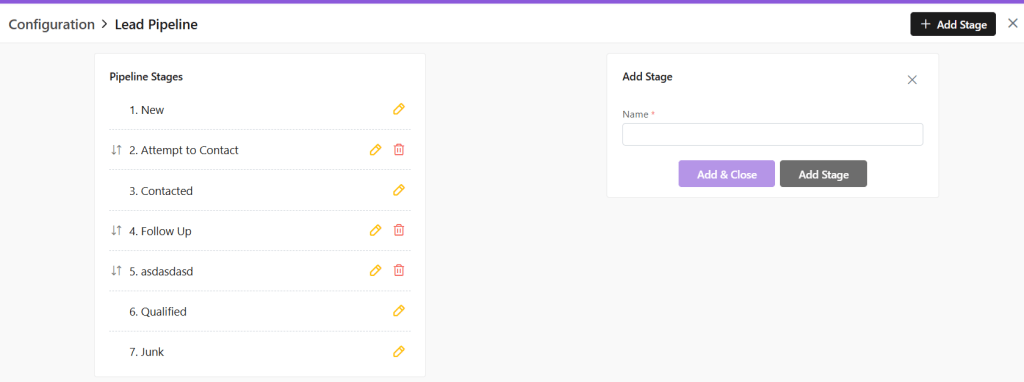
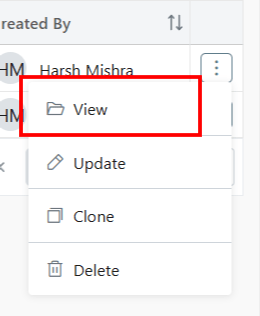
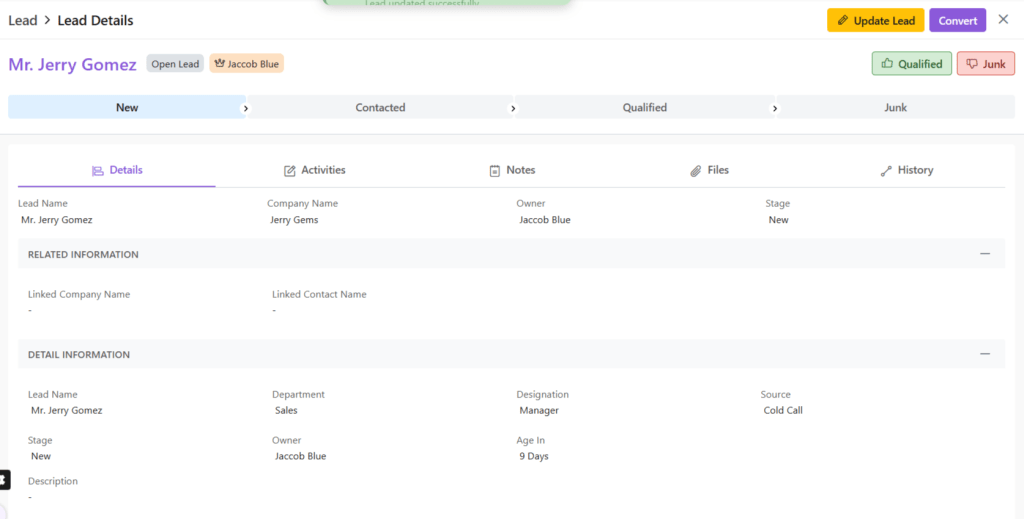
- You will be taken to the Leads Pipeline page.
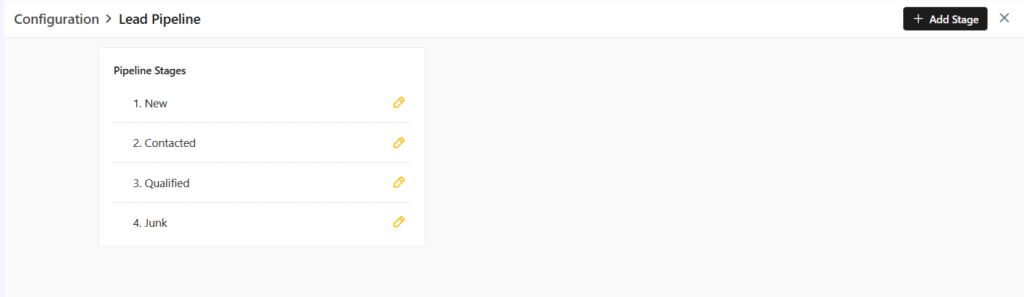
- This pipeline has 4 default stages added to it.
- Users can:
- Rename default stages
- Add more stages to the pipelines
- Edit name of the stages
- Shuffle positions of the stages added.
- Delete stages added by the user.
- Users cannot:
- Users cannot delete default stages.
- Shuffle positions of default stages
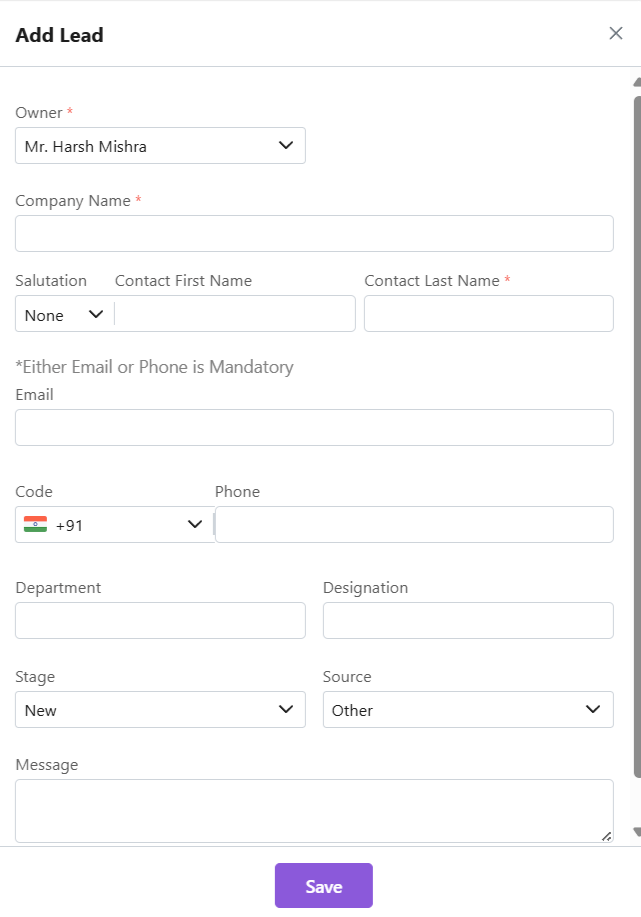
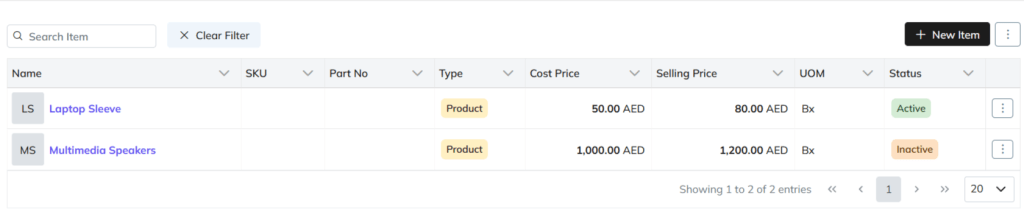
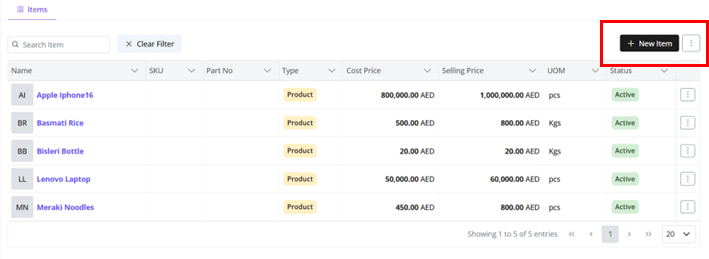
Add New Stage
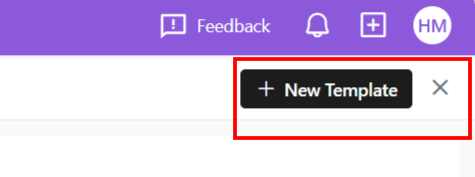
- To add new stage, click on + Add Stage

- A box will open.
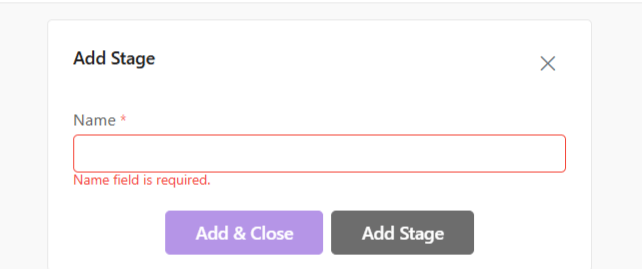
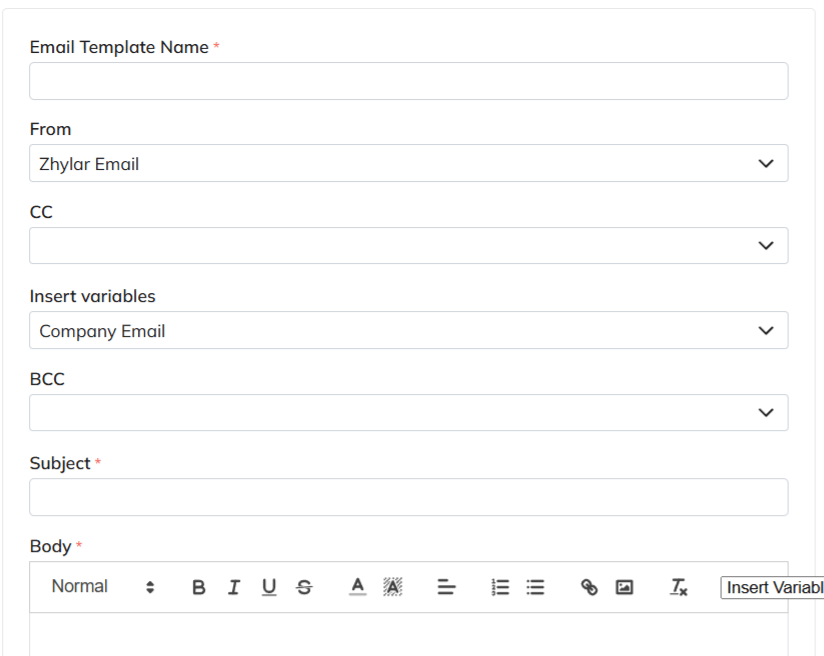
- Name the stage.
- Click Add Stage.
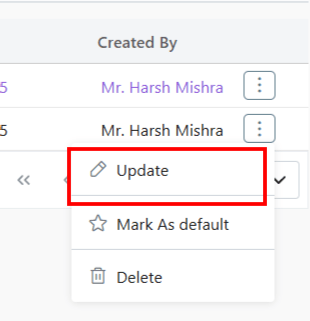
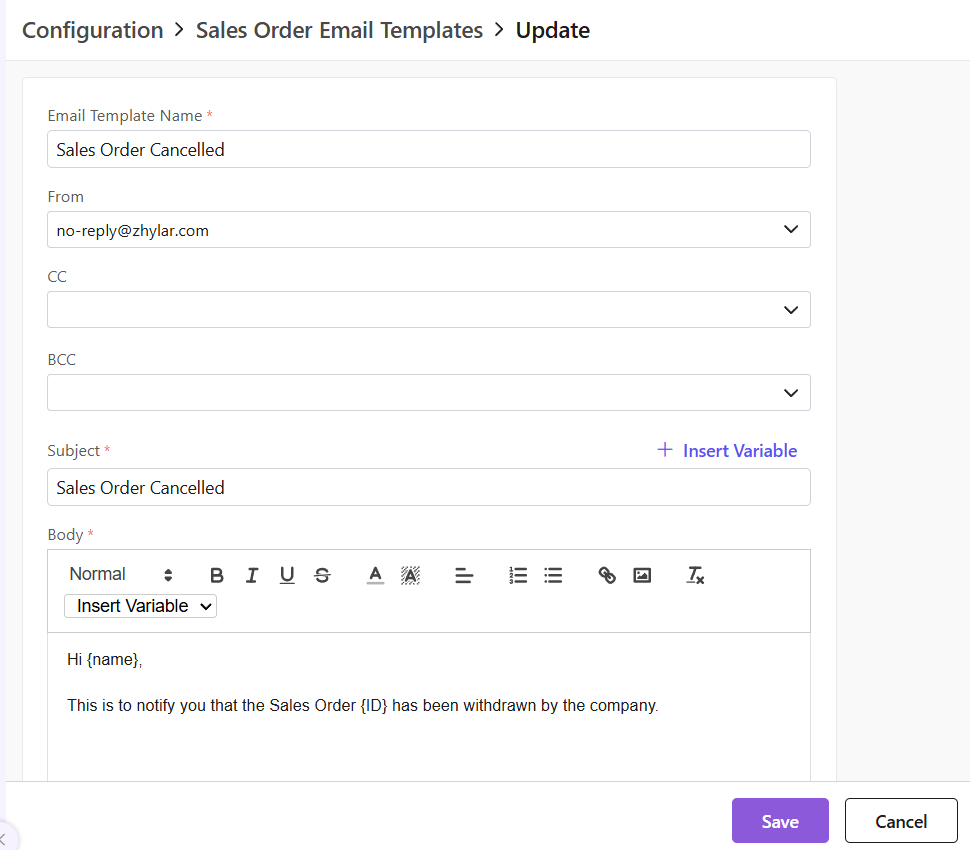
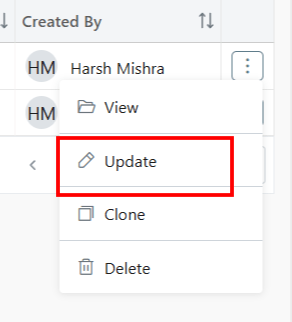
Update Stage
To update a stage,
- Click on the yellow pencil.

- Make changes.
- Click Update Stage/Update and Close.
Shuffle Stages
- Users can shuffle stages via drag-and-drop method. This is applicable only for added stages. Default stages cannot be shuffled.
- Stages that can be shuffled will be indicated by 2-way facing arrows.
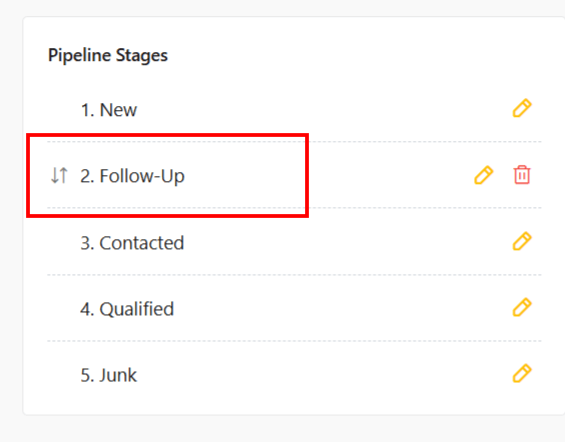
- Default stages cannot be moved.
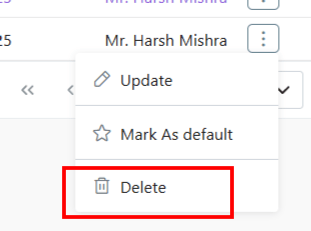
Delete Stage
- User can delete only added stages. Default stages cannot be deleted.
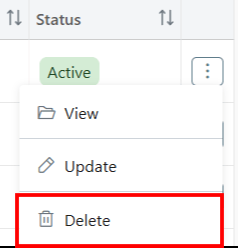
- To delete, click on the red bin icon.
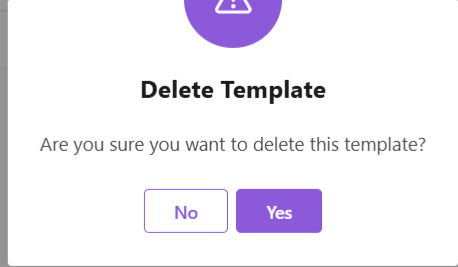
- You will be asked to move leads in that stage to another stage before deletion.
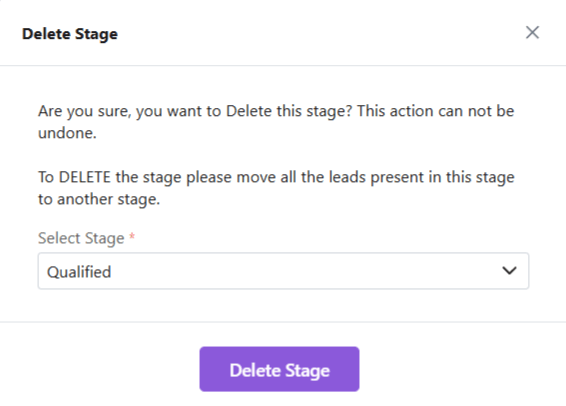
- Transfer leads in that stage to another stage.
- Click Delete Stage.
- The stage will be deleted.

Discover how Zhylar can streamline your sales and elevate your business processes. Visit our website or book a demo today to experience the difference!