The Search and Filter feature in Zhylar helps users quickly find the exact information they need. It eliminates the need to scroll through endless records. With global search, you can look up leads, deals, customers, or items in seconds. Filters allow you to narrow results by conditions like deal stage, lead source, industry, date, or owner.
This saves time, reduces errors, and ensures sales teams always focus on the most relevant records. For example, a manager can filter leads generated “this month” or leads by “owner.” Adding more than one filter helps you quickly narrow down to the exact records you need without wasting time.
Use Cases
- Find hot leads – A sales rep filters leads marked “High Priority” created in the last 7 days.
- Check pending invoices – The finance team searches for invoices that are still pending or overdue.
- See campaign results – A marketing manager filters leads from an email campaign to check how many converted.
Getting Started
- Log in to Zhylar
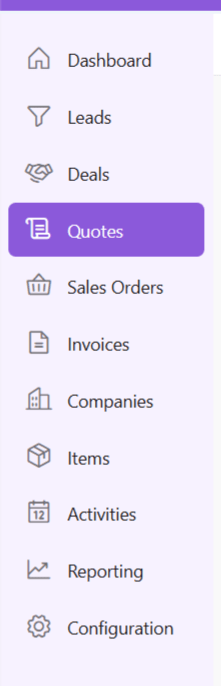
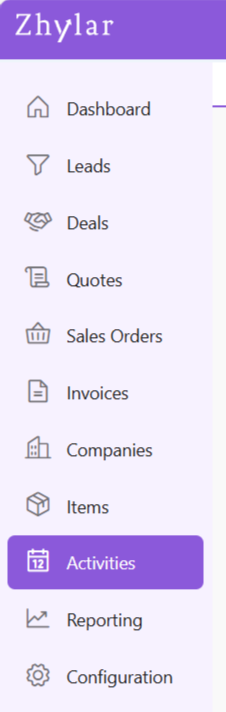
- The Filter option is available in the following modules:
- Leads
- Deals
- Quotes
- Sales Orders
- Invoices
- Companies
- Items
- Tasks (Under Activities)
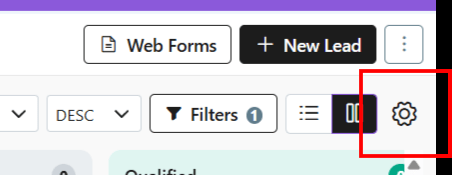
For each module, you can find the Filter button on the top right-hand corner of the page.
The Filters differ from module to module based on the module itself.
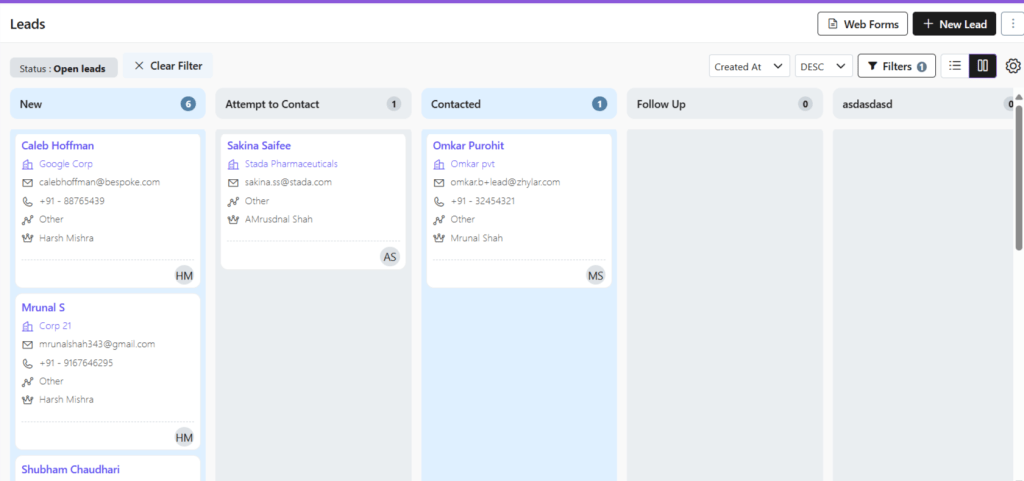
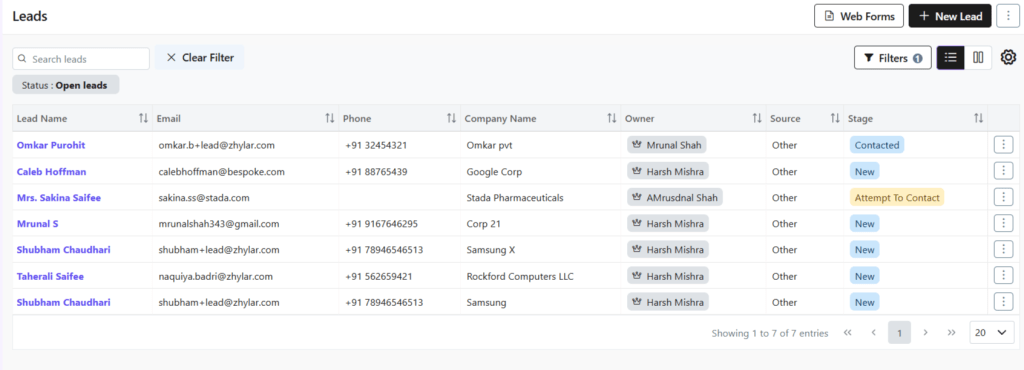
Leads
- From the left-hand navigation panel, click on Leads.
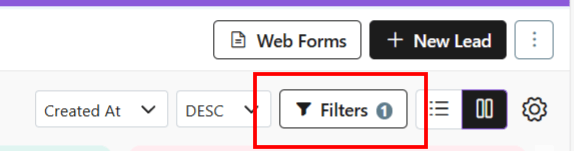
- On the top-right hand corner, select Filters. A list of all the filters will show in a drop-down menu.
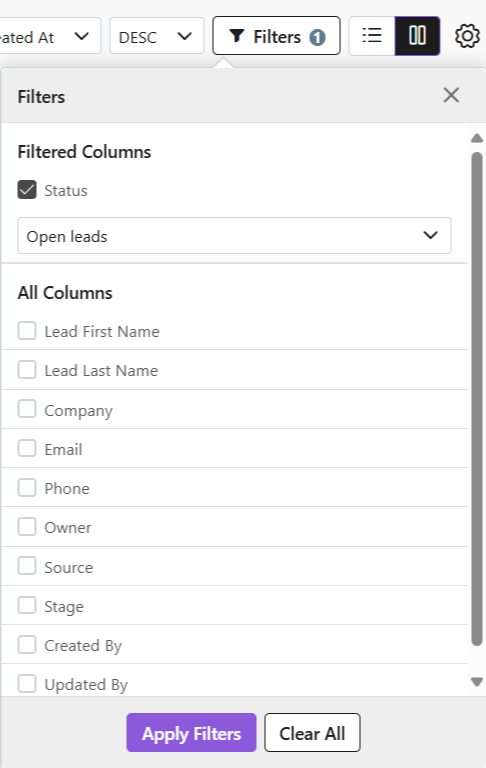
- Select all required Filters.
- Click Apply Filters.
- Once done, or to make a new search, click Clear All to see all results.
- All Filters will be cleared and the entire List View will show again.
Deals
- From the left-hand navigation panel, click on Deals.

- On the top-right hand corner, select Filters. A list of all the filters will show in a drop-down menu.

- Select all required Filters.
- Click Apply Filters.
- Once done, or to make a new search, click Clear All to see all results.
- All Filters will be cleared and the entire List View will show again.
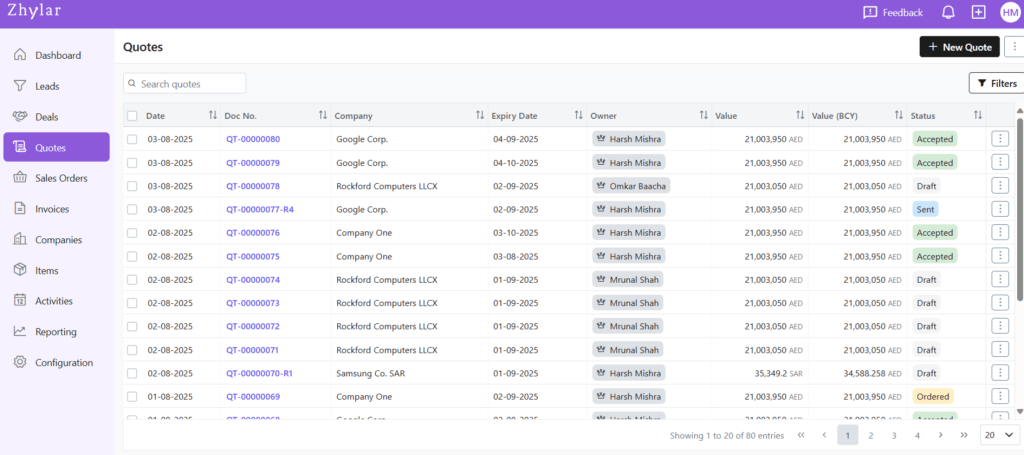
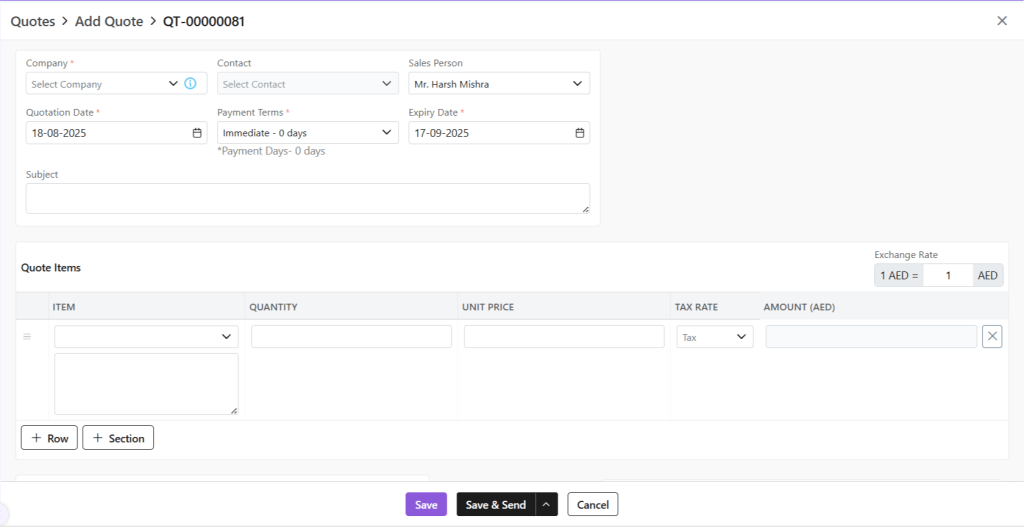
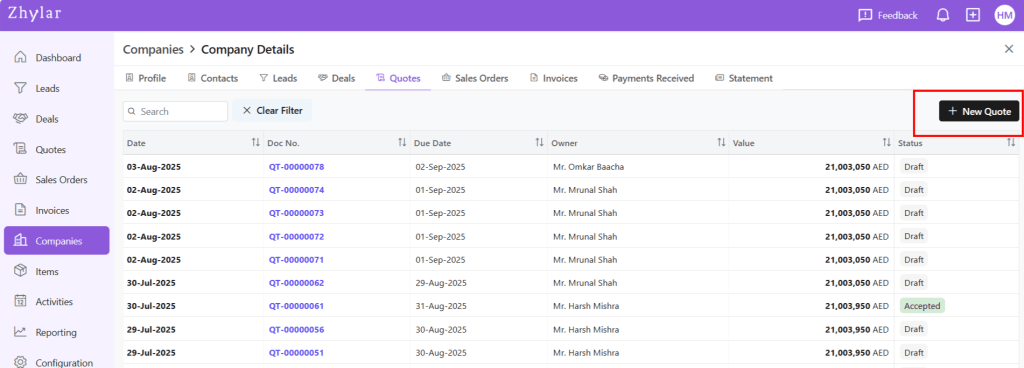
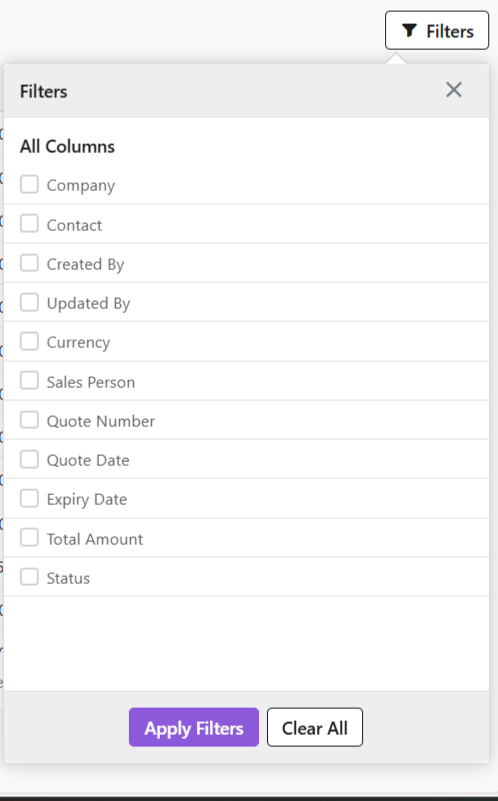
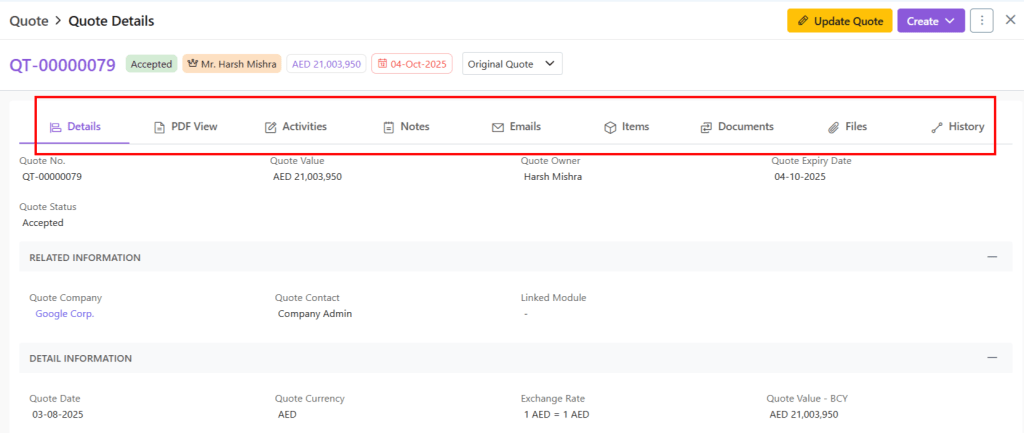
Quotes
- From the left-hand navigation panel, click on Quotes.

- On the top-right hand corner, select Filters. A list of all the filters will show in a drop-down menu.
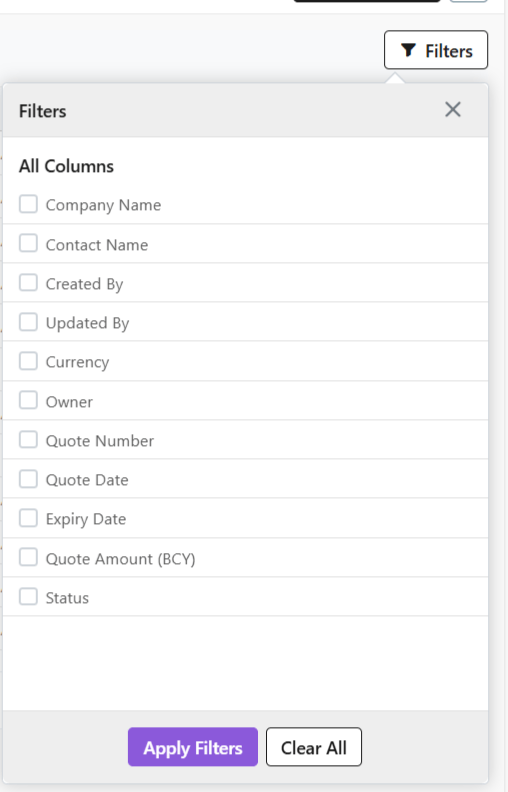
- Select all required Filters.
- Click Apply Filters.
- Once done, or to make a new search, click Clear All to see all results.
- All Filters will be cleared and the entire List View will show again.
Sales Order
- From the left-hand navigation panel, click on Sales Order.
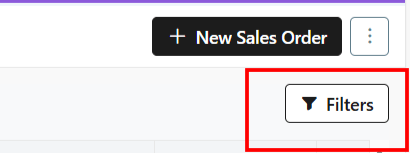
- On the top-right hand corner, select Filters. A list of all the filters will show in a drop-down menu.
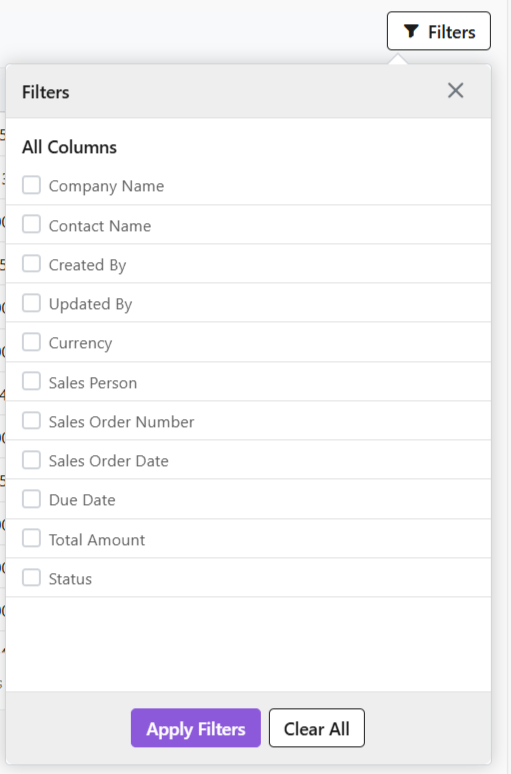
- Select all required Filters.
- Click Apply Filters.
- Once done, or to make a new search, click Clear All to see all results.
- All Filters will be cleared and the entire List View will show again.
Invoices
- From the left-hand navigation panel, click on Invoices.
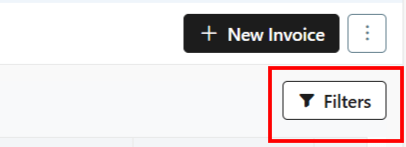
- On the top-right hand corner, select Filters. A list of all the filters will show in a drop-down menu.
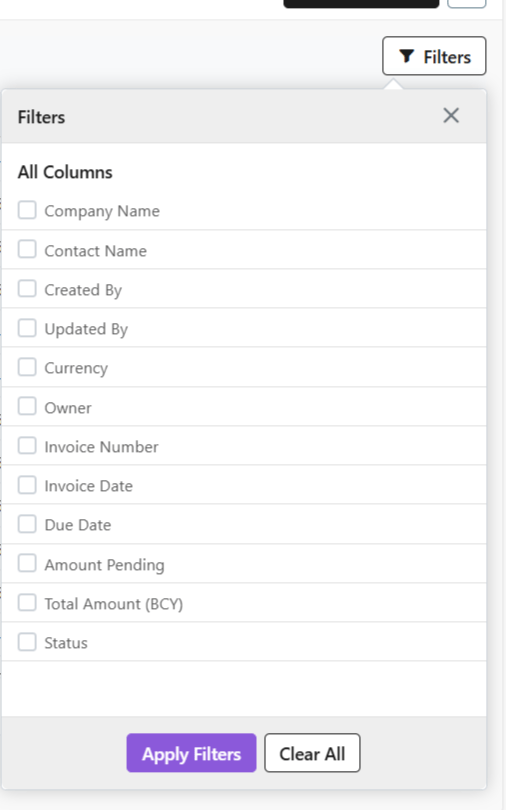
- Select all required Filters.
- Click Apply Filters.
- Once done, or to make a new search, click Clear All to see all results.
- All Filters will be cleared and the entire List View will show again.
Companies
- From the left-hand navigation panel, click on Companies.

- On the top-right hand corner, select Filters. A list of all the filters will show in a drop-down menu.
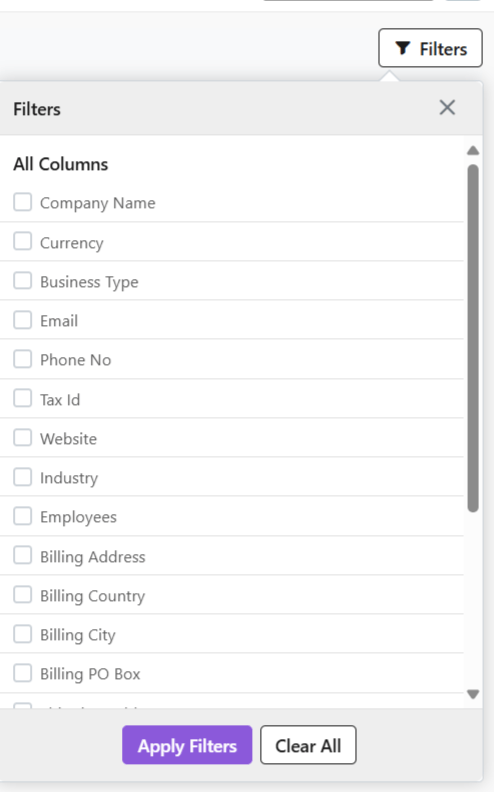
- Select all required Filters.
- Click Apply Filters.
- Once done, or to make a new search, click Clear All to see all results.
- All Filters will be cleared and all the results will show again.
Items
- From the left-hand navigation panel, click on Items.
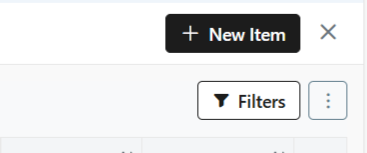
- On the top-right hand corner, select Filters. A list of all the filters will show in a drop-down menu.

- Select all required Filters.
- Click Apply Filters.
- Once done, or to make a new search, click Clear All to see all results.
- All Filters will be cleared and all the results will show again.
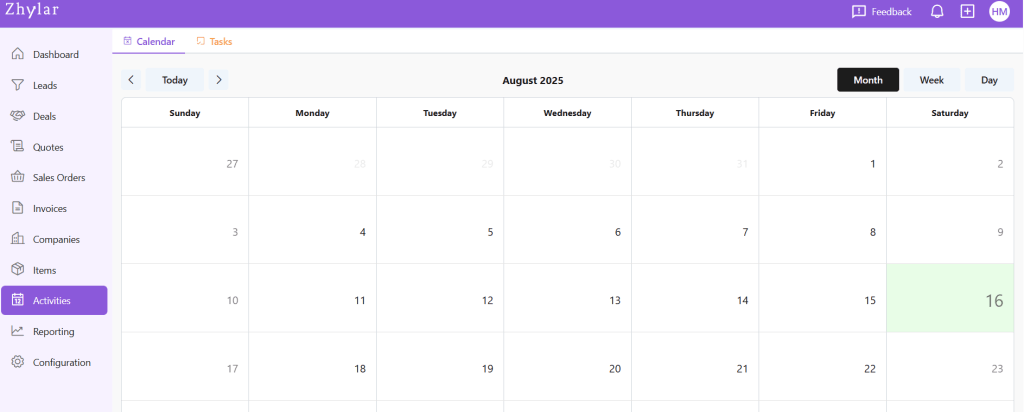
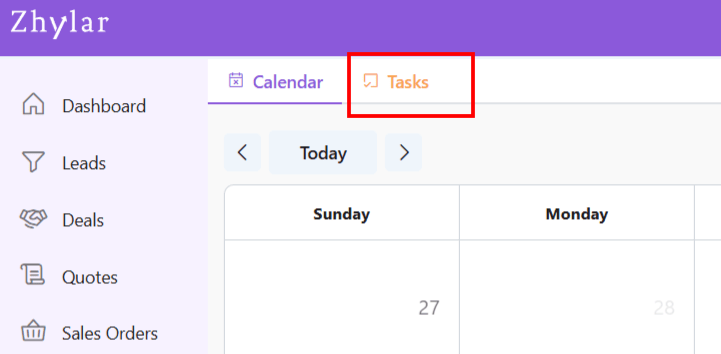
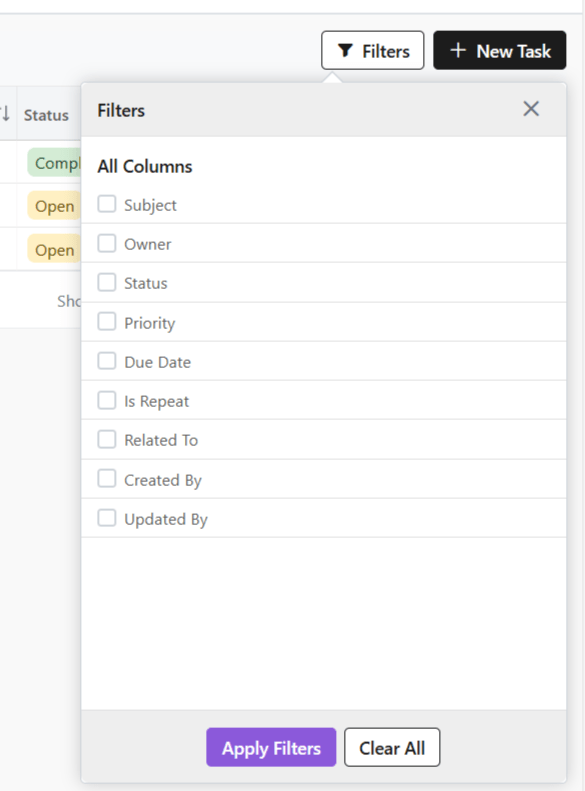
Activities > Tasks
- From the left-hand navigation panel, click on Activities
- Go to Tasks.

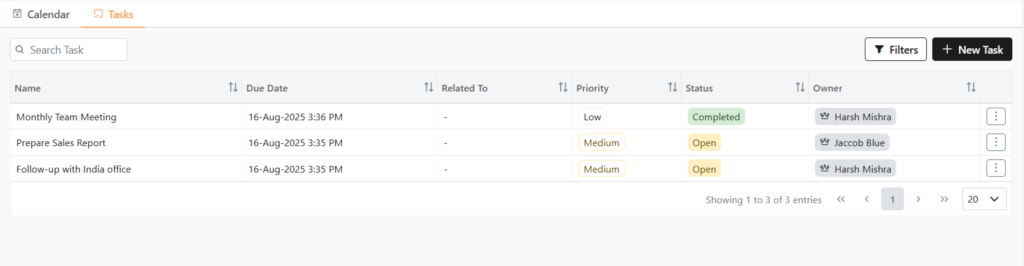
- On the top-right hand corner, select Filters. A list of all the filters will show in a drop-down menu.
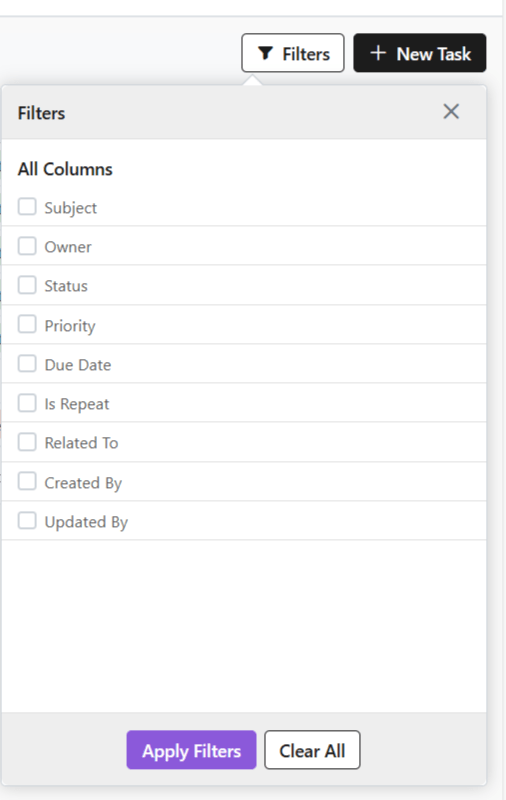
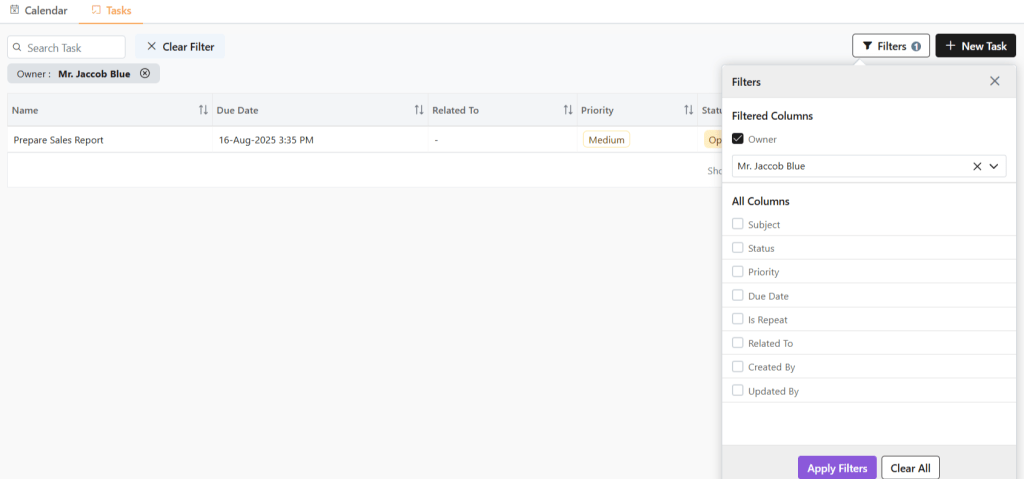
- Select all required Filters.
- Click Apply Filters.
- Once done, or to make a new search, click Clear All to see all results.
- All Filters will be cleared and all the results will show again.
Discover how Zhylar can streamline your sales and elevate your business processes. Visit our website or book a demo today to experience the difference!