Terms and Conditions

Terms and Conditions in Zhylar govern’s terms of business transactions between customers and the business. These terms are applied to key sales documents such as quotes, sales orders, and invoices. They outline essential policies related to payment, delivery, and service, ensuring clarity and compliance in all business transactions.

Managing Terms & Conditions:

  • Log in to Zhylar.
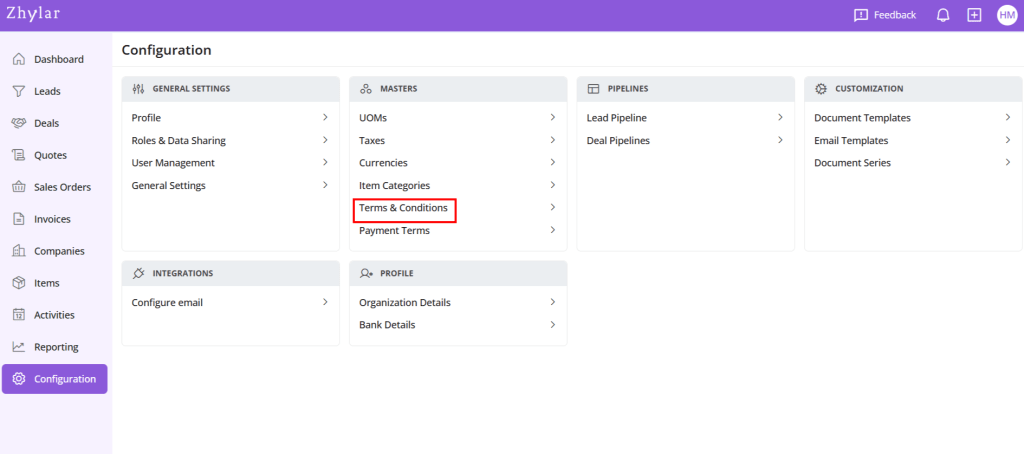
  • Go to Left-hand panel
  • Click on Configuration
  • Under Masters, click on Terms and Conditions

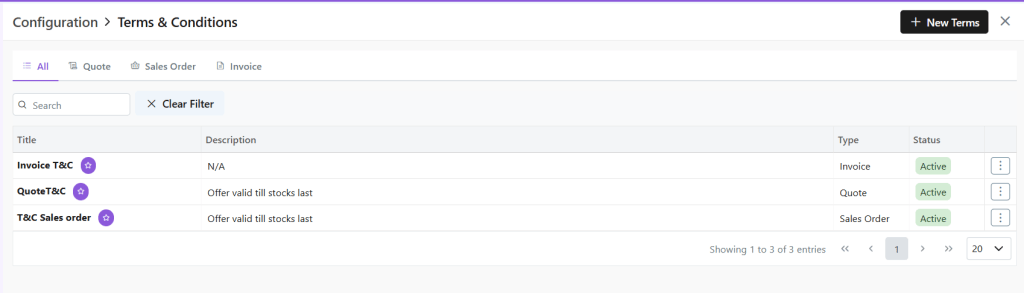
T&C List View
  • Here, check a list of the Terms and Conditions added to the system.
Add New

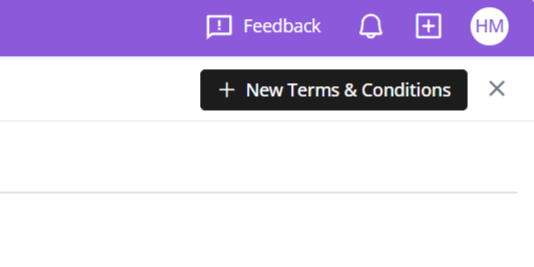
  • Click “+ New Terms & Conditions”
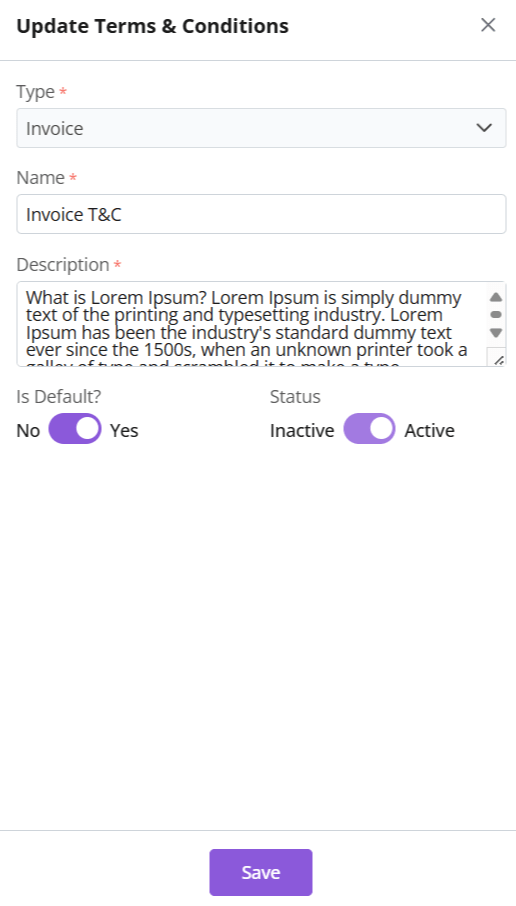
  • Give the T&C a name.
  • Add description for details of the term. This description entails the conditions of the terms that you want to levy.
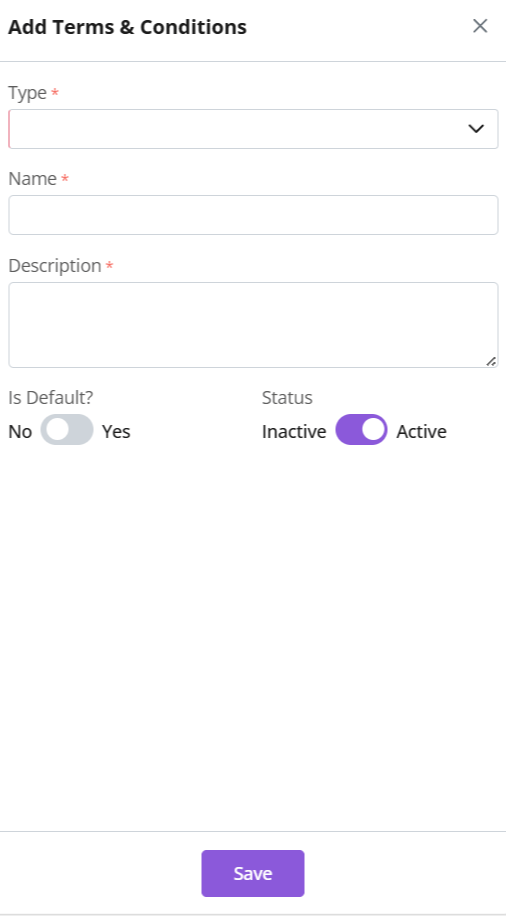
  • Select document type (Quote/SO/Invoice)
  • Enable “Is Default” for auto-application in documents (Quotes / SO / Invoice) .
    • Auto-applied T&C can be edited on the document.
  • Click Save.

Update

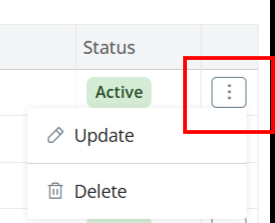
  • Click ⋮ 3 dots on the end
  • Make changes
  • Click Save
  • Make your changes.
  • Is Default: Toggle Yes or No to change
  • Status: If T&C is not in use it can be marked inactive.
    • A default T&C cannot be marked inactive. Remove default status to continue.
  • All fields can be updated except T&C Type.
  • Click Save.

Document Types

Type Purpose
Quote T&Cs Proposal-specific terms
Sales Order T&Cs Binding order terms
Invoice T&Cs Payment/delivery policies

Key Feature: Default T&Cs auto-apply to relevant documents.

Delete Term and Conditions

  • Click ⋮ 3 dots > Delete → Type “DELETE” to provide confirmation.
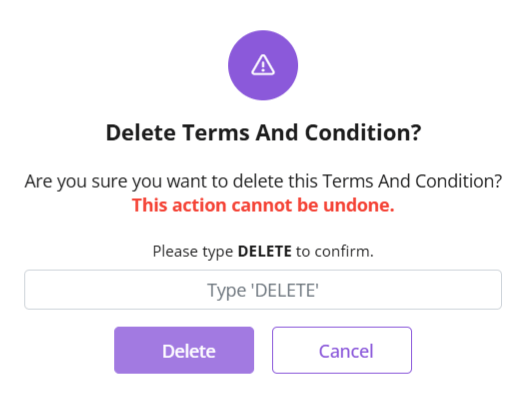
  • Provide confirmation to proceed.
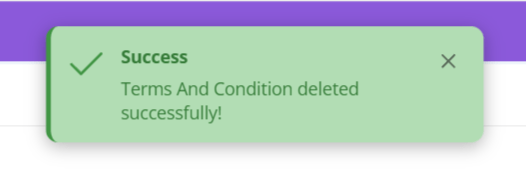
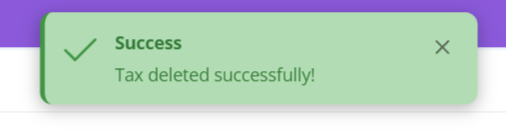
  • The T&C will be deleted.


Currencies

Currency defines the monetary unit used for transactions within the CRM. Zhylar supports multi-currency operations, enabling businesses to handle global deals efficiently. This feature is essential for accurate pricing, reporting, and financial consistency across international markets.

  • Log in to Zhylar.
  • Go to Left-hand panel
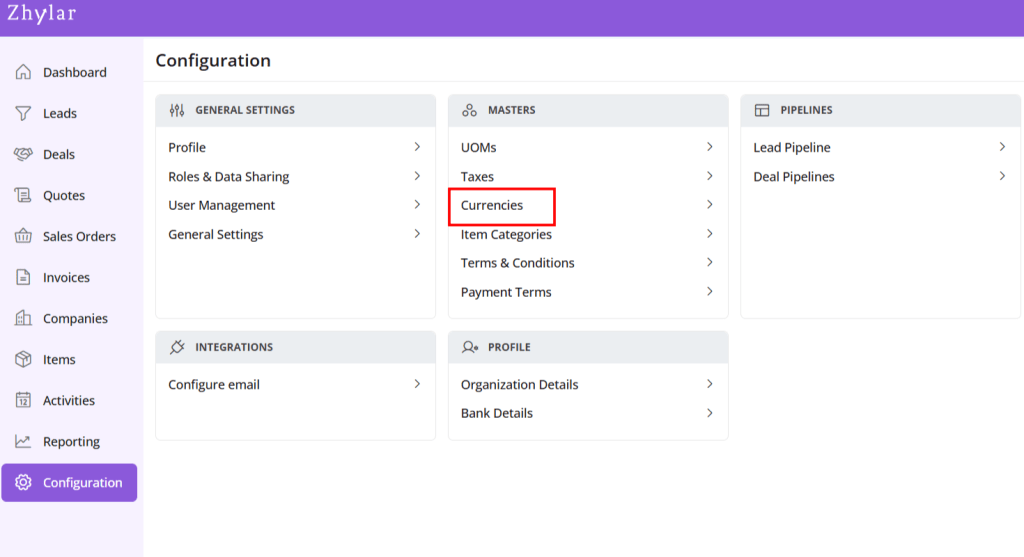
  • Click on Configuration
  • Under Masters, click on Currencies
  • You will be redirected to a new page.
  • All currencies added to the system will be listed.

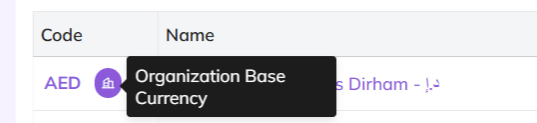
The base currency is the default monetary unit used for all financial records, reports, and conversions in a CRM system. It serves as the reference point for converting other currencies.

  • It ensures consistency in revenue tracking.
  • Aids in financial analysis across multi-currency operations.
  • Base Currency is selected at the time of organization onboarding.
  • Base currency marked in purple.
  • This currency cannot be changed/deleted.
  • It cannot be marked inactive.
  • Click + New Currency
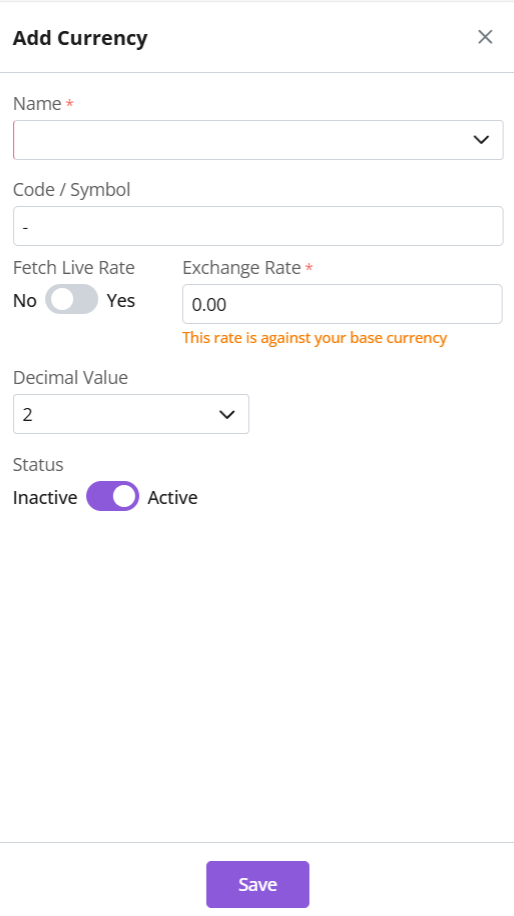
  • A side sheet will open.
  • Fill out the details
  • Name: Select currency name, e.g., United States Dollar
  • Currency code and symbol will be auto-selected, e.g., USD-$
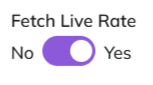
  • Fetch Live Rate– The system API will generate the current exchange rate. This rate is between the organization’s base currency and the selected currency.
  • Decimals– Determines how many decimal points to be taken when writing amount. E.g., USD 300.25
  • Click Save

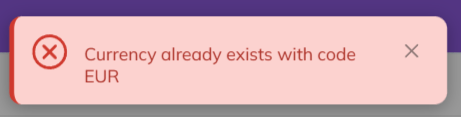
Note: Each currency must carry a unique name/code. Duplicates are not permissible in the system.

This means, one currency can only be added to the system only once.

  • Conversion rate of the currency added vis-a-vis the base currency.
  • If Fetch Live Rate is on, system API will do the calculations for exchange rate automatically.
  • If Fetch Live Rate is off, an exchange rate can be entered manually.
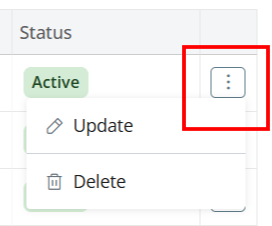
  • Click ⋮ 3 dots >
  • Select Update
  • Make changes
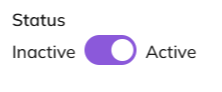
  • Toggle active/inactive status.
  • To mark inactive, currency must not be in use with any companies.
  • If marked inactive, fetch live rate is automatically turned off.
  • Click Save.
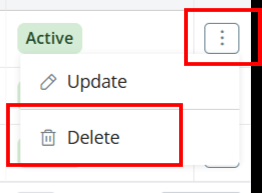
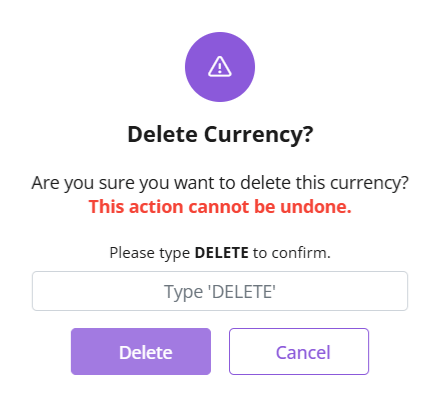
  • Click ⋮ 3 dots > Delete
  • Type “DELETE” to provide confirmation.
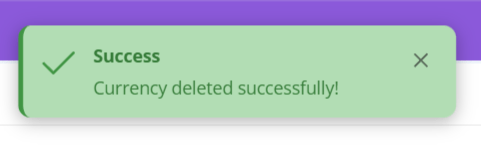
  • The currency will be deleted.
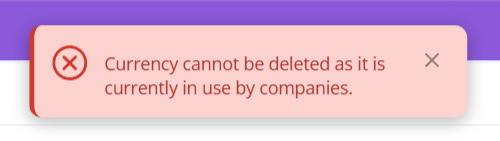
  • If currency is associated with some Companies, you will receive an error message.
  • Make requisite changes to proceed.

Also Read

Units of Measurement

General Settings

Currencies

Taxes

Taxes represent financial obligations on sales transactions. They are calculated automatically based on customer location, product type, and applicable tax laws like VAT or GST. Taxes are seamlessly integrated into quotes and invoices. This ensures accurate billing. It also ensures compliance with regional tax regulations across all sales documents.

Key Features

  • Automatic Calculation: Applies correct rates during quoting
  • Seamless Integration: Syncs with invoicing/billing

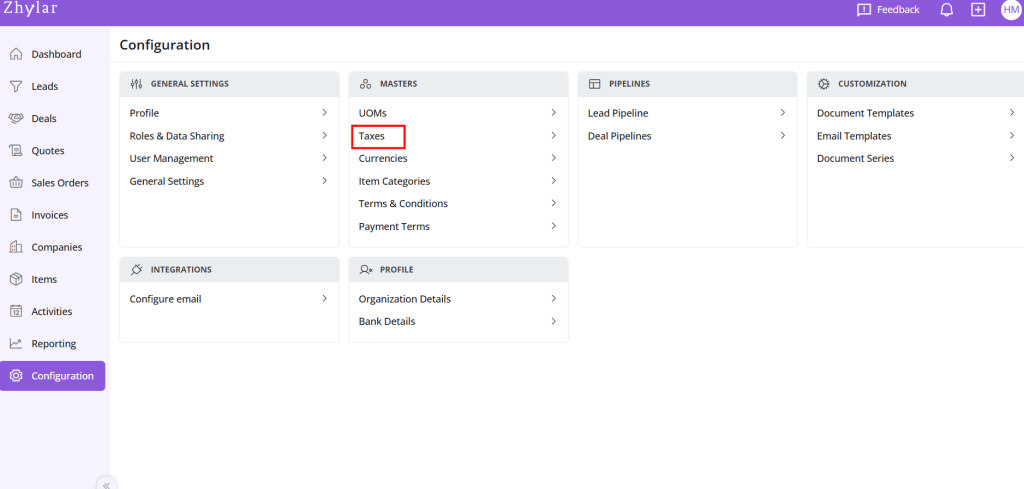
Managing Taxes

  • Log in to Zhylar.
  • Go to Left-hand panel
  • Click on Configuration
  • Under Masters, click on Taxes

Tax List View

Some default taxes are pre-loaded as listed below:

Add New Tax:

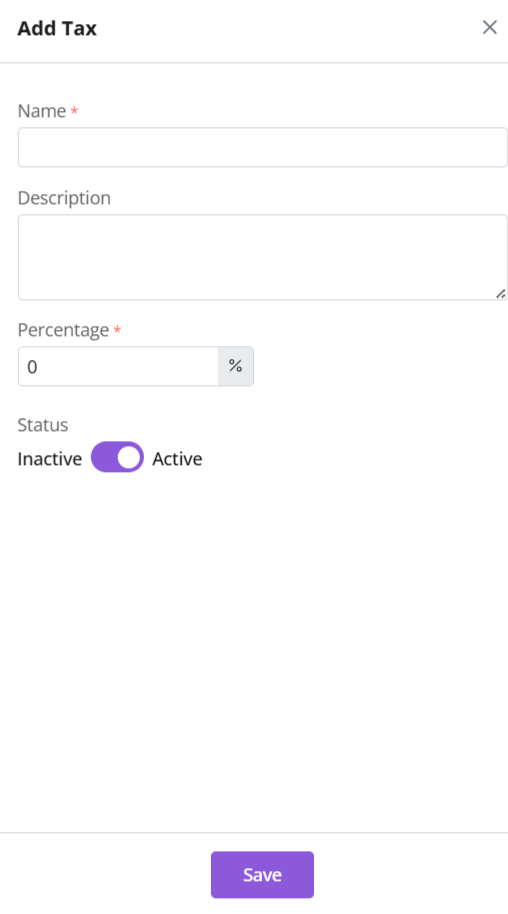
  • Click “+ New Tax”
  • Enter details
  • Name- Assign name to tax
  • Description- Explain the terms and policies of the tax.
  • Percentage- % of tax levied on certain item.
  • Status- If this tax is being used in the system at present or not.
  • Click Save

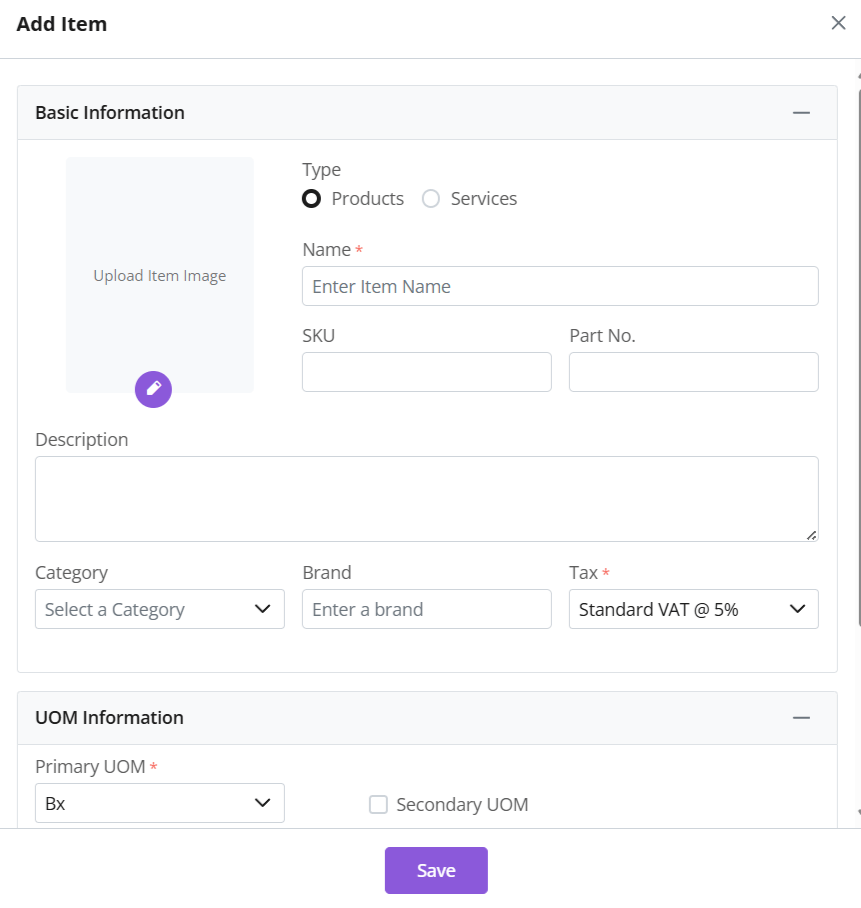
Add Tax to Item

  • It will be auto applied when relevant item is added to any document.
  • Read more about this feature in the items module.

Update Tax

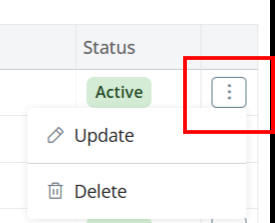
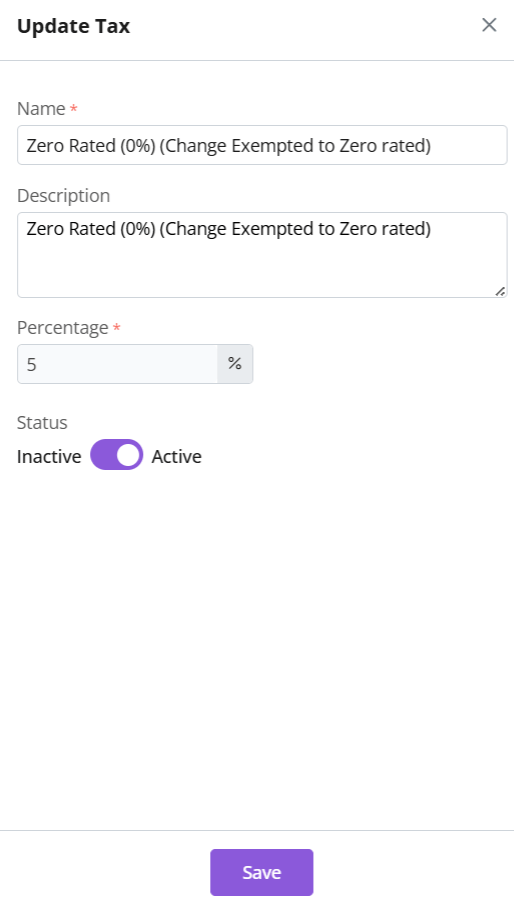
  • Click ⋮ 3 dots > Update → Make changes → Save
  • Note: Tax Percentage and Tax Type cannot be updated.
  • Toggle between active/inactive status depending on whether tax is in use or not.
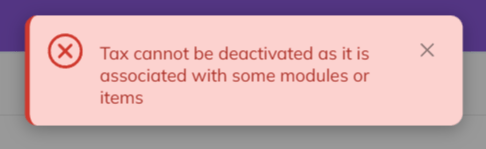
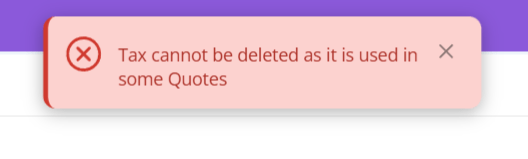
  • If tax is associated with items, you will receive an error message.
  • Make required changes to proceed.

Delete Tax

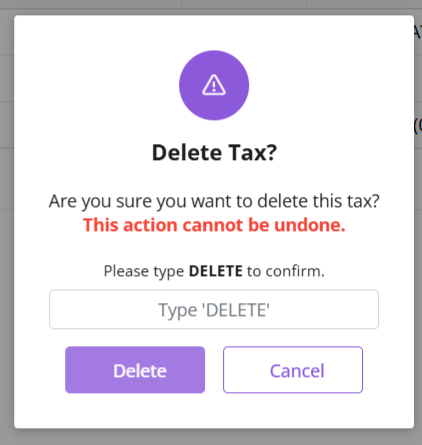
  • Click ⋮ 3 dots > select Delete’
  • Type “DELETE” to provide confirmation.
  • The tax will be deleted from the system.
  • If the Tax is associated with some other modules, then it cannot be deleted.
  • Delete relevant items to proceed, in order to delete the tax.

Also Read

Item Categories

Item categories are an organizational tool used to group related products or services within a CRM system. They simplify catalog management, improve navigation, and are essential for efficient Configure, Price, Quote (CPQ) setups. Categorizing items logically enhances the sales process and ensures a better user experience for both teams and customers.

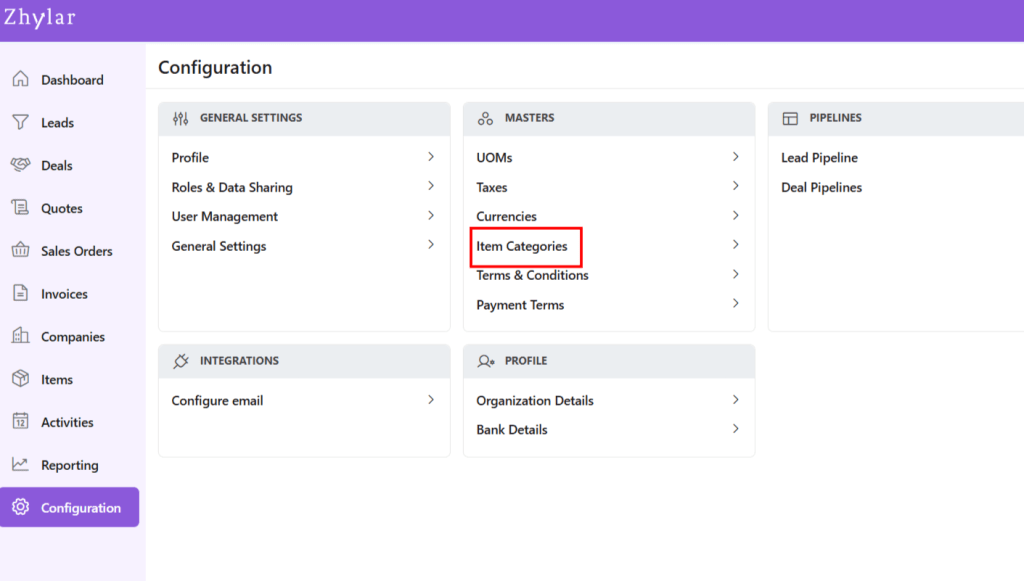
  • Log in to Zhylar.
  • Go to Left-hand panel
  • Click on Configuration
  • Under Masters, click on Item Categories
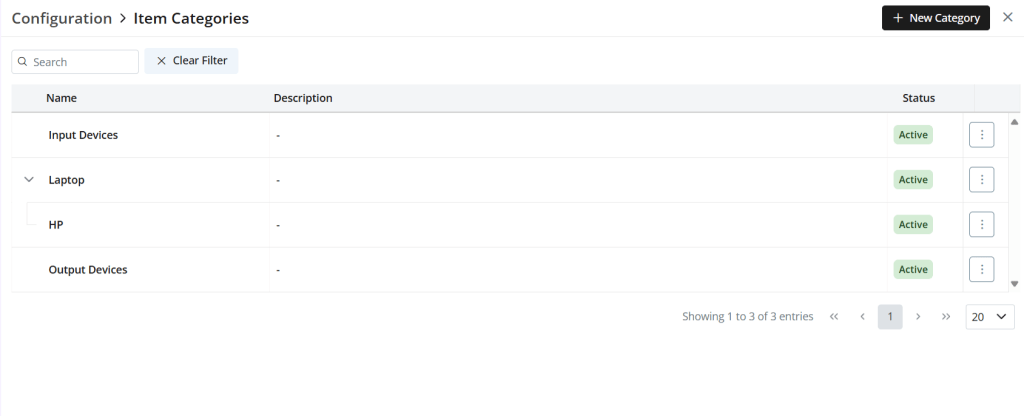
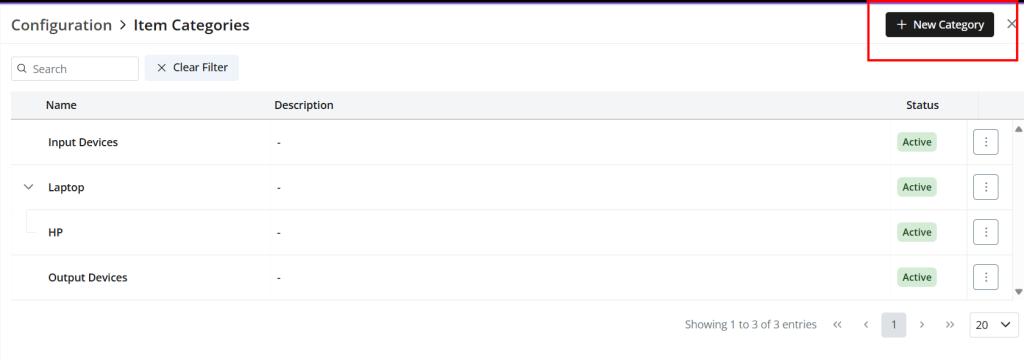
  • A new page will open.
  • All the items added to the system will be listed.
  • To add a new category, click “+ New Category”
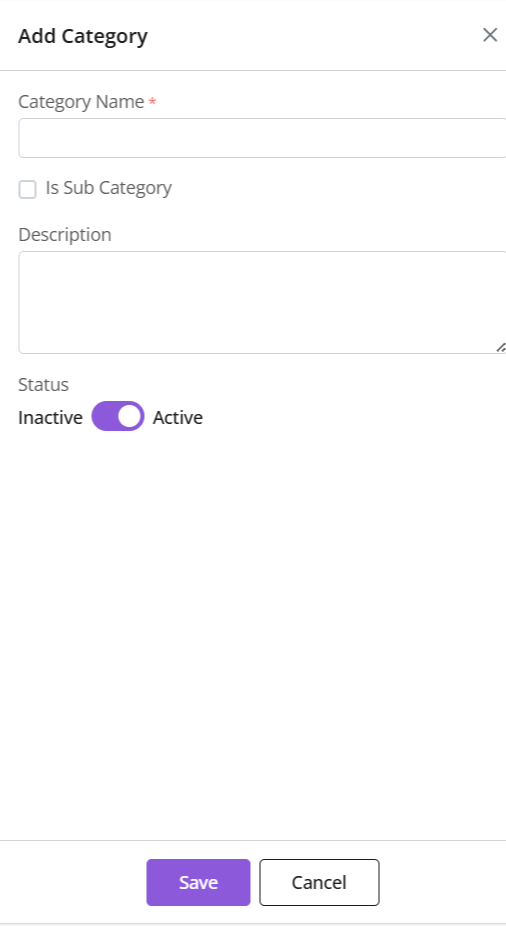
  • A side sheet will open.
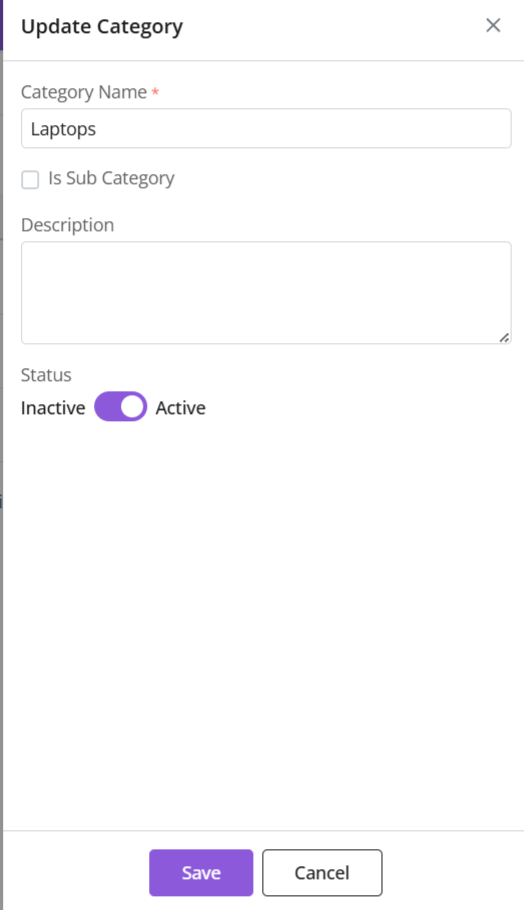
  • Enter details:
    • Category Name: Name of the Category
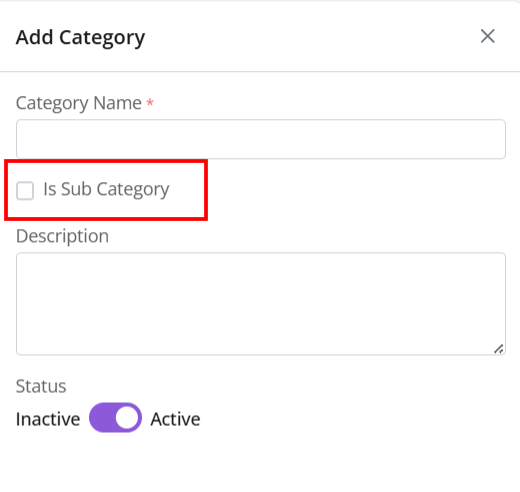
    • Sub-Category: If it is a category within a bigger category. If yes, a parent category must be tagged. (Refer section below).
    • Description: A brief description of the category
    • Status: Whether category is in use or not
  • Click “Save”
  • A sub-category is a category within a bigger category.
  • To check a category as a sub-category, a parent category must be marked.
  • E.g., Parent Category: Laptops -> Sub-category: HP
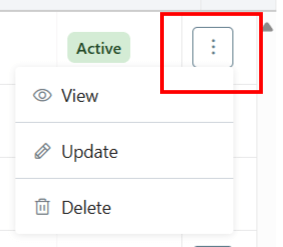
  • Click ⋮ 3 dots > Update→ Make changes
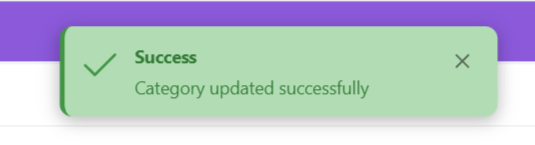
  • Click Save
  • Toggle active/inactive status
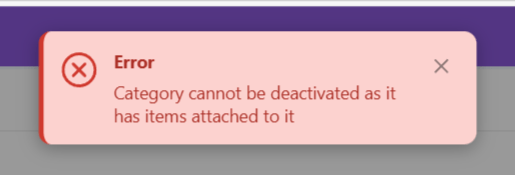
  • To mark inactive, category must not be associated with any item. Or you will receive an error message.
  • Make required changes to proceed.
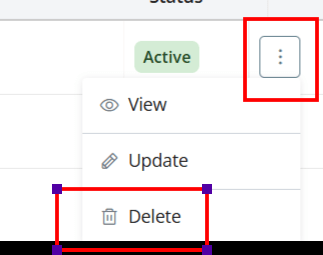
  • Click ⋮ 3 dots > Select Delete
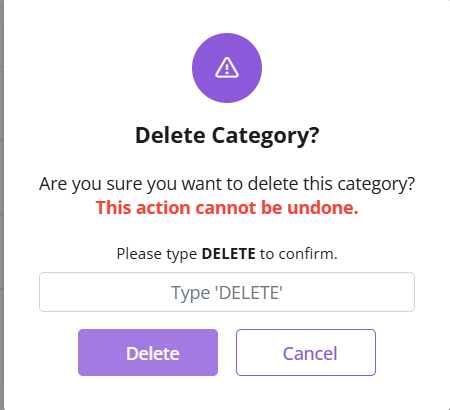
  • Type “DELETE” to provide confirmation.
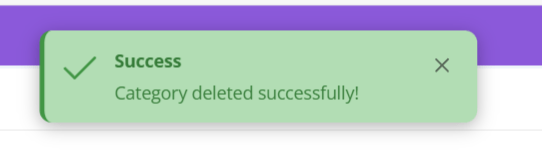
  • The Category will be deleted.
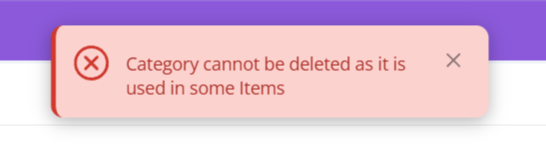
  • If category is associated with some Items, you will receive an error message.
  • Make requisite changes to proceed.

Please note: If a parent category is deleted before deleting sub-categories, the sub-categories will be automatically updated. They will be updated to become parent categories themselves.

Also Read